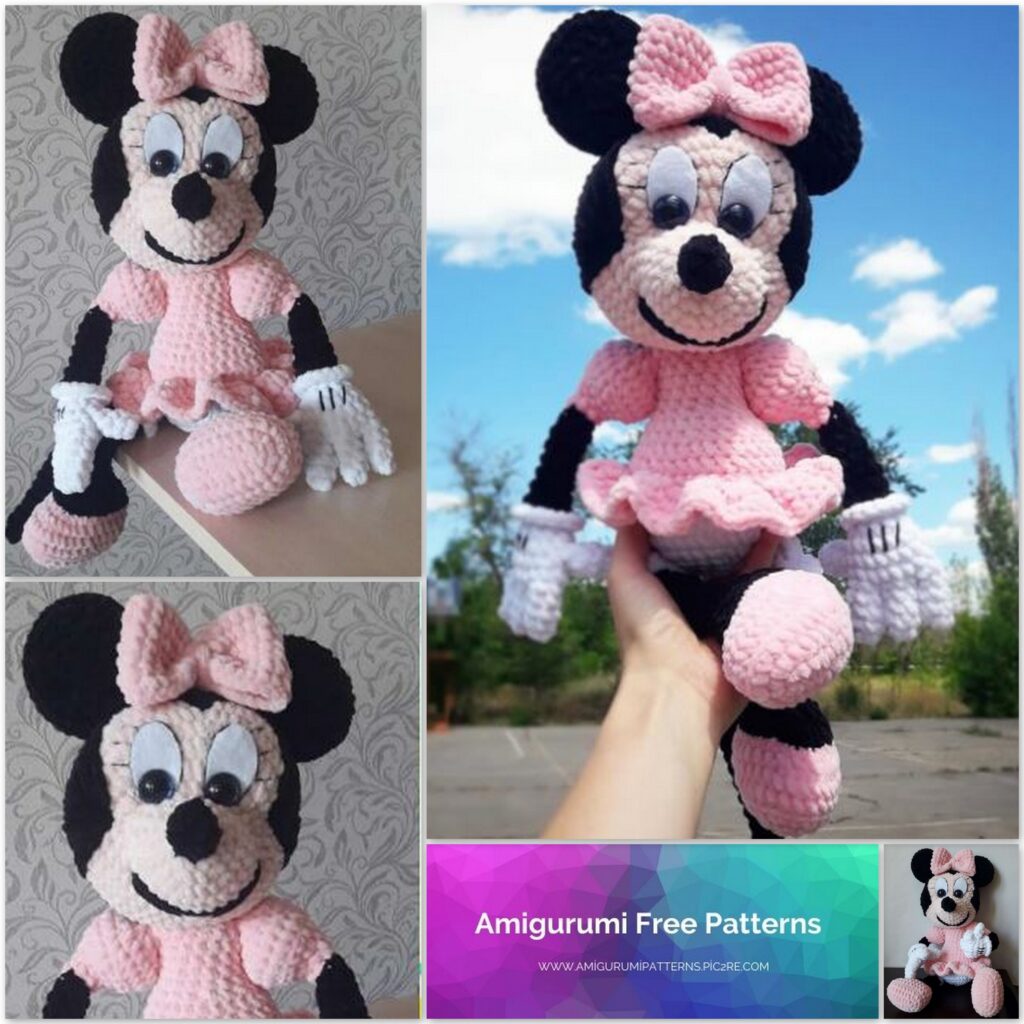
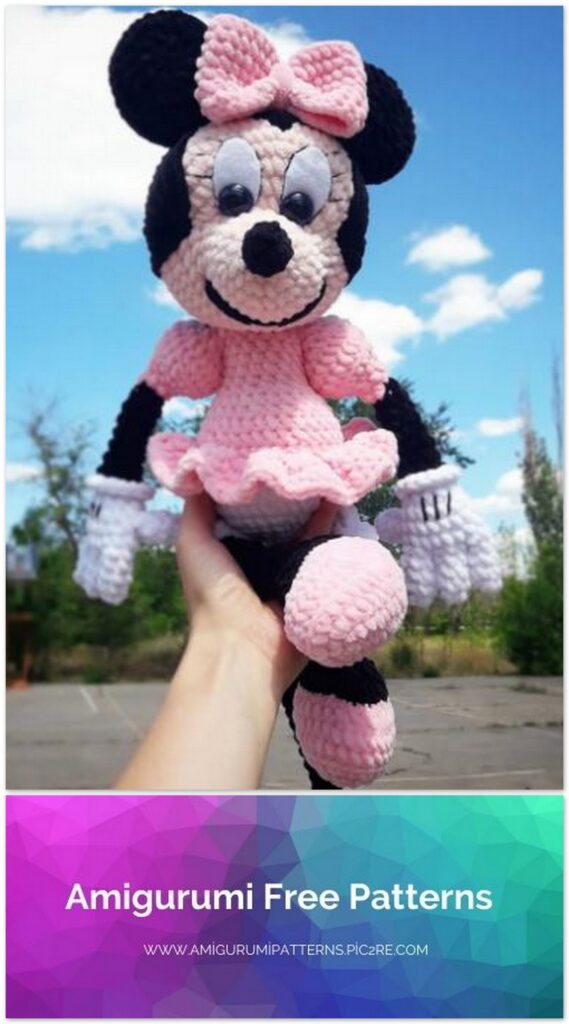
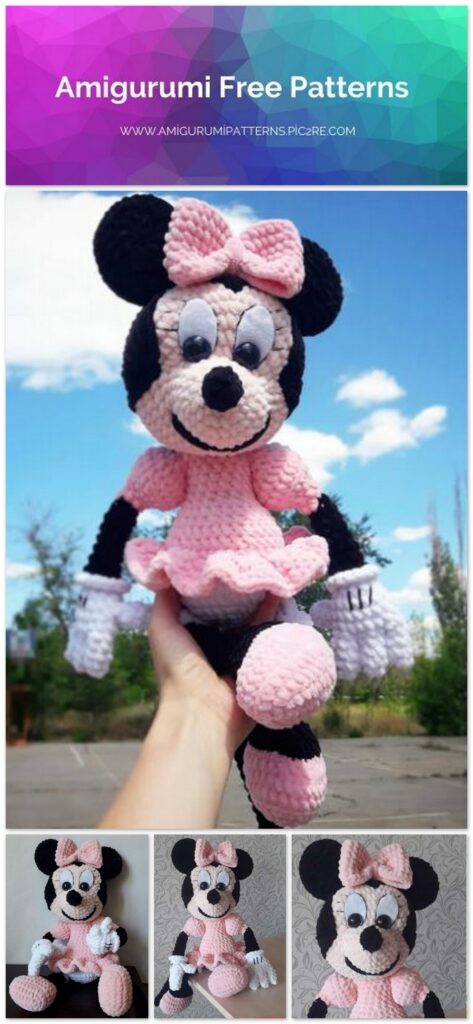
Amigurumi Plush Minnie Mouse Free Pattern
Pinterest Offical Page : amigurumipatterns.pic2re.com
Facebook Group: amigurumipatterns.pic2re.com
Facebook Offical Page: amigurumipatterns.pic2re.com
For knitting you will need:
– yarn. I usually knit from plush yarn
Himalaya Dolphin baby, or YarnArt Dolce.
Colors: black, light peach, soft pink, white.
– hook number 4, 4.5.
– black thread for eyelash embroidery I have Alize cotton Gold. (I pulled out one thin thread and embroidered it for her), embroidered on the paws with the same thread without loosening it.
– a needle with a blunt end.
– eyes on a screw or other mount. I have 14mm, 16mm;
– felt for the eyes;
– glue, my glue-gel is second (it does not leave yellow spots)
– scissors.
– filler (synthetic winterizer or holofiber).
– marker or contrasting thread.
Legend:
sl-st – connecting post;
ch – air loop;
sc – single crochet;
hdc – half double crochet;
DC – double crochet;
dec – decrease – knit 2 loops with one; most often I do the deductions by only clinging to the front wall of the loop. First the first, then the second, and then the working thread. (unless otherwise stated).
inc – increase, knit 2 in one loop;
() * – what to repeat the specified number of times in brackets.
The toy is knitted in a spiral without lifting loops. Unless otherwise stated.
Do not stuff your fingers:
3 fingers on each hand: 6 pcs.
1.4sc into magic ring
2.inc, 3sc (5)
3-4. 5sc
Thumbs 2pcs:
1.4 into magic ring
2.inc, 1sc, inc, 1sc (6)
3-4. 6sc
Handles – 2 parts: fill only sleeves.
I advise you to knit first the thumb, then the 2 upper fingers, then the third, and without breaking the thread, start knitting the hand.
Then the second also.
Pass the threads from the beginning of the finger (from the CA) inside the finger and tie with the tail at the top. Do not cut off all the ponytails will remain inside the hand.
Handles – 2 parts: fill only sleeves.
1. continue to knit on the 1st finger 3sc, take the 2nd finger, knit 3sc along it, take the 3rd finger, knit 5sc along it, 1sc knit at the junction of the fingers (insert the hook into the 1st loop of the 3rd finger, withdraw the thread – there are 2 loops on the hook. into the last knitted loop of the 2nd finger, draw out the thread. We knit 3 loops on the hook in one) so that there are no holes. 2sc on the 2nd finger. 1sc to the junction, 1sc on the 1st finger, inc (18)
2-3. 18sc
4 (left hand) knit the thumb by knitting 3sc through 3 canvases
(2 canvases of fingers and 1 hand), 15sc (18)
4. (right hand) 6sc, 3sc through 3 canvases (2 fingers, 1 hand), 9sc (18)
5. (1sc, dec) * 6 (12)
6. 12sc, color change in the last loop of the 6th row.
7. Behind the back floor hinge 12sc in black. For the front half loop, knit with white (1sc, inc) * 6, sl-st. Pass the white thread down and in, tie with a black tail.
8. (1sc, dec) * 4 (8)
9-13. 8sc, change color to pink in the last loop of the 13th row.
14 row in two strands: raise the black one, draw the pink one.
14.8sc
15.for the back wall of the 8sc hinge
16.8inc (16)
17. (1sc, inc) * 8 (24)
18 row behind the back wall of the loop.
18-19. 24sc
20. (1sc, dec) * 8 (16)
21.8dec (8)
Legs – 2 parts: fill only the bottom.
1.9ch, in the second loop from the hook we knit:
3sc into 1 st, 6sc, 3sc into 1 st, 6sc on the other side of the chain (18)
2.3inc, 6sc, 3inc, 6sc (24)
3. (1sc, inc) * 3, 6sc, (1sc, inc) * 3, 6sc (30)
4.30sc for the back of the hinge
5.30sc
Move marker to middle of heel by knitting 4sc or whatever you need. Now the start of the series is here.
6. 12sc, 3dec, 12sc (27) change of thread in the last loop of 6 rows. We knit 7 row in 2 threads. Raise the pink and display the black. color change
7.10sc, 3dec, 11 sc (24) Tie the ponytails inside together.
8. behind the back wall of the hinge (2sc, dec) * 6 (18), the decreases are not hidden, but ordinary, only for the back wall of the hinge.
9. (1sc, dec) * 6 (12)
10. (1sc, dec) * 4 (8)
11-17. 8sc, change of thread in the last loop of the 17th row. Row 18 in two threads, raise the black one, stretch the white one.
18.8sc
19.for the back wall of the 8sc hinge
knit on the front floor with loops: (sl-st, ch, 2DC in one loop) * 4, sl-st and continue knitting the leg.
20.8sc
21.Fold in half and knit 4sc across 2 linens.
Tail:
1.4sc into magic ring
2.inc, 3sc (5)
3-25. 5sc
26.fold in half knit
2 sc across 2 ponytail canvases.
Body: stuff tight
1.6sc into magic ring
2.6inc (12)
3. (1sc, inc) * 6 (18)
4. (1sc, inc) * 9 (27)
5. (2sc, inc) * 9 (36)
6.7sc, 4sc with the leg, 5sc, 2sc in the tail, 5sc, 4sc with the leg, 9sc (36)
7. (5sc, inc) * 6 (42)
knit 11sc at the 12th color change. We put a marker now the beginning of the row here. We knit in two threads, raise the white one, bring out the pink one. 9 row behind the back wall of the loop.
8 – 9.42sc
10. (5sc, dec) * 6 (36)
11.36sc
12. (2sc, dec) * 9 (27)
13.27sc
14. (1sc, dec) * 9 (18)
15-17. 18sc
knit to the middle of the back (I have 4sc). Put a marker.
18.2sc, 4sc in the hand for 1 side of the hand (watch that the hand takes the desired position – thumb forward) 7sc, 4sc in the hand for one side of the hand, 1 sc (18)
19. 2sc, 1sc (knit as a decrease, insert the hook into the junction of the hand with the body, withdraw the thread, and then insert into the hand, withdraw the thread and knit) 3 sc along the arm, 1 sc (also picking up the junction), 6sc, 4sc along hand (first
sc also clinging to the junction of the hand with the body), 1 sc (18)
The offsets depend on the yarn and knitting density.
Use your mouse to guide you.
Leave a long tail to sew on the head.
Skirt:
We turn the mouse towards us with our head, legs away from ourselves. Find the place where the color changes.
1. Insert the hook under the front wall of the loop, remove the thread, do ch, start the hook and do 3hdc, into the next loop 2hdc and so on until the end (3hdc, 2hdc), sl-st, ch.
2. Hdc in each loop, sl-st.
You can finish like this, or you can knit another row. Ch, hdc in each loop, sl-st. If you want a longer skirt.
Ears – 2 parts: fill.
1.6sc into magic ring
2.6inc (12)
3. (1sc, inc) * 6 (18)
4. (2sc, inc) * 6 (24)
5.for the back wall of the 24sc hinge
6.for the back wall of the hinge (2sc, dec) * 6 (18)
7. (1sc, dec) * 6 (12)
8.6dec.
Fasten the thread, hide.
Head: fill tightly.
We start with the nose with black yarn.
1.6sc into magic ring
2. (2sc, inc) * 2 (8)
3.8sc
4. (2sc, dec) * 2 (6) change the thread in the last loop of the 4th row to the bodily one.
5.Fill the nose slightly behind the back wall of the 6inc (12) loop
6. (1sc, inc) * 6 (18)
7. (2sc, inc) * 6 (24)
8-9. 24sc, knit 4inc, place marker, now start row here. In order to evenly glue the eyes.
10.4inc, 16sc, (1sc, inc) * 4 (36)
11. (1sc, inc) * 4, 16sc, (2sc, inc) * 4 (44)
12. (2sc, inc) * 4, 16sc, put another marker. Now start here. Leave that marker, but knit over it.
13. (7sc, inc) * 6 (54)
14.54sc
15.Knit 3sc in 4th change thread. Put a marker. 54 sc in two threads, raise the body, knit black.
16. behind the back wall of the 54sc hinge.
17-19. 54sc.
20. (7sc, dec) * 6 (48)
21. (6sc, dec) * 6 (42)
22. (5sc, dec) * 6 (36)
23 (4sc, dec) * 6 (30)
24 (3sc, dec) * 6 (24)
25. (2sc, dec) * 6 (18)
26. (1sc, dec) * 6 (12)
27.6dec.
I tighten the hole after shaping the head. I bring the strings there.
Head design:
– embroider with a thin black thread around the eyes and eyelashes.
– embroider a bang. Find the center, count 3 loops to the right and 3 loops from it to the left. Bangs for 2 rows. Place the needle under the black eyelets. Tie the ends and hide.
– count 4 loops from the edge of the bangs along the black border – this is the beginning of the sideburns. 11 loops down – the bottom point of the sideburns. The width of the sideburns is 4 rows.
– eye pulling back. Insert a needle with a thread of bodily yarn into the back of the head, bring it out into the outer lower corner of the left eye. Pull out the thread leaving a ponytail at the back for tying. Insert the needle into the lower inner corner of the eye. Bring to the back of the head. Pull up. Insert into the back of the head. Bring to the outer lower corner of the right eye. Pull out the thread. Insert the needle into the lower inner corner of the eye. Bring to the back of the head. Pull up. Tie into several knots. Hide the tips.
– embroider the mouth with black plush yarn and pink tongue. Sew the head to the body.
Sewing on the head using the example of a bear
Bow:
dial 31 ch.
Make sl-st to the beginning by looping knitting.
1 – 7. Spiral knit 31sc.
Knit 2sc more so that the tails are exactly one above the other.
Cut the long thread. Fasten knitting. Wrap around 7 rows.
Tie the ends together. Sew on to the head. Hide the ends.
The mouse is ready!
Congratulations!!!
