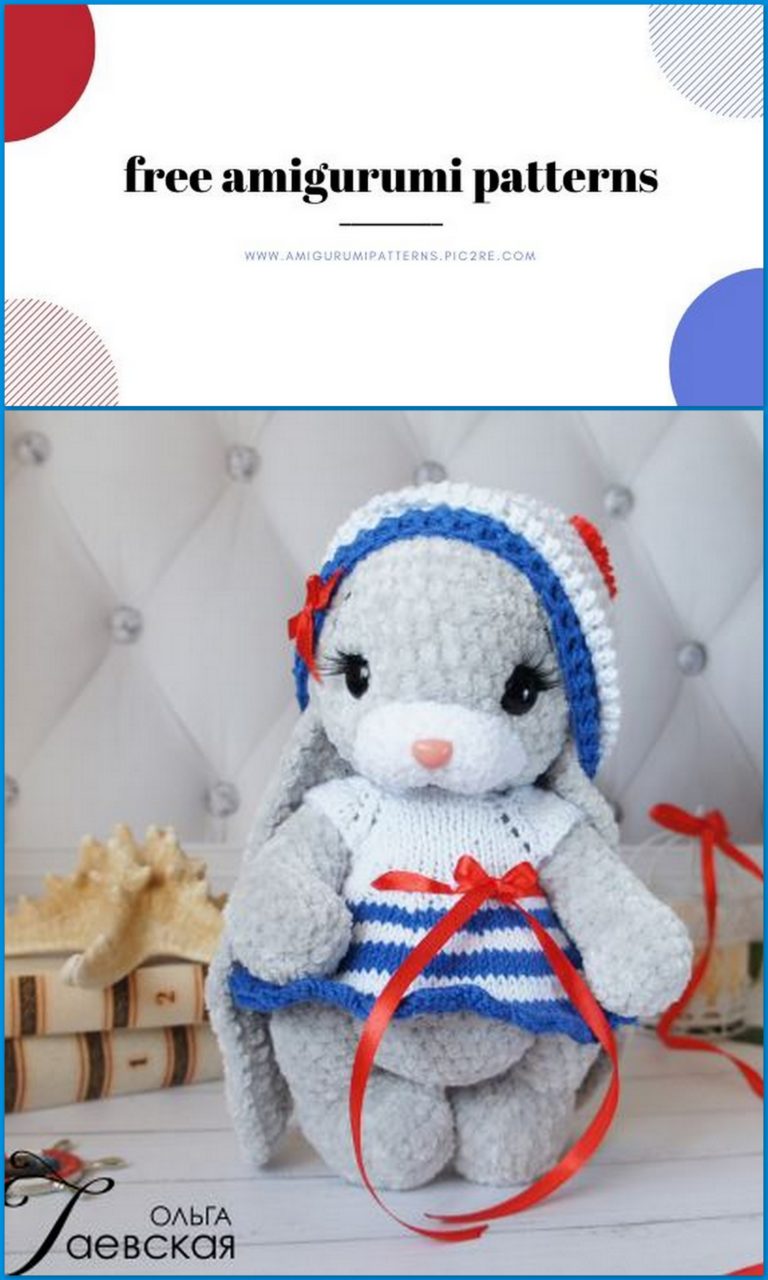
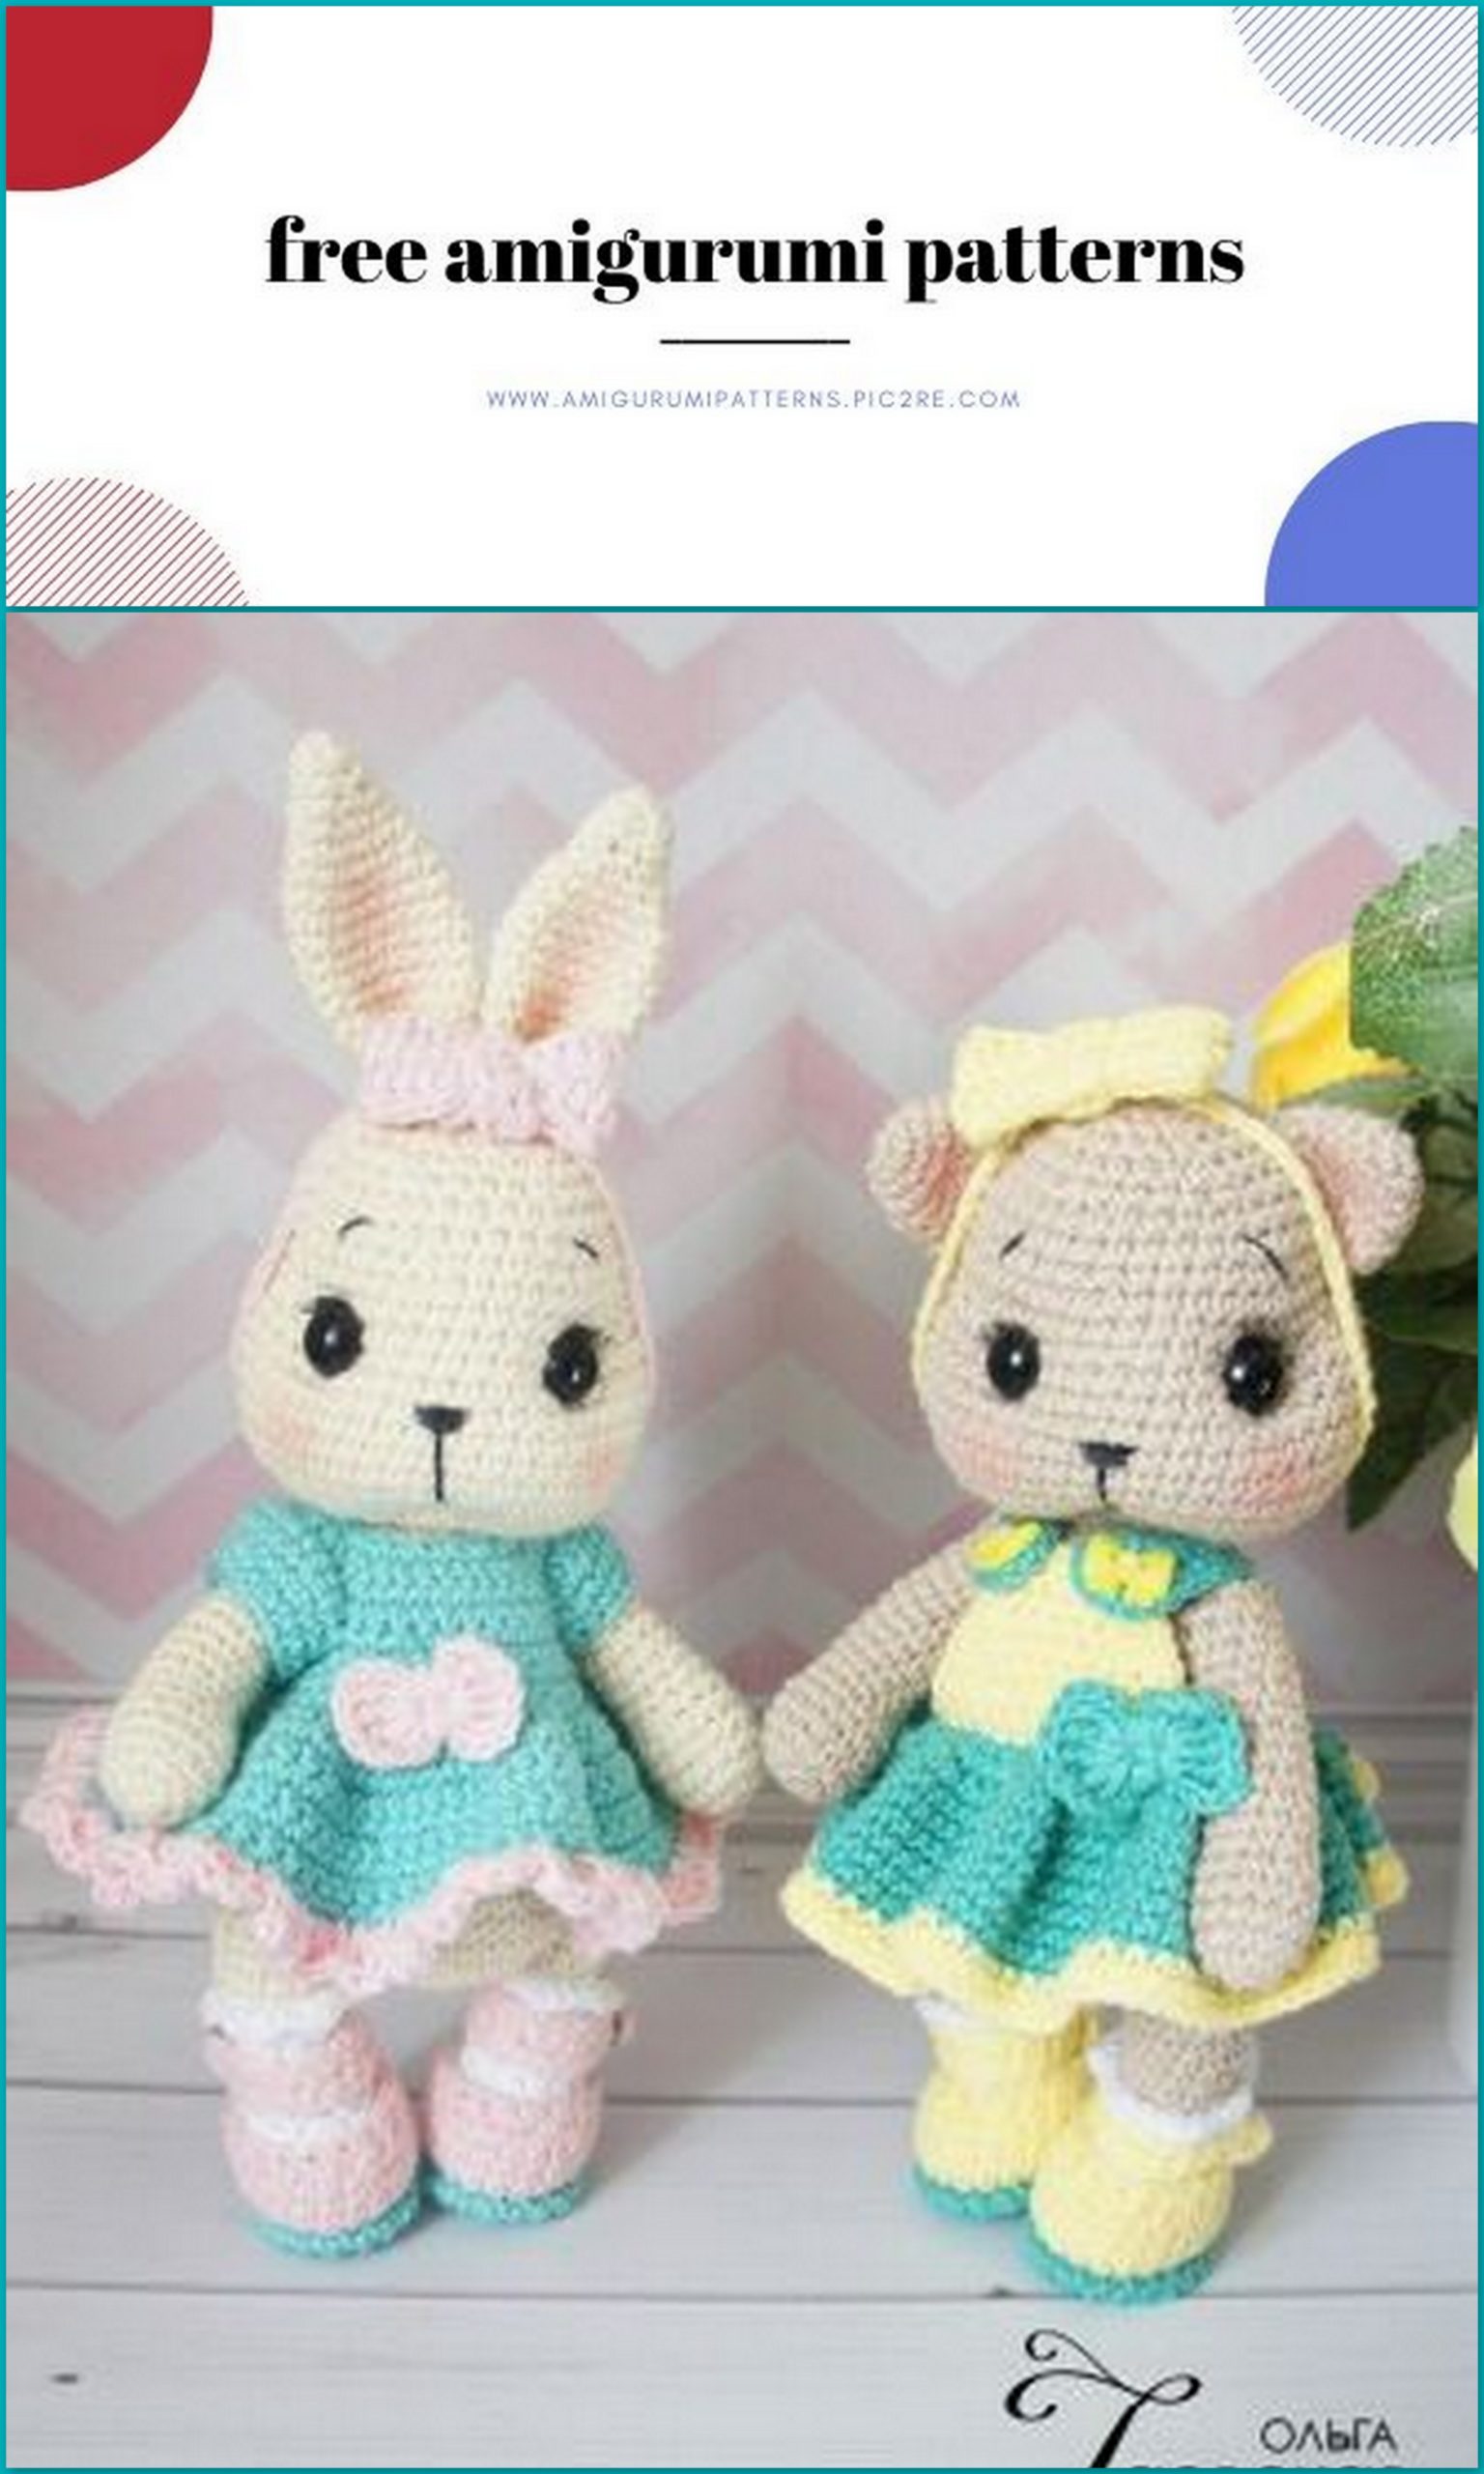
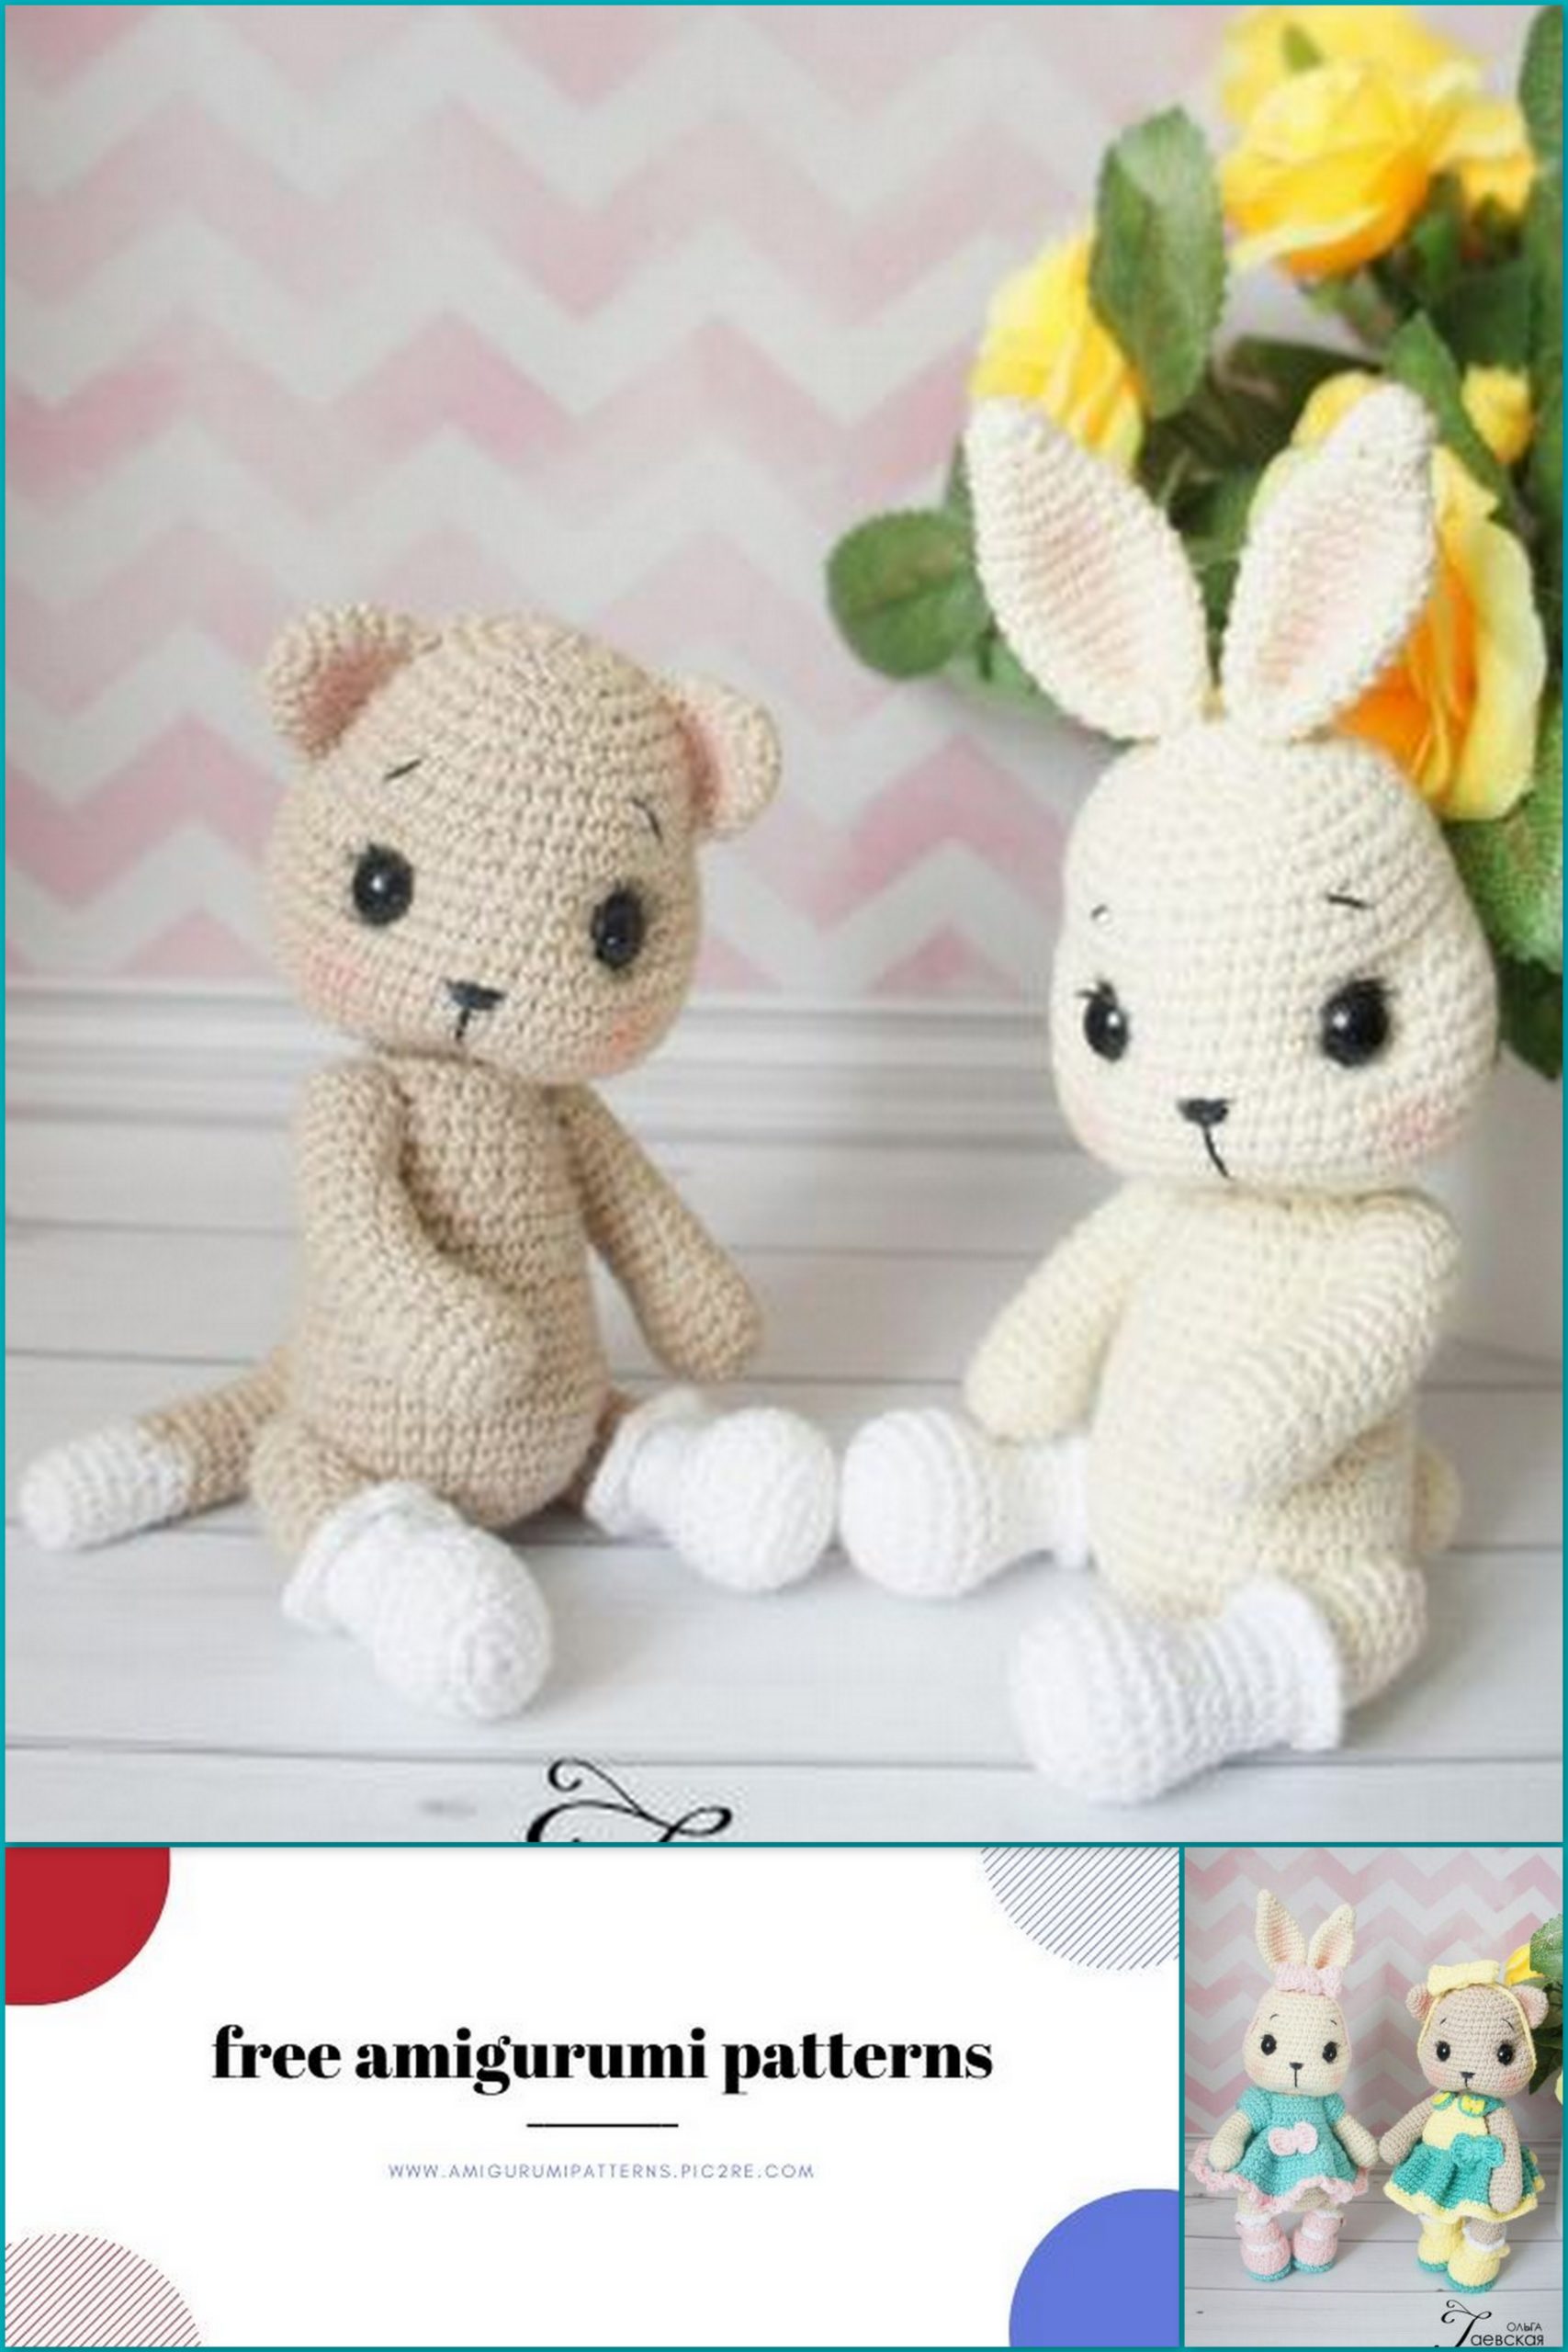
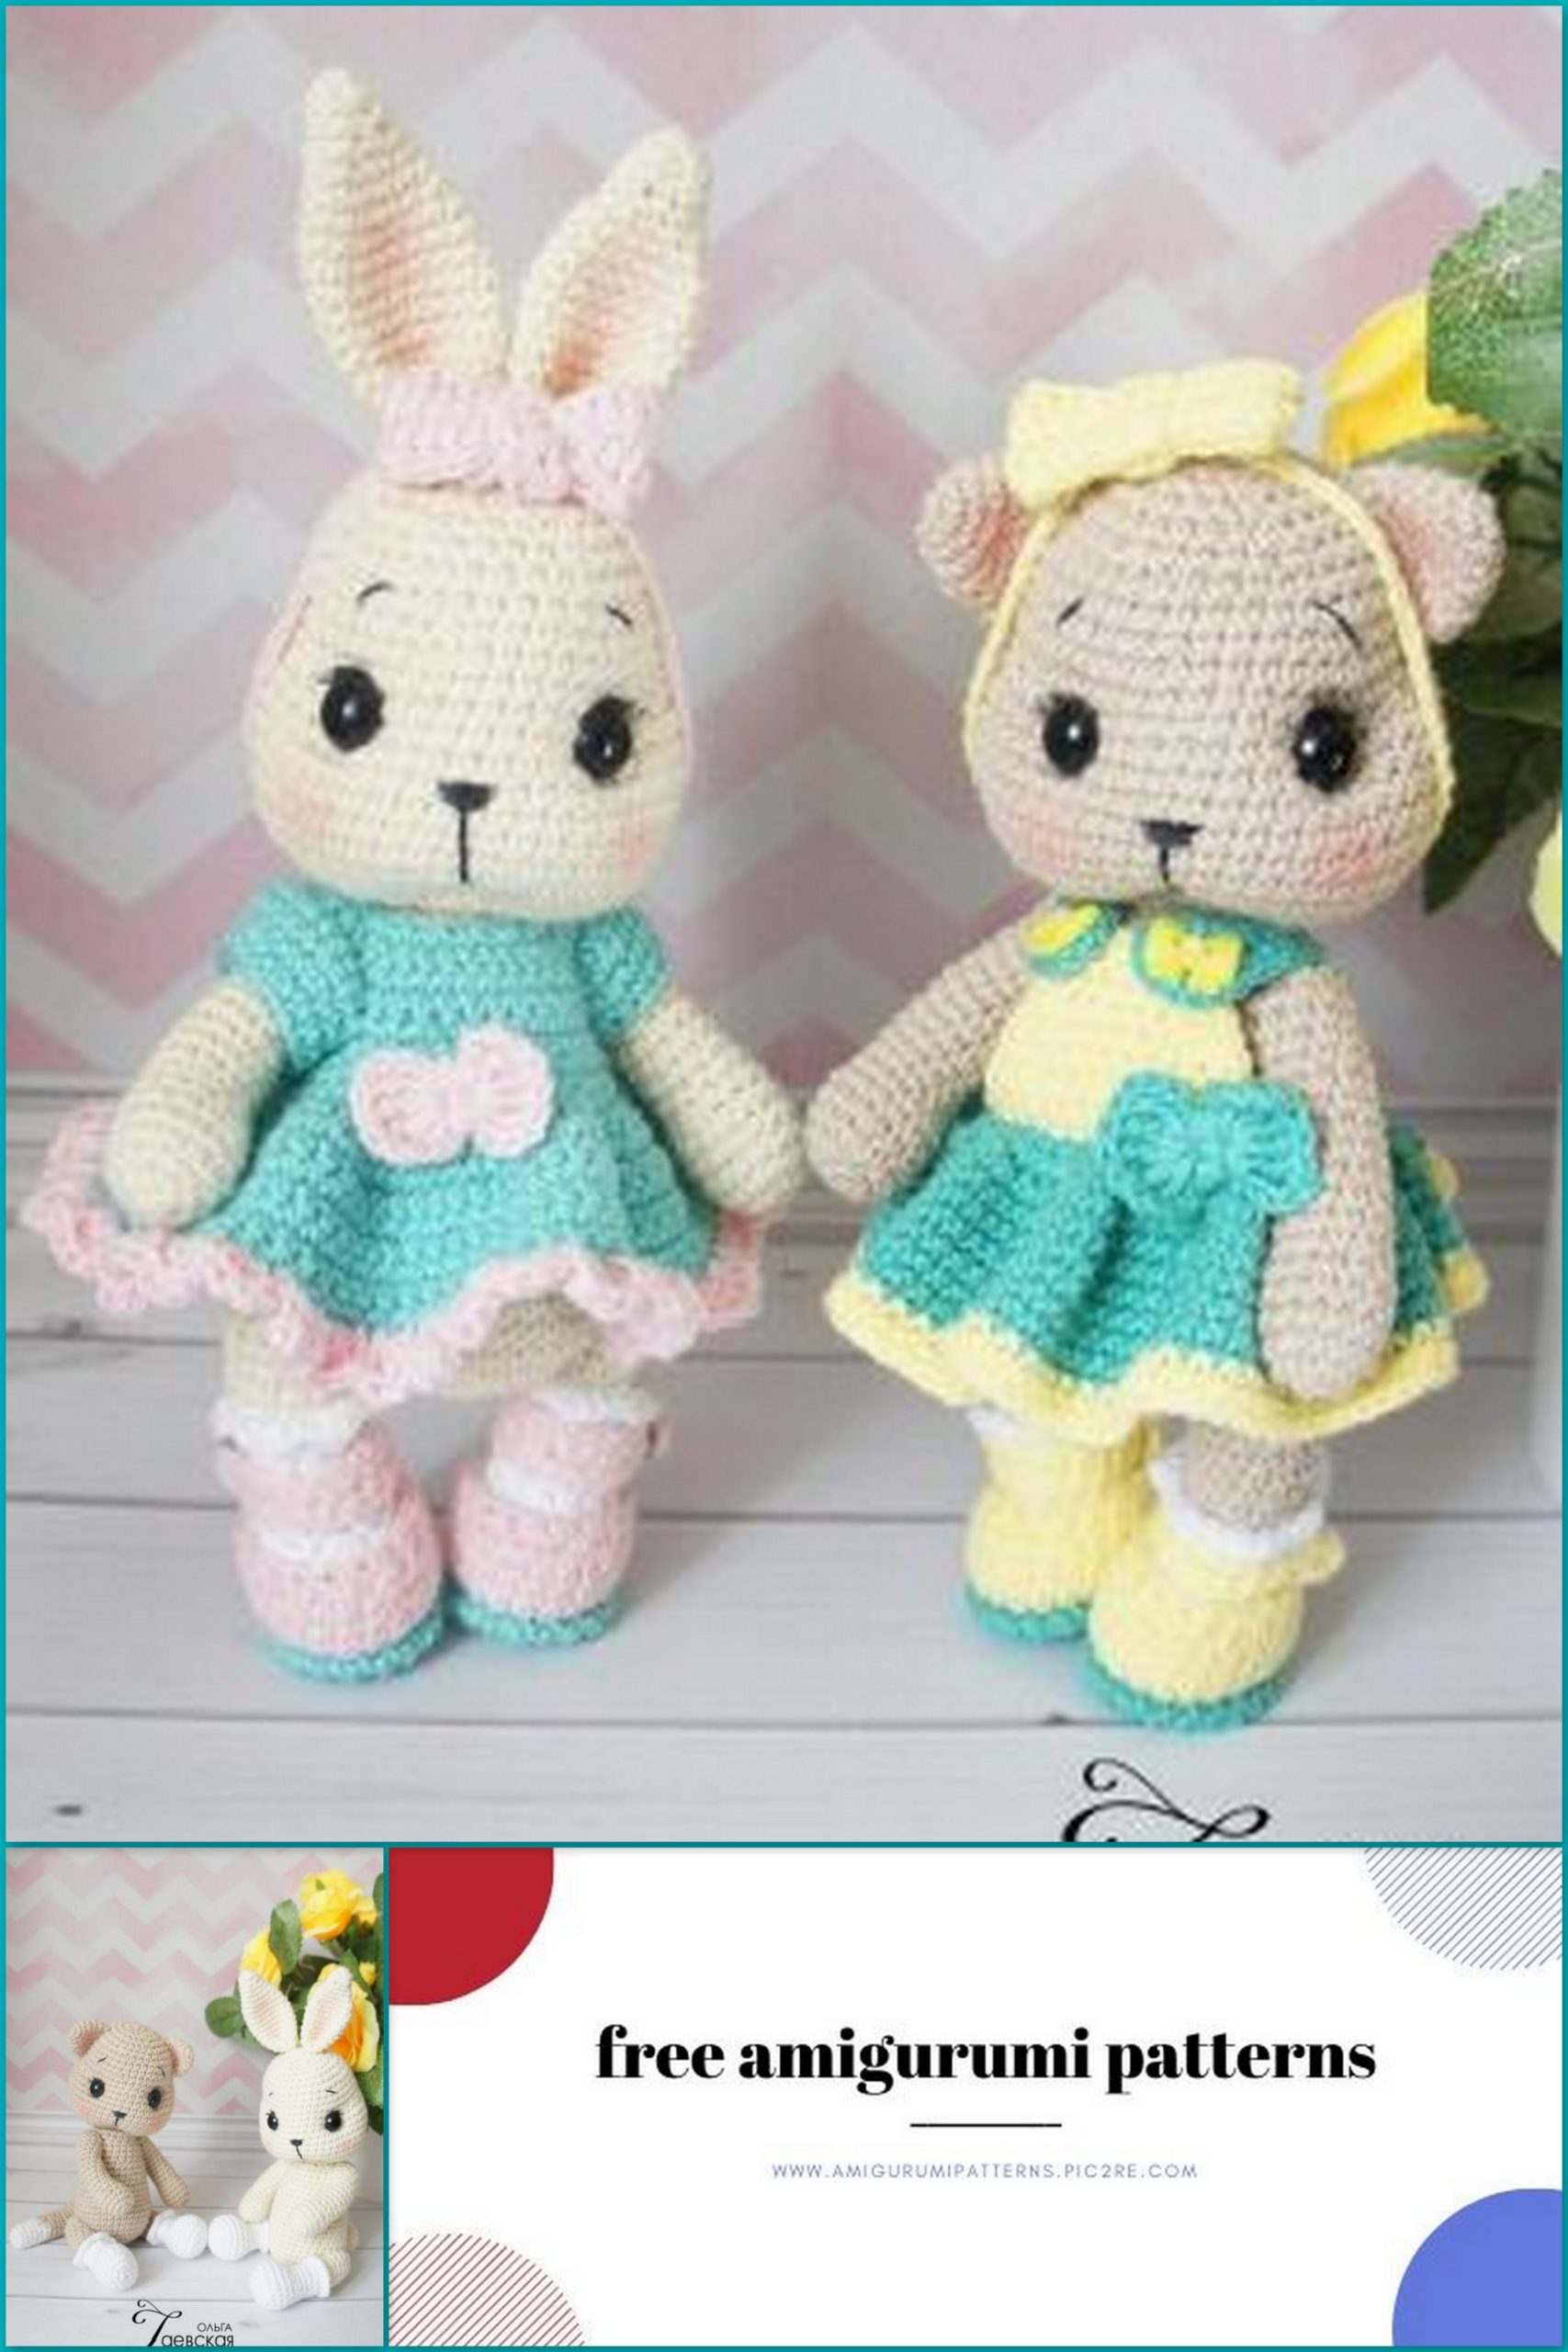
Amigurumi Cute Cat And Bunny Free Crochet Pattern
Pinterest Offical Page : amigurumipatterns.pic2re.com
Facebook Group: amigurumipatterns.pic2re.com
Facebook Offical Page: amigurumipatterns.pic2re.com
We share Amigurumi Cute Cat and Bunny Free Crochet Pattern. I hope you will like it. You can browse our website for new patterns.
Pattern: Olenka Gayevskaya
List of required materials:
1. Gazzal baby cotton yarn (60% cotton, 40% acrylic, 50g, 165m) of the main color is half a skein and not a lot of complementary colors.
2. Hook under your yarn. I have number 1.75 for the main and number 2 for clothes.
3. Cotter pins: T-cotter pin (size 2×20) – 4pcs, O-cotter pin (size 2×25) – 2pcs.; wheels: 15mm – 4pcs. for pens, 18mm
– 4 things. for legs, 22mm – 2pcs. for fastening the head; washers – 10 pcs.
4. Filler (syntepuh, holofiber or swan fluff).
5. Screw eyes with a diameter of 10 mm.
6. Strong thread for tighteners, needle, safety pins, scissors.
7. Round-nose pliers.
8. Clay Moment Crystal.
9. Dry pastel for tinting or any other means of tinting familiar to you (optional), eyelashes for dolls (optional).
10. Mouline thread for embroidery nose and eyebrows.
11. Buttons for a dress, sewing buttons with a diameter of 7mm (for shoes).
Stage 1
Designations:
İnc – increase;
Dec – decrease;
Ch is the air loop;
Sc is a single crochet;
Sl-st – connecting column;
Hdc – half crochet;
Dc – double crochet;
(sc, inc) x N – repeat knitting N times;
flo – knit for the front half loops;
blo – knit for the back half loops.
All parts are knitted in a spiral, without a lifting loop, unless otherwise stated in the description.
Feet (marker runs along the heel)
We start knitting socks:
1p – 5ch, we knit 3sc, 3sc loops 1 from the second from the hook, expand the knitting and continue to knit on the other side of the chain 2sc, inc (10sc)
2p – inc, 2sc, 3inc, 2sc, 2inc (16sc)
3p – sc, inc, 3sc, (sc, inc) x 3, 5sc (20sc)
4-6p -20sc
7p – sc, dec, 3sc, (sc, dec) x 3, 3sc, dec (15sc)
8p – 4sc, 3dec, 5sc (12sc)
9-11r – 12sc
* the bunny has socks higher (9-13th row)
for flo 11ryad knit (sc, 4sc in 1) x in a circle
To the remaining blo 11 rows we attach the thread of the main color
12-20r – 12sc
We stuff the leg. In the 18th row we put the cotter pin
21p – 6dec
The cotter pin mount is assembled as follows: a washer is put on under the cotter head, then a disk. The mount is inserted into the limb.
Handles (the marker can not be aligned)
1p – 6sc into magic ring
2p – incx6 (12sc)
3p – (3sc, inc) x 3 (15sc)
4-6r – 15sc
7p – sc, dec, 4sc, 2dec, 4sc (12sc)
8-19p – 12sc
Do not tightly fill the handle, in the 17th row we put the cotter pin. Note the inside of the handle where there are 2 decreases.
20p – 6dec
Cat tail
White
1p – 6sc into magic ring
2p – incx6 (12sc)
3-7r – 12 sc
Change to the main color
8-21r – 12sc
Fill in half, fold in half and tie sl-st. Fasten and cut the thread, leaving a tail for sewing.
Bunny tail
1p – 6sc into magic ring
2p – incx6 (12sn)
3p – (3sc, inc) x 3 (15sc)
4-6r – 15sc
7p – (3sc, dec) x 3 (12sc)
Fasten and cut the thread, leaving a tail for sewing.
2 stage

Body (the marker is not aligned)
1p – 6sc into magic ring
2p – incx6 (12sc)
3p – (sc, inc) x 6 (18sc)
4p – (2sc, inc) x 6 (24sc)
5p – (3sc, inc) x 6 (30sc)
6p – (4sc, inc) x 6 (36sc)
7-11r – 36sc
Fold the part in half (marker at the back) in the 8th row on the sides to fix the legs (on the cotter pin we put on a disk, washer and twist the antennae)
12p – (10sc, dec) x 3 (33sc)
13-15r – 33sc
16p – (9sc, dec) x 3 (30sc)
17-19r – 30sc
20p – (3sc, dec) x 6 (24sc)
21-22p – 24sc
23p – (2sc, dec) x 6 (18sc)
24-25r – 18sc
In the 22nd row, set the handles, fill the body. Install the swing head mount
26p – (sc, dec) x6 (12sc)
27p – 6dec
Sew a ponytail. Stuff the hare’s tail as you sew.
Cotter pin (for swaying head)
For him we need:
– cotter pins 2 pcs,
– wheels 2 pcs,
– washers 2 pcs,
– pliers.
1. insert one cotter pin into another, for this we do not bend a lot of antennae of one cotter pin;
2. on top, on one of the cotter pins install the disc and washer;
3. with the help of round-nose pliers we twist the antennae;
4. The finished part of the cotter pin is inserted into the un sewn hole in the body. Pull the hole.
5. insert the cotter pin without a disk into the head, put on the disk and the washer and twist the antennae of the second cotter pin.
Head (the marker can not be aligned)
1p – 6sc into magic ring
2p – incx6 (12sc)
3p – (sc, inc) x 6 (18sc)
4p – sc, inc, (2sc, inc) x 5, sc (24sc)
5p – (3sc, inc) x 6 (30sc)
6p – 2sc, inc, (4sc, inc) x 5, 2sc (36sc)
7p – (5sc, inc) x 6 (42sc)
8p – 3sc, inc, (6sc, inc) x 5, 3sc (48sc)
9-15r – 48sc
16p – 10sc, 3dec, 8sc, put an additional marker, 8sc, 3dec, 10sc (42sc)
17-18r – 42sc
19p – (5sc, dec) x 6 (36sc)
20-21r – 36sc
22p – (4sc, dec) x 6 (30sc)
23p – 30sc
24p – (3sc, dec) x 6 (24sc)
25p – (2sc, dec) x 6 (18sc)
Stuff your head evenly. Please note that the head should not be pulled up
26p – (sc, dec) x 6 (12sc)
27p – 6dec. Fasten and cut the thread.
3 stage
Bunny ears
1p – 6sc into magic ring
2p – (sc, inc) x 3 (9sc)
3p – 9sc
4p – (2sc, inc) x 3 (12sc)
5p – 12sc
6p – (3sc, inc) x 3 (15sc)
7p – (4sc, inc) x 3 (18sc)
8-15r – 18sc
16p – (sc, dec) x 6 (12sc)
Fasten and cut the thread, leaving the tail.
Fold the eyelet along and sew two edges.
Cat’s ears
1p – 5sc into magic ring
2p – incx5 (10sc)
3p – 10sc
4p – (sc, inc) x 5 (15sc)
5p – 15sc
6p – (4sc, inc) x 3 (18sc)
Fold the eye in half and tie sl-st. Fasten and cut the thread, leaving a tail for sewing.
Decor
Point 1 is 11sc below the additional marker
Points 2, 4, 4sc left and right of the additional marker
Points 3, 5 departing 2-3sc from points 2 and 4.
We introduce a needle with a long thread at point 1 and output at point 2, leaving the tail at point 1. Enter from point 2 to point 3 and output at point 1 (1-2-3-1), we tighten it well. From point 1 we introduce the needle 1-2sc higher and output at point 4. Enter at point 5 and output at point 4 (1-4-5-1). We pull away. Repeat if necessary. Fasten and hide the thread. We find a good arrangement of the ears and sew them.
We make a toy to your liking. I glued cilia to my eyes. Mouline, divided in half,
embroidered nose, line under the nose, eyebrows. Dry pastel tinted cheeks, the inside of the ears and mouth.
4th stage
Shoes (marker in the center of the heel)
For knitting clothes used hook number 2
1p – 6ch, with the 2nd loop from the hook 3sc, hdc, 4hdc in 1, continue to knit on the other side of the chain hdc, 2sc, 3sc in 1 (14)
2p – 2inc, 2sc, hdc, 4inc HDC, hdc, 2sc, 2inc (22)
3p – 22sc
For flo tied with a “crustacean step”.
4p – Attach the thread to the remaining blo 3 rows and knit 22sc
5-7p – 22sc
8p – 7sc, 4dec, 7sc (front decreases)
Whip
We knit 3sc, make ch and then we will knit in rotary rows, making ch rise in each row. The strap should be centered in the back. We knit 7 rows of 3sc. Sew a strap to the inside of the shoe
Strap
3ch, from the 2nd loop knit 2sc.
We knit in rotary rows, making ch rise
2-23r – 2sc
Tie a sl-st, sew on buttons, put the strap in the strap on the shoe.
Bow (on the head)
1 part
25ch, from the second from the hook of the loop: 4 sc, 4 dc, 3hdc, sl-st, 3hdc, 4dc, 4sc
On the other side of the chain knit the same way.
2 part
3ch, second from hook loop: 2sc
Then we knit in rotary rows, making ch lifting. Only 9 rows of 2sc
3 part
Dial a chain equal to the circumference of the head and connect into a ring.
Sew together the two edges of the first part of the bow, apply the third part. Second part all
“Grab” and sew the edges.
Sundress
We knit in a circle spiral, without a lifting loop.
Dial a chain of ch equal to the circumference of the abdomen and connect into a ring (I have 40ch).
2p – 40sc
3p – inc to every sc
4p – (sc, inc) x in a circle
Knit without increments to the desired length (I have 6 rows). If desired, change the color and knit 2 more rows.
Finish knitting sl-st.
“Breastplate”
Mark the required width with pins, attach the thread and knit sc in rotary rows, making ch lifting (I have a width of 11sc).
2-3r – knit row unchanged (11sc)
4p – dec, 7sc, dec
5p – 9 sc
6p – dec, 5sc, dec
7p – 7 sc
8p – dec, 3sc, dec
Tie sc bib and upper skirt.
Webbing
Close the ch chain into a ring (I have 8ch), without cutting the thread, dial the ch chain of the length that your straps will have (22sc). Tie the sc chain, knit 10sc in the ring, turn the knitting and knit sc on the other side. Fasten and cut the thread, leaving a tail for sewing. Sew on straps, buttons, decorate a sundress.
Dress
We knit in rotary rows, making ch lifting.
Dial a chain of ch equal to the circumference of the neck (20ch + 1ch lift)
The increase in each ch.
2p – no change (40sc)
3p – 5sc, 9inc, 12sc, 9inc, 5sc
4p – 5sc, 9ch, skip 18sc, 12sc, 9ch, skip 18sc, 4sc
5p – 40 sc (including knitting sc in ch)
6-7r – 40sc
8p – (7sc, inc) x5 (45sc)
9p – inc to every sc
10-16r – 90 sc
Tie the halves of a sl-st dress, making buttonholes from the ch chain.
Tie the bottom of the dress: (sc, 4sc in 1)
Sleeve
Attach a thread to the armhole. Knit in a circle
1p – 27 sc
2p – (7sc, dec) x 3 (24sc)
3p – (2sc, dec) x 6 (18sc)
Fasten and cut the thread. The second sleeve is tied in the same way.
Sew on buttons, decorate the dress.