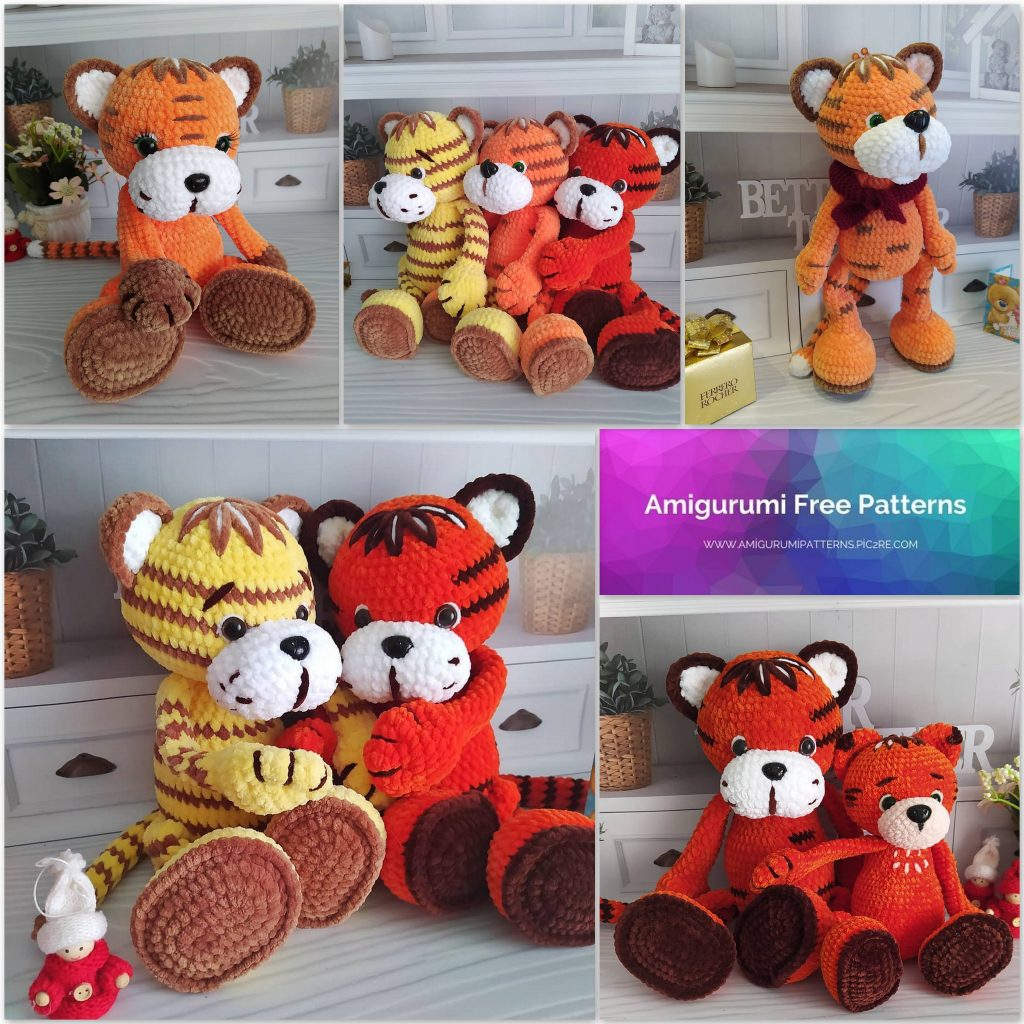
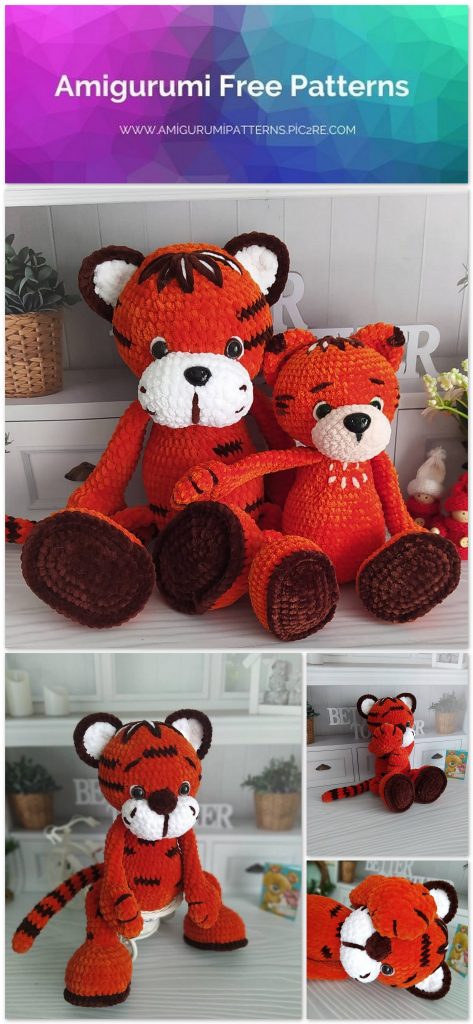
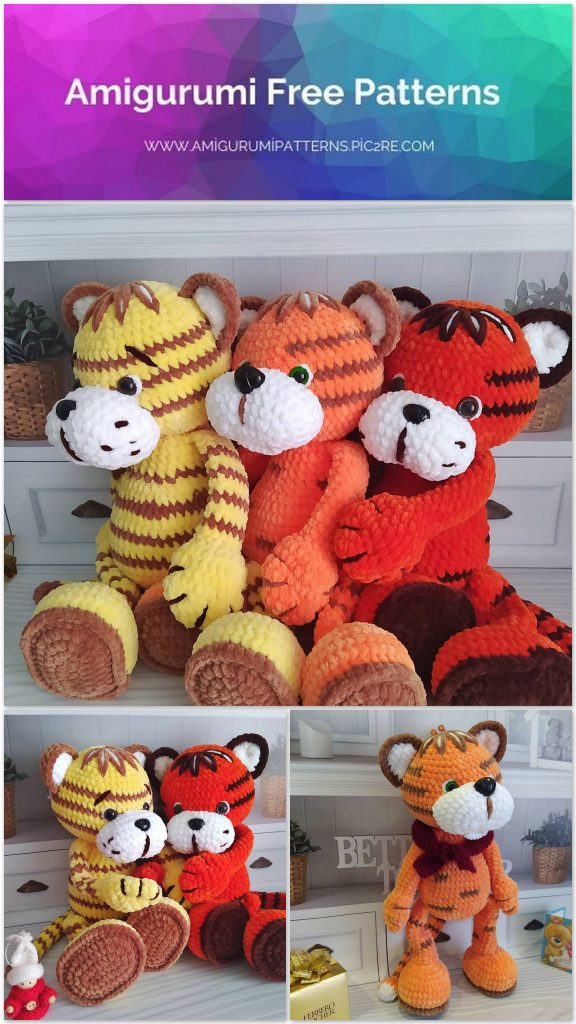
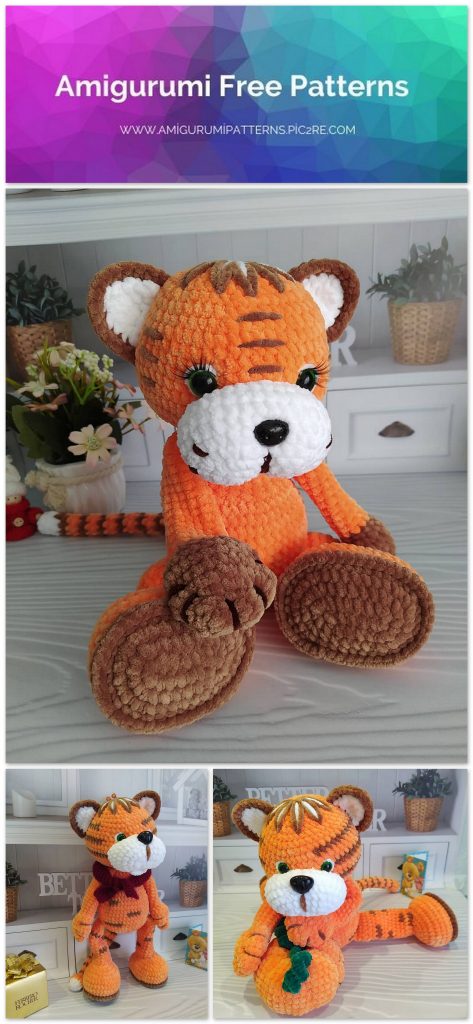
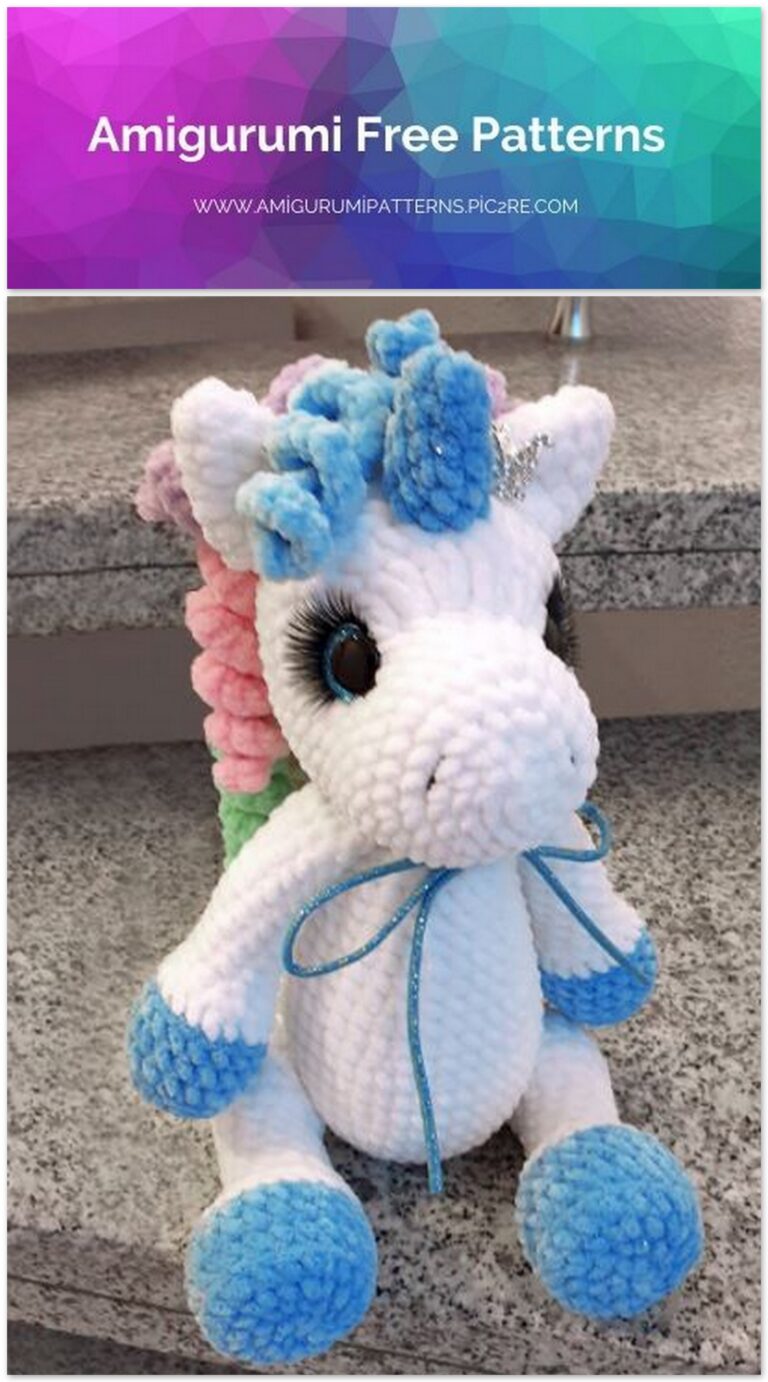
Amigurumi Plush Tiger Free Crochet Pattern
Pinterest Offical Page : amigurumipatterns.pic2re.com
Facebook Group: amigurumipatterns.pic2re.com
Facebook Offical Page: amigurumipatterns.pic2re.com
You will need:
– Yarn Himalaya Dolphin Baby (100% polyester, 120m / 100g):
main color 80316x – 2 skeins;
additional color 80765 – 0.5 skein.
can be replaced with YarnArt Dolce 778.
– Filler Holofaybe)
– Hook 4 mm.
– Plastic eyes, half beads with a diameter of 14 mm.
– Plastic nose measuring 18×20 cm.
– Needle, scissors, transparent glue.
Legend:
ch – air loop
ch – air lifting loop
sc – single crochet
ss – connecting post
inc – increase
dec – decrease
(…) X6 – repeat the action in brackets 6 times.
Feet (2pcs):
We start with a complementary color.
1) 7ch, from the second from the hook of the loop 5sc, 4sc in one loop, on the second side of the chain: 5sc, 4sc in one loop (18)
2) 5sc, (inc) x4, 5sc, (inc) x4 (26)
3) 5sc, (sc, inc) x4, 5sc, (sc, inc) x4 (34)
4) 5sc, (2sc, inc) x4, 5sc, (2sc, inc) x4 (42)
Change the color to the main one.
5) for the rear half loops 42sc
6-8) 42sc (3 rows)
9) 5sc, (2sc, dec) x4, 5sc, (2sc, dec) x4 (34)
10) 5sc, (sc, dec) x4, 5sc, (sc, dec) x4 (26)
11) 5sc, (dec) x4, 5sc, (dec) x4 (18)
12) (sc, dec) x6 (12)
Sew up the hole, hide the thread.
We attach a thread of an additional color to the 4th row and knit for the front half-loops 42sc, ss. Hide the thread.
Legs (2pcs):
1) 19ch, from the 2nd loop from the 18sc hook, close into the ring (18)
2-14) 18sc (13 rows)
Cut the thread, leaving the tip for sewing. Sew this side to the foot. We do not fill. The other side, where the beginning of the part was, will be knitted immediately behind both walls into the body.
Upper legs (2pcs):
1) 6sc in amigurumi ring (6)
2) (inc) x6 (12)
3) (sc, inc) x6 (18)
4) (2sc, inc) x6 (24)
5-7) 24sc (3 rows)
8) (2sc, dec) x6 (18)
9) (dec) x6, 6sc (12)
10-24) 12sc (15 rows)
Only fill the bottom.
Fold in half and knit at both ends 5sc. Cut the thread, leaving the tail for sewing. We sew the handles to the body.
Body and head:
1) 6sc in amigurumi ring (6)
2) (inc) x6 (12)
3) (inc) х12 (24)
4) (3sc, inc) x6 (30)
5) (4sc, inc) x6 (36)
6) (5sc, inc) x6 (42)
7) (6sc, inc) x6 (48)
8) we knit legs: 8sc together with the leg, 16sc, 8sc together with the leg, 16sc (48)
9-15) 48sc (7 rows)
16) (6sc, dec) x6 (42)
17) (5sc, dec) x6 (36)
18) 8sc, (dec) x6, 16sc (30)
19-22) 30sc (4 rows)
23) (3sc, dec) x6 (24)
24) (dec) x12 (12)
25) (inc) х12 (24)
26) (sc, inc) х12 (36)
27) (5sc, inc) x6 (42)
28) (6sc, inc) x6 (48)
29) (7sc, inc) x6 (54)
30) (8sc, inc) x6 (60)
31-34) 60sc (4 rows)
35) (8sc, dec) x6 (54)
36) (7sc, dec) x6 (48)
37-38) 48sc (2 rows)
39) (6sc, dec) x6 (42)
40) 42sc
41) (5sc, dec) x6 (36)
42) (4sc, dec) x6 (30)
43) (3sc, dec) x6 (24)
44) (2sc, dec) x6 (18)
45) (sc, dec) x6 (12)
46) (dec) x6 (6)
Cut the thread, pull off the hole, hide the thread.
Ears (4pcs):
We knit 2 pieces of white and 2 pieces of extra. colors. We knit in rotary rows, start a new row with ch.
1) 2ch, in the second loop 3sc (3)
2) inc, sc, inc (5)
3) inc, 3sc, inc (7)
4-5) 7sc (2 rows)
Cut off the thread of the white parts, fix it.
Fold the two pieces together and tie sc around the perimeter, unfold the knitting and tie again. Cut the thread, leaving the tip for sewing.
Sew on, stepping back from the center of the crown of the head 3 columns, between the ears – 10 loops.
Tail:
We start with the main color.
1) 7sc in amigurumi ring (7)
2-3) 7sc (2 rows)
Change the color to an additional one.
4) 7sc
The main color.
5-6) 7sc (2 rows)
Complementary color.
7) 7sc (7)
8-25) repeat rows 5-7 with alternating colors (18 rows)
We do not stuff the part, fold it in half and knit 3sc on both edges.
Cut the thread, leaving a tail for sewing. Sew on the tail in the next row after tying the legs.
Muzzle:
1) 7ch, from the second from the hook of the loop 5sc, 4sc in one loop, on the other side of the chain: 5sc, 4sc in one loop (18)
2) 5sc, (inc) x4, 5sc, (inc) x4 (26)
3) 5sc, (sc, inc) x4, 5sc, (sc, inc) x4 (34)
4-7) 34sc (4 rows)
Cut the thread, leaving a tail for sewing.
Sew on, departing from the neck 3 rows and 6 rows up.
Registration:
– We glue the eyes just above the muzzle, between the eyes – 8 loops.
– Glue the nose in the center in the 3rd row from the edge of the muzzle.
With a plush thread of an additional color, we embroider a strip several rows down and, if desired, the antennae with short stitches in a chaotic order.
– With the same thread, you can immediately embroider bangs. We make markers for the strands – from the center of the crown 5 rows down, 3 loops each between the edges. For each strand we make two stripes with yarn of an additional color and a strip of white yarn in the middle.
– We embroider squirrels near the eyes with white plush thread.
– We embroider “claws” on the paws with plush thread, about 3 loops between them.
