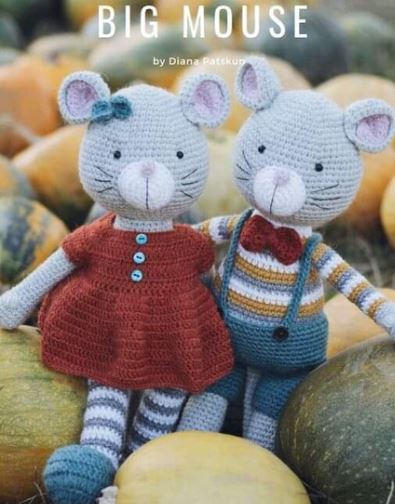
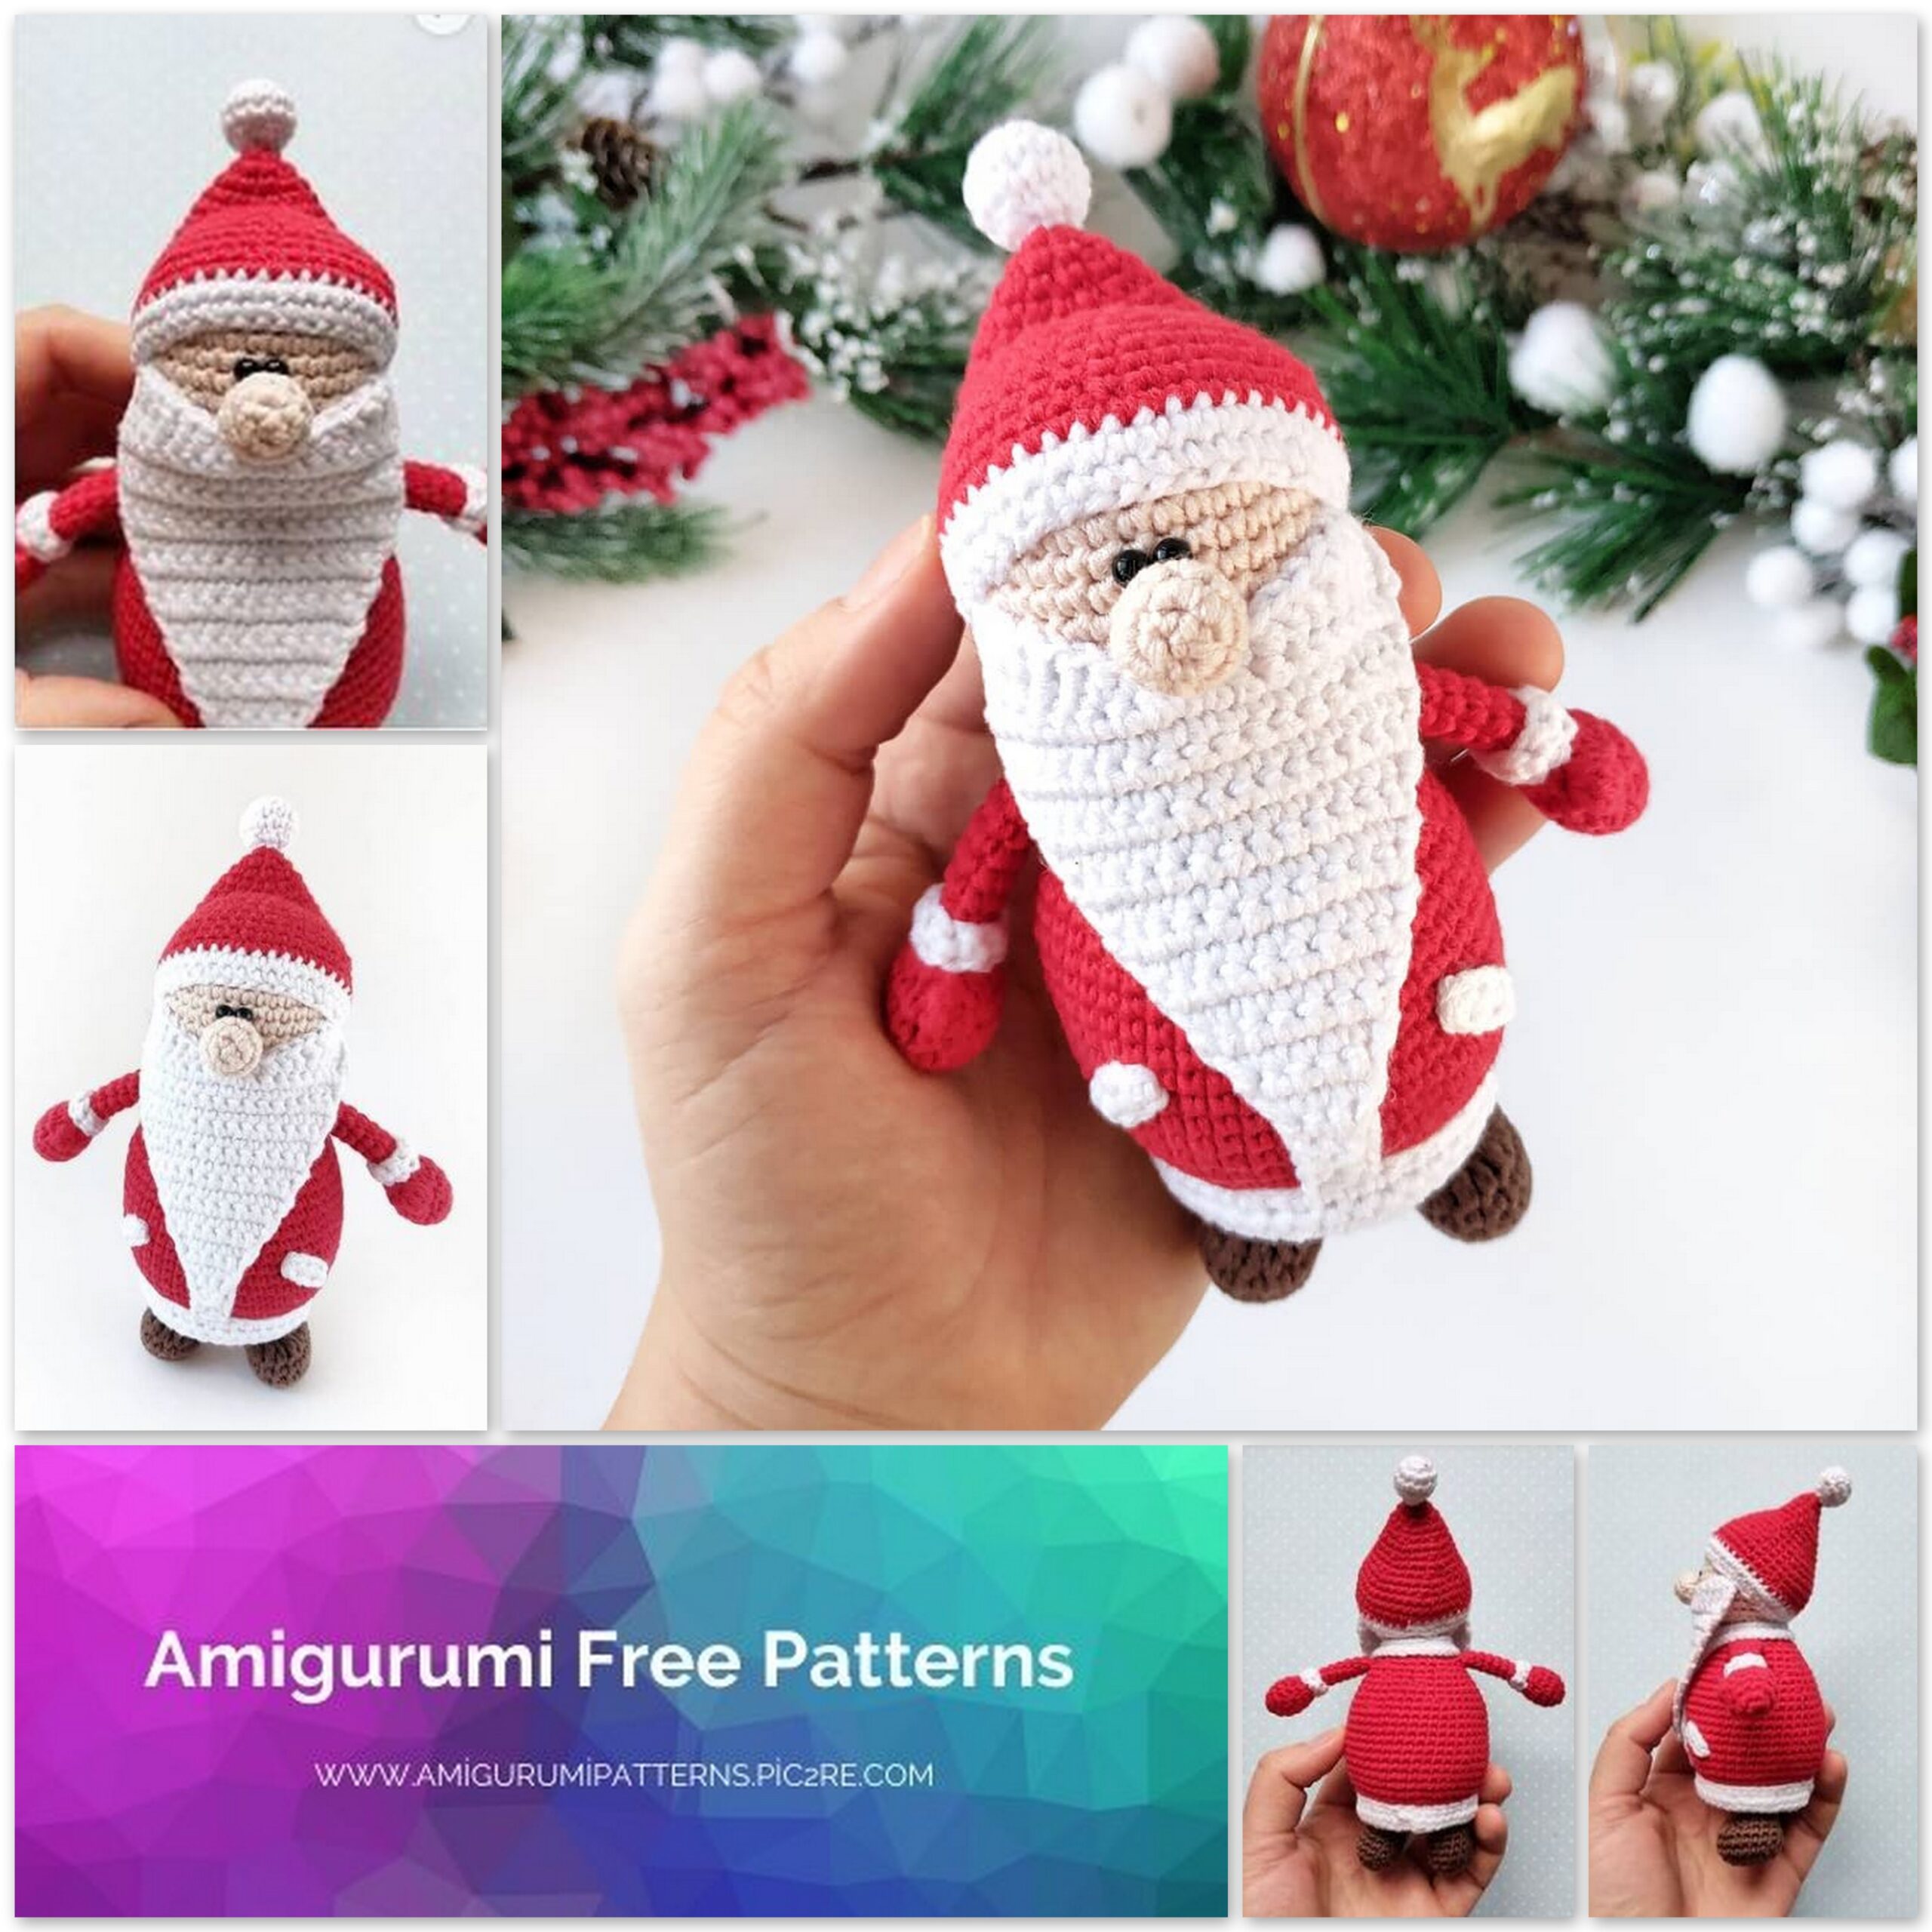
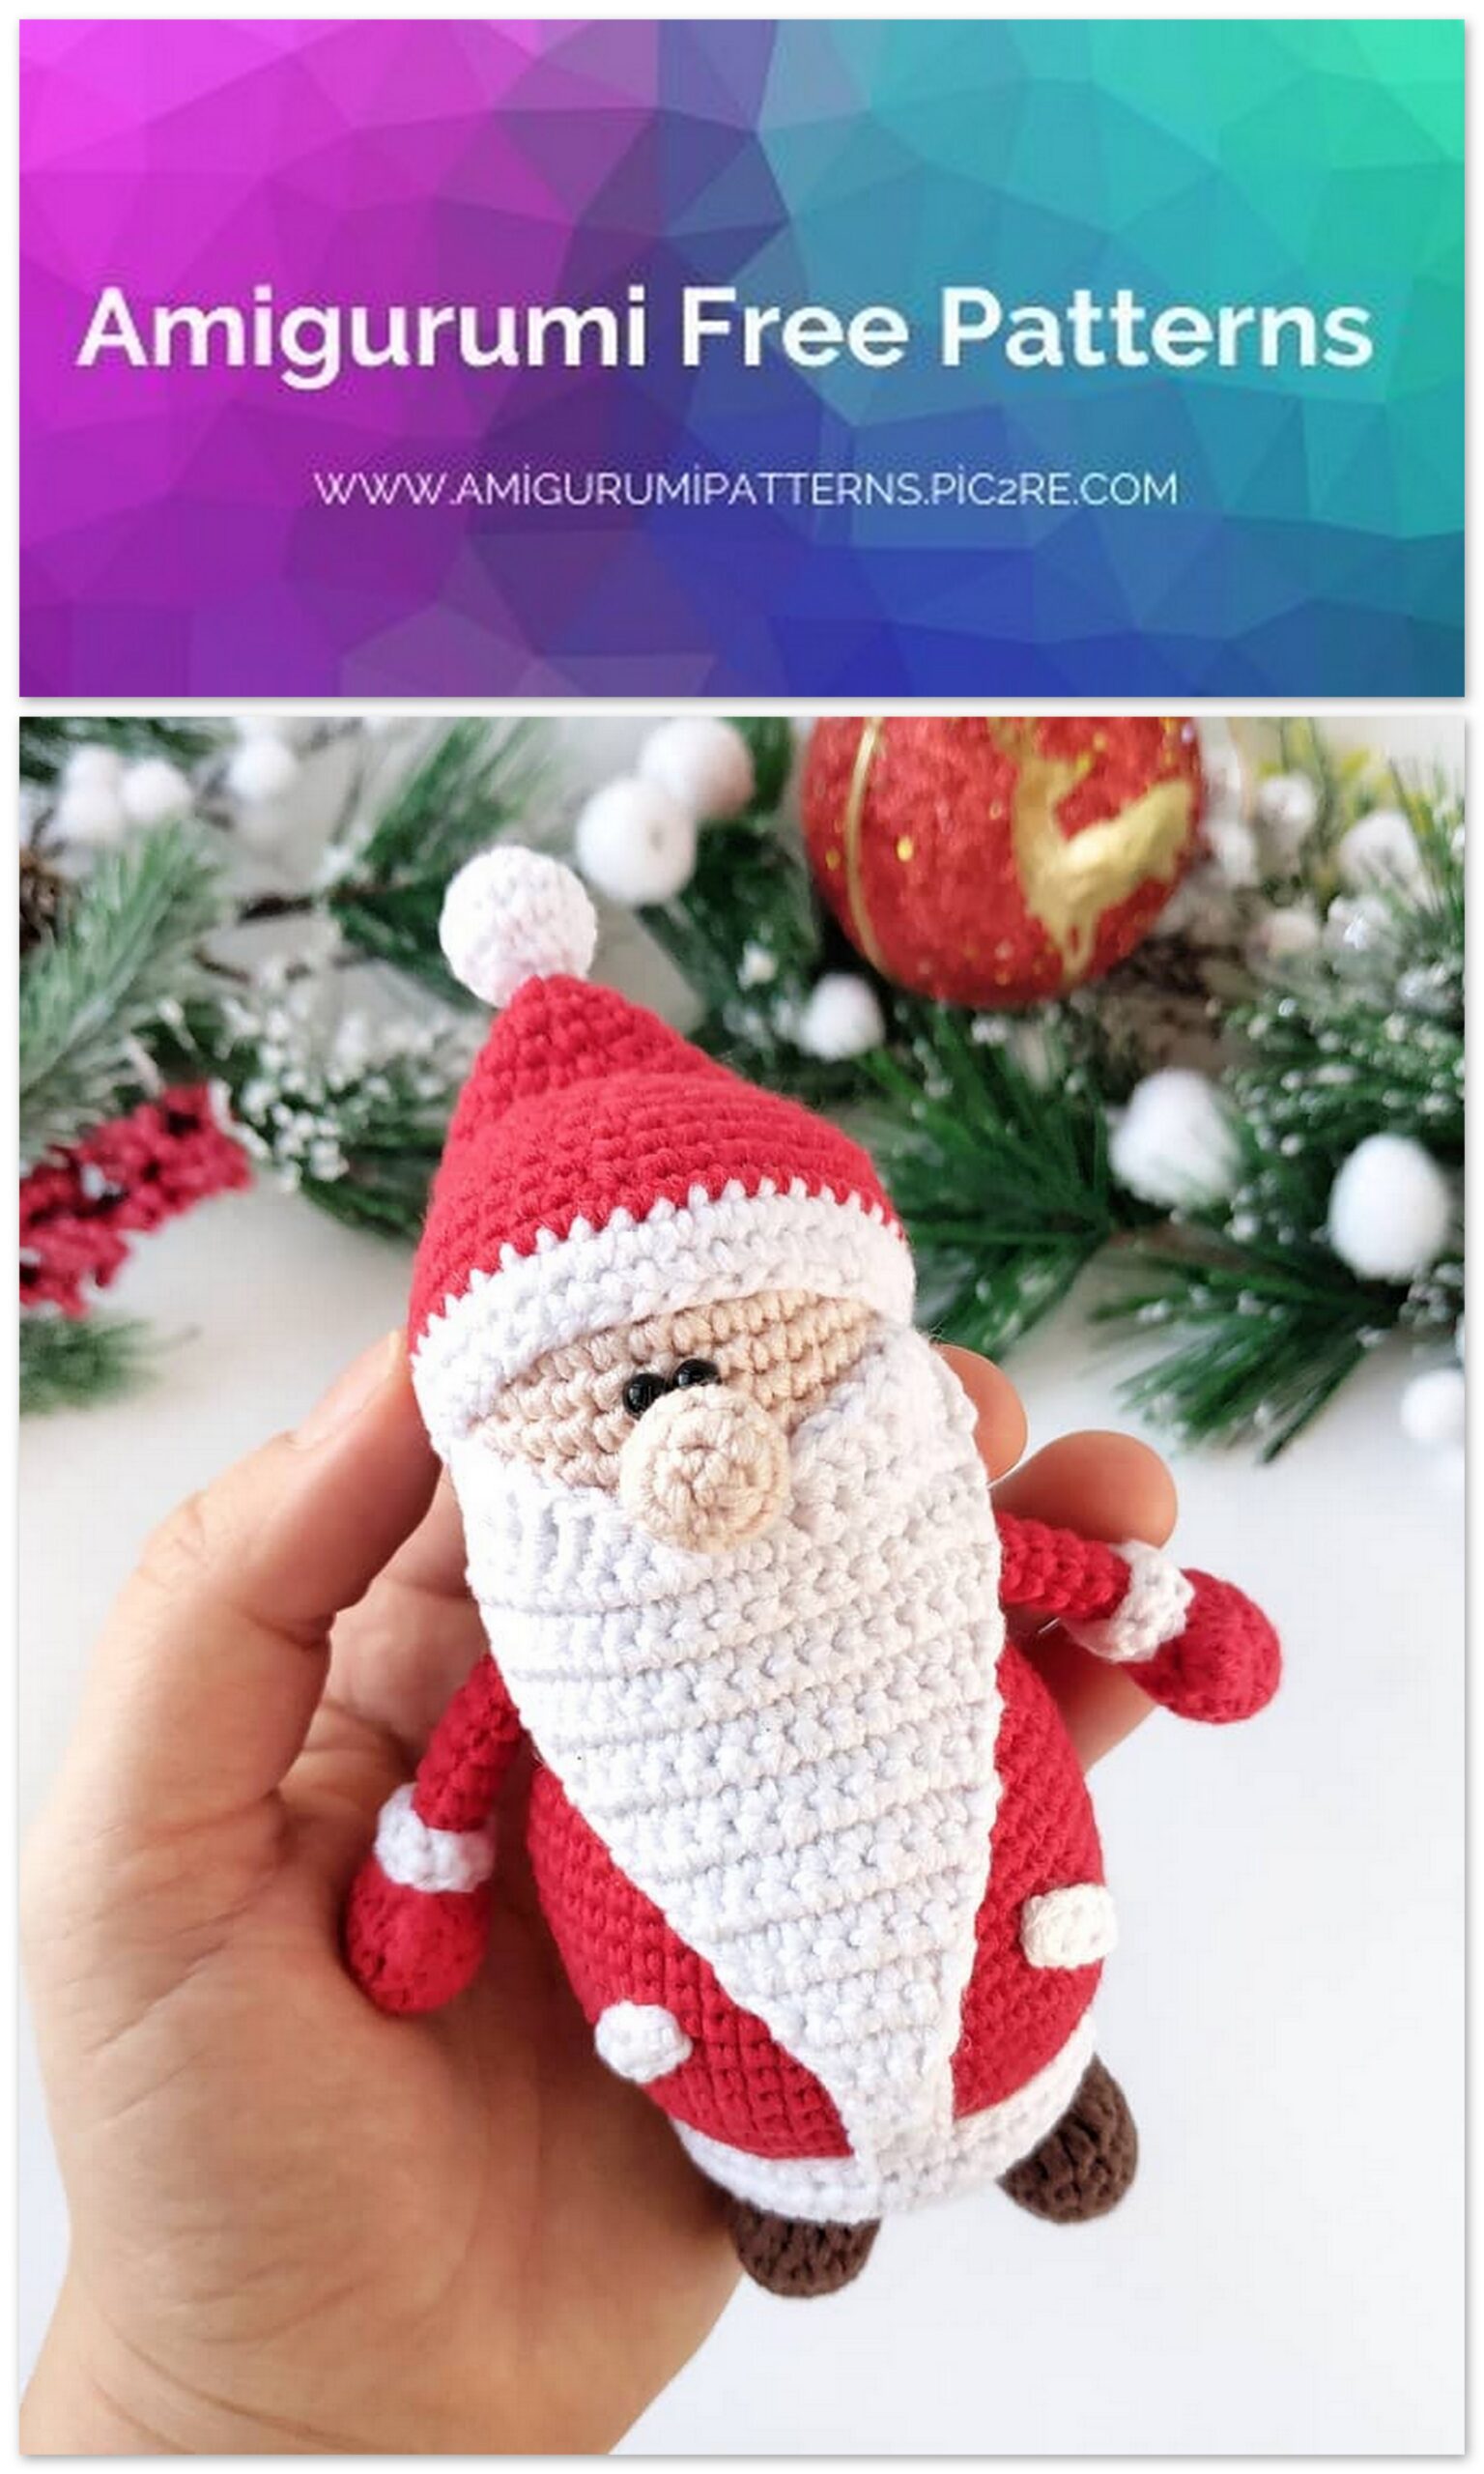
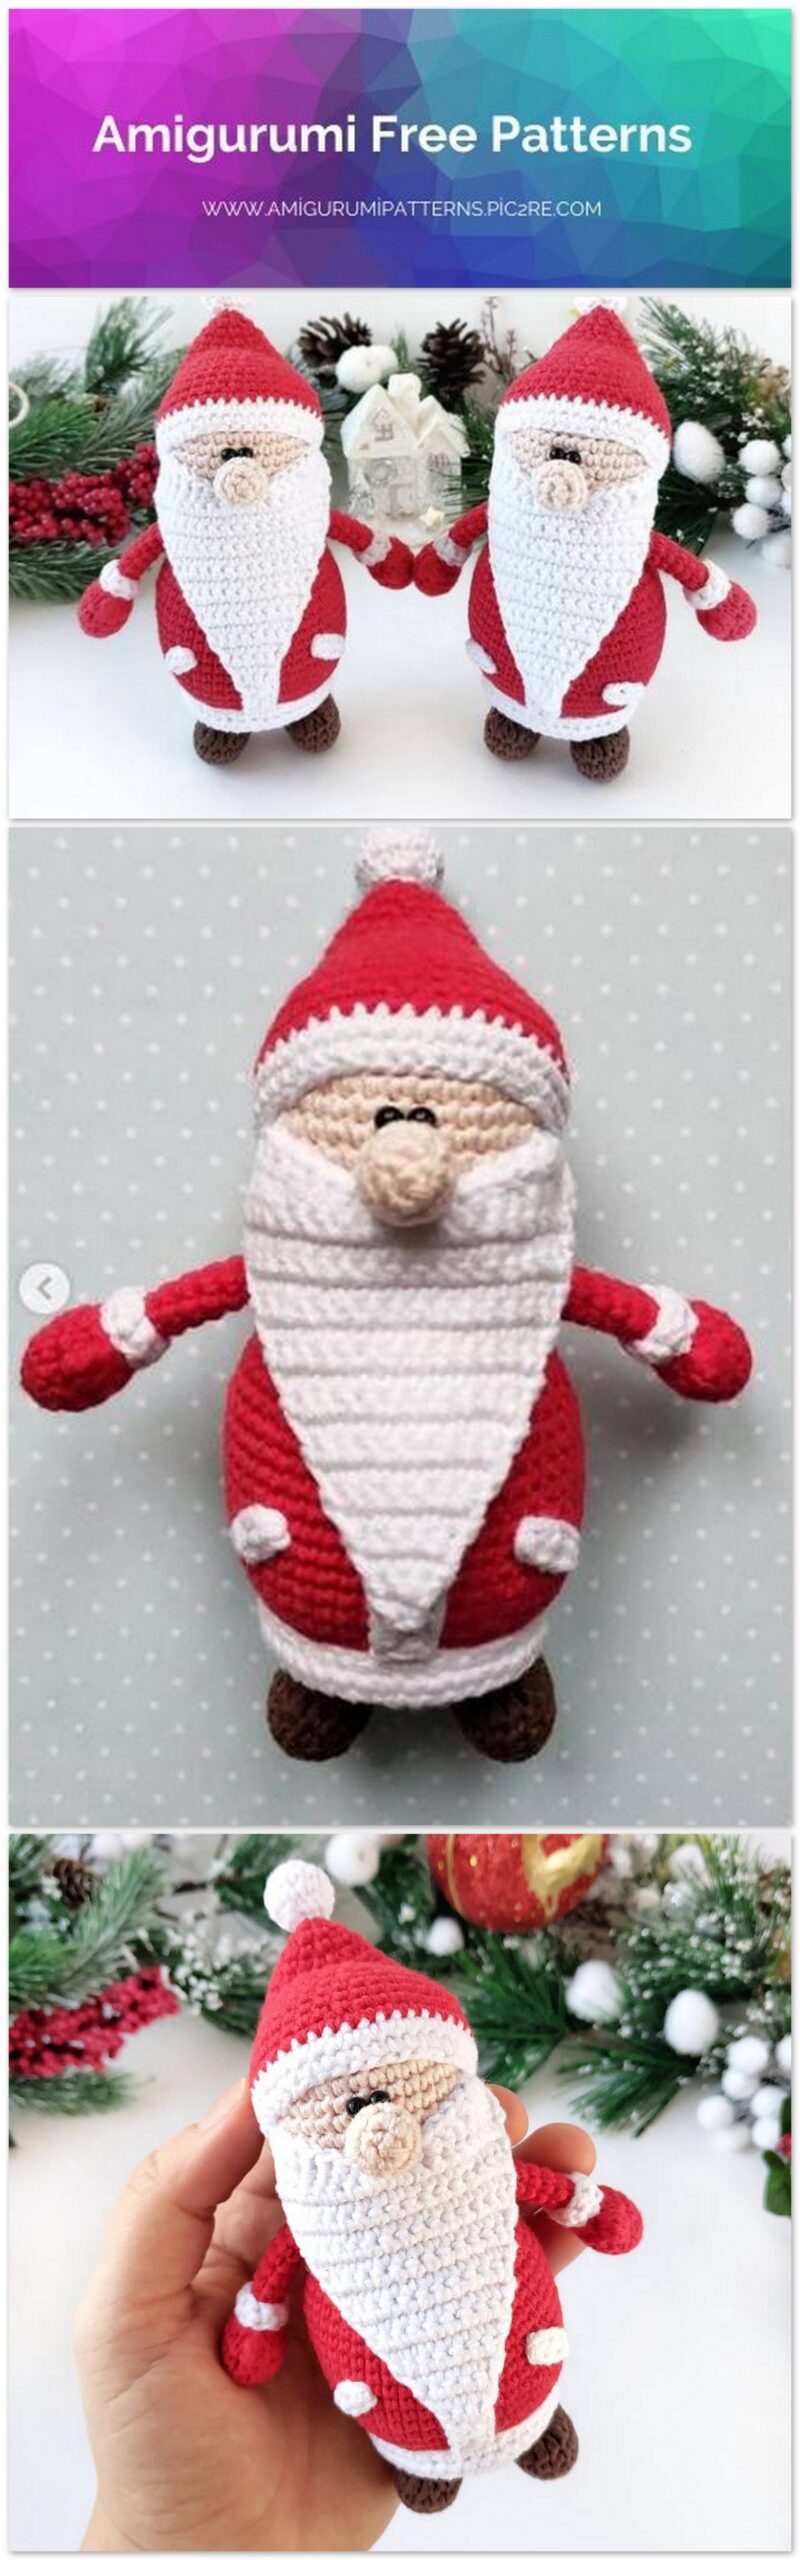
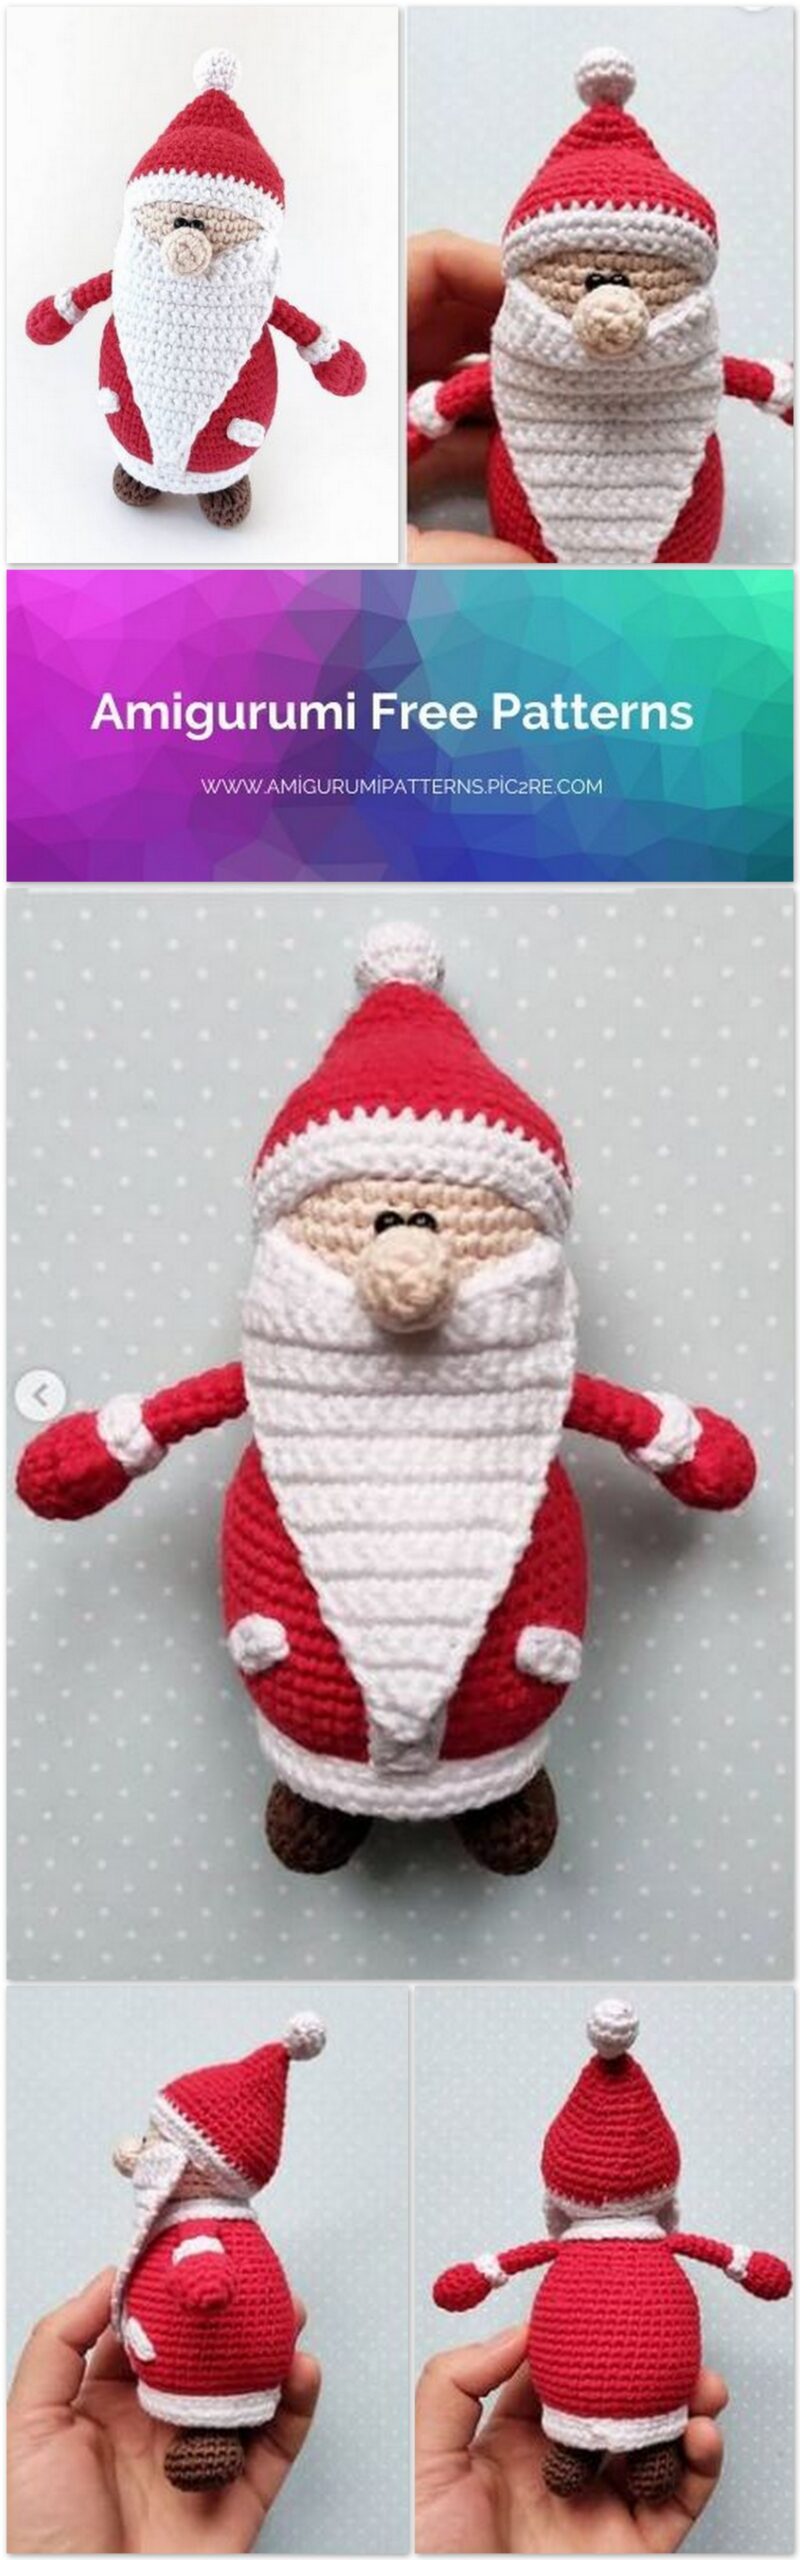
Amigurumi Santa Claus Free Pattern
Pinterest Offical Page : amigurumipatterns.pic2re.com
Facebook Group: amigurumipatterns.pic2re.com
Facebook Offical Page: amigurumipatterns.pic2re.com
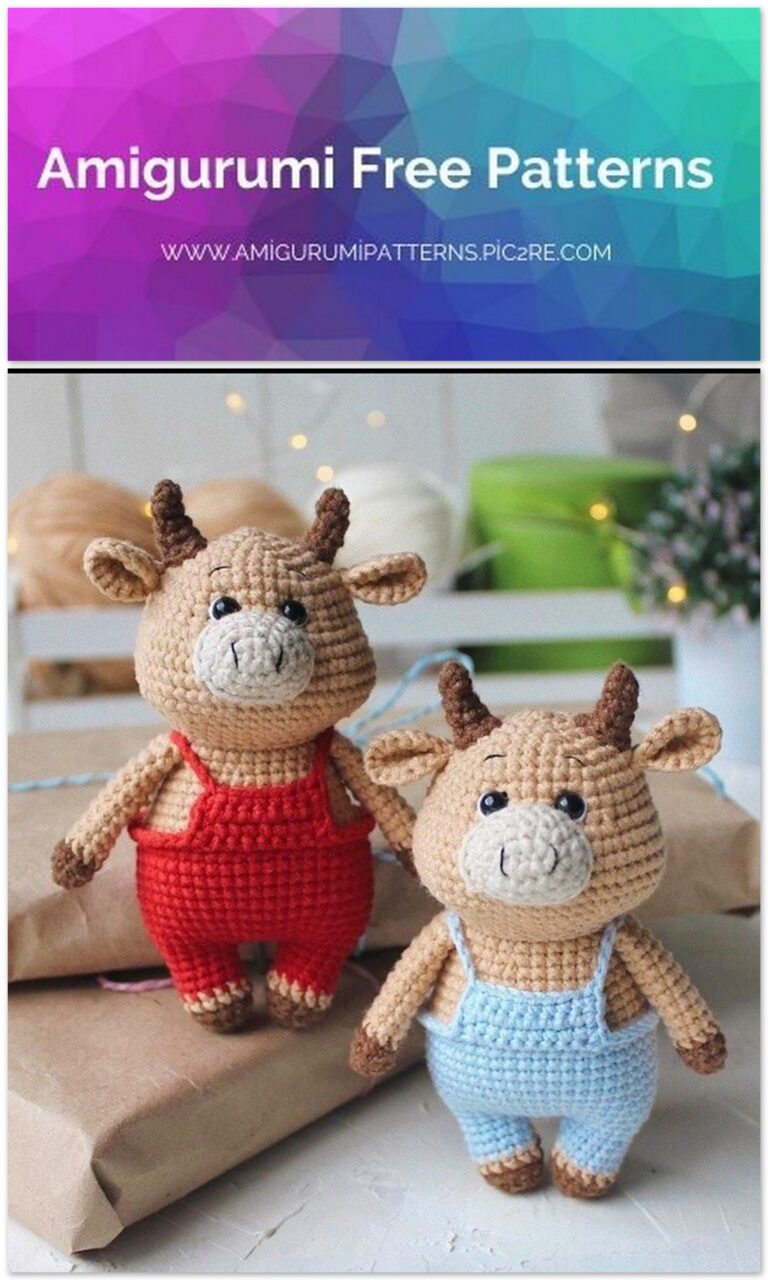
The new year is approaching. We have to start knitting Santa Claus. here is a great amigurumi free santa claus pattern.
MATERIALS AND TOOLS
I used Alize “Cotton Gold” yarn, 55% cotton, 45% acrylic, 330 m / 100 g.
Head, nose – flesh colors: No. 382 (powder)
or No. 67 (light beige)
Fur coat, hat number 56 (red)
Boots No. 493 (brown)
Fur coat and hat finishing No. 55 (white)
YarnArt “Jeans”, Gazzal “Baby Cotton”, “Caramel” Kamtex, “Children’s novelty” Pekhorka, “Children’s volumetric”
Pekhorka or other yarn of similar parameters. Toy size from heels to
crown ~ 12 cm, and to the top of the cap with
pompom ~ 14 cm.
You will also need:
Sew-on eyes 4 mm (2 pcs). I use
Sew-on plastic eyes “HobbyBe”
SOP-4 (d = 4 mm).
Hook No. 1.7
Holofiber for stuffing
Reinforced thread (for sewing on the eyelet)
Thick long and thin sewing needles
Scissors
Ball pins
Tweezers, stick for stuffing
Marker thread (thread in contrasting color)
SYMBOLS:
CH – air loop
SC – single crochet
İNC – increase from single crochet (2 SC in 1 loop)
DEC – single crochet decrease (2 SC knitted together)
HDC – half double crochet
DC – Column with one crochet
DEC_DC – Decrease from columns with one
yarn over (2 DC, tied together)
C2H – double crochet
SL-ST – connecting post
+ – just a plus, for connecting parts
EXAMPLE OF DECODING RECORD OF THE ROW:
the formula (1 SC, İNC) * 6 (18) means that 1 single crochet is knitted in one loop, 1 increase is made in the next loop, and this combination is repeated 6 times. As a result, a row is obtained in which there are 18 loops.
Rows for this description will knit from marker to marker, unless specifically indicated to align marker. The row is over – you need to rearrange the marker thread.
Knitting in a spiral without lifting loops.
HANDLES (2 pcs)
Red yarn.
1.6 SC into magic ring
2.6 İNC (12)
3-4 (2 rows). 12 SC
5. 5 SC, “knob” of 4 DC (thumb), 6 SC (12)
6 row: (1 SC, DEC) * 4 (8)
Fill the resulting mitten with filler, the rest of the hand does not need to be filled.
7-14 (8 rows). 8 SC
Tie 1-2 SC to the middle of the back of the arm, make SL-ST. Cut off the thread, leaving a small tip.
SLEEVE FINISH
White yarn is used to knit the sleeve trim on each handle.
1. Work 8 SC by inserting the hook into the holes between rows 6 and 7 (under the legs of row 6 posts). Start from the back of your hand.
2. 8 SC in the stitches of the columns of the 1st row. Finally, fasten the SL-ST and hide the threads.
TRUNK
Knits from bottom to top.
Red yarn.
1.6 SC into magic ring
2.6 İNC (12)
3. (1 SC, İNC) * 6 (18)
4. (2 SC, İNC) * 6 (24)
5. (3 SC, İNC) * 6 (30)
6. (4 SC, İNC) * 6 (36)
7. (5 SC, İNC) * 6 (42)
8. (6 SC, İNC) * 6 (48)
9-19 (11 rows). 48 SC
20. (6 SC, DEC) * 6 (42)
21.42 SC
22. (5 SC, DEC) * 6 (36)
23.36 SC
24. (4 SC, DEC) * 6 (30)
In the next row, handles will be knitted.
The upper edges of the handles are folded in half and knitted together with the fabric of the body.
25.6 SC + 4 SC (left hand tie) + 11 SC + 4 SC (right hand tie) + 5 SC (30)
26. (3 SC, DEC) * 6 (24)
At this point, you can start stuffing the torso.
27.24 SC
28. (2 SC, DEC) * 6 (18)
29. (1 SC, DEC) * 6 (12)
30.6 DEC (6)
Finish packing. Cut off the thread, leaving the long end for sewing on the head.
HEAD
Knits from top to bottom.
Flesh-colored yarn.
1.6 SC into magic ring
2.6 İNC (12)
3. (1 SC, İNC) * 6 (18)
4. (2 SC, İNC) * 6 (24)
5. (3 SC, İNC) * 6 (30)
6.30 SC
7. (4 SC, İNC) * 6 (36)
8-13 (6 rows): 36 SC
14. (4 SC, DEC) * 6 (30)
15. (3 SC, DEC) * 6 (24)
In this place you can gradually start
stuff your head.
16. (2 SC, DEC) * 6 (18)
17. (1 SC, DEC) * 6 (12)
18.6 DEC (6)
Finish the packing, pull off the hole with a needle.
NOSE
Flesh-colored yarn.
Dial 3 CH.
1.1 SC, 3 SC in one last loop, turn in a spiral and on the other side of the chain make İNC (6)
2.6 İNC (12)
3.12 SC
4.6 DEC, SL-ST
Fill the spout with filler.
Leave the end of the thread to be sewn to the head.
VALENKI (2 PCS)
Brown yarn.
Dial 6 CH. The first 2 rows are knitted according to the principle of an oval in a spiral without lifting loops.
From the second loop from the hook:
1.4 SC, 3 SC into one last loop of the air chain, turn in a spiral and continue along the other side of the chain 3 SC, İNC (12 loops)
2. İNC, 3 SC, 3 İNC, 3 SC, 2 İNC (18)
3-4 (2 rows). 18 SC
If necessary, align the marker with
the center of the back of the part.
5.6 SC, 3 DEC_DC, 6 SC (15)
6.4 SC, 3 DEC, 5 SC (12)
7-8 (2 rows). 12 SC
At the end of SL-ST. Leave the end of the thread to be sewn to the body.
Fill boots with filler.
BEARD
White yarn. Knits from bottom to top.
Dial 2 CH.
You need to knit 17 turning rows (at the beginning of the row lifting CH) with columns without
nakida, while an increase is made in the last loop of each row. The 17th row should
get 19 loops. Next, the last 18 row:
3CH, 4 C2H, 2 DC, 1 HDC, 1 SC, 3SL-ST, 1 SC, 1 HDC, 2 DC, 4 C2H (19)
Fasten, leave the end of the thread for sewing to the head. Hide the initial tip.
CAP
White yarn.
Leave the starting end of the thread longer so that you can use it later for sewing to the head.
Dial 42 CH.
1. Make 1 SC in the 1st chain loop, closing it into a ring, and knit another 41 SC (42)
2.42 SC
Red yarn.
3.42 SC
4. (12 SC, DEC) * 3 (39)
5.39 SC
6. (11 SC, DEC) * 3 (36)
7. (10 SC, DEC) * 3 (33)
8. (9 SC, DEC) * 3 (30)
9. (8 SC, DEC) * 3 (27)
10. (7 SC, DEC) * 3 (24)
11. (6 SC, DEC) * 3 (21)
12. (5 SC DEC) * 3 (18)
13. (4 SC, DEC) * 3 (15)
14. (3 SC, DEC) * 3 (12)
15. (2 SC, DEC) * 3 (9)
16. (1 SC, DEC) * 3 (6)
Fasten and hide the end of the thread
POMPON ON HAT
White yarn.
1.6 SC into magic ring
2.6 İNC (12)
3 – 4 (2 rows). 12 SC
5.6 DEC
Fill with filler. Leave the end of the thread to be sewn to the cap. Sew on pompom
BOTTOM FINISHING
White yarn.
Leave the long end of the thread at the beginning of knitting to sew the piece to the body.
Dial 43 CH. Knitting in rotary rows.
1.CH, 42 SC, turn
2.CH, 42 HDC
Fasten, cut the thread, hide the tip
FINISHING ON THE COLLAR AND FRONT OF FUR COATS
White yarn.
Dial 49 CH.
1.47 SC on the air chain, 3 SC on the last loop, turn and 46 SC on the other side of the chain, İNC, SL-ST (98)
Leave the long end of the thread to be sewn to the body, the starting end can be hidden.
POCKETS (2 PCS)
White yarn.
Cast on 6 CH, knit 5 SC, and in the 5th loop, also make SL-ST.
Leave the end of the thread to be sewn to the body.
Hide the initial tip.
ASSEMBLY
Before sewing, it is necessary to secure the parts with pins, checking their symmetry location.
Spout
sewn to the head so that its center is at the level of the 11th row of the head.
EYES
sewn close to each other above the spout (~ 9th row) using a reinforced thread folded in half.
You need to mark one hole between the posts at the bottom of the back of the head for the entry and exit of the needle, from where all the ends of the threads will exit.
The following steps are repeated for both eyes:
1. The needle is inserted into the selected hole so that the tip of the thread remains for tying.
2. Then it is displayed in the place where the eye is attached.
3. After stringing, the eye is brought back into the hole in the back of the head.
At the end, the ends of the threads from each eye are pulled up slightly and tied together for
multiple nodes. Then they are withdrawn through the hole from where they exit, deep into the head (the nodes go inside).
Sewing on
HEADS
is carried out approximately along the penultimate row of the body (3 rows above the arms), along the line of maximum contact with the body in this place. In this case, the columns of the head cloth are alternately grabbed, then the columns of the body cloth.
FELT BOOTS
are sewn from the bottom of the body in the center, while the distance from the center to the inner edge of each felt boot is 1-1.5 rows.
BEARD
position so that the end of the thread left for sewing is on the right side of the toy. In this case, the groove in the central part of the beard is located directly under the nose, and the lateral corners of the beard are fixed approximately under the row on which the eyes are sewn. Sewing is carried out on the back half-loops.
CAP
sewn along the edge so that in front of the eyes to the edge of the cap there is a distance of 1 row, and from behind the edge of the cap goes close to the bottom of the head.
FINISH BOTTOM OF THE FUR COAT.
The face will be the side where the face of the 1st row SC is.
Sewn on the front and sides under the 9th row of the body, slightly higher to the back so that the arrangement of the trim is as horizontal as possible. At the end, the edges of the trim are sewn together.