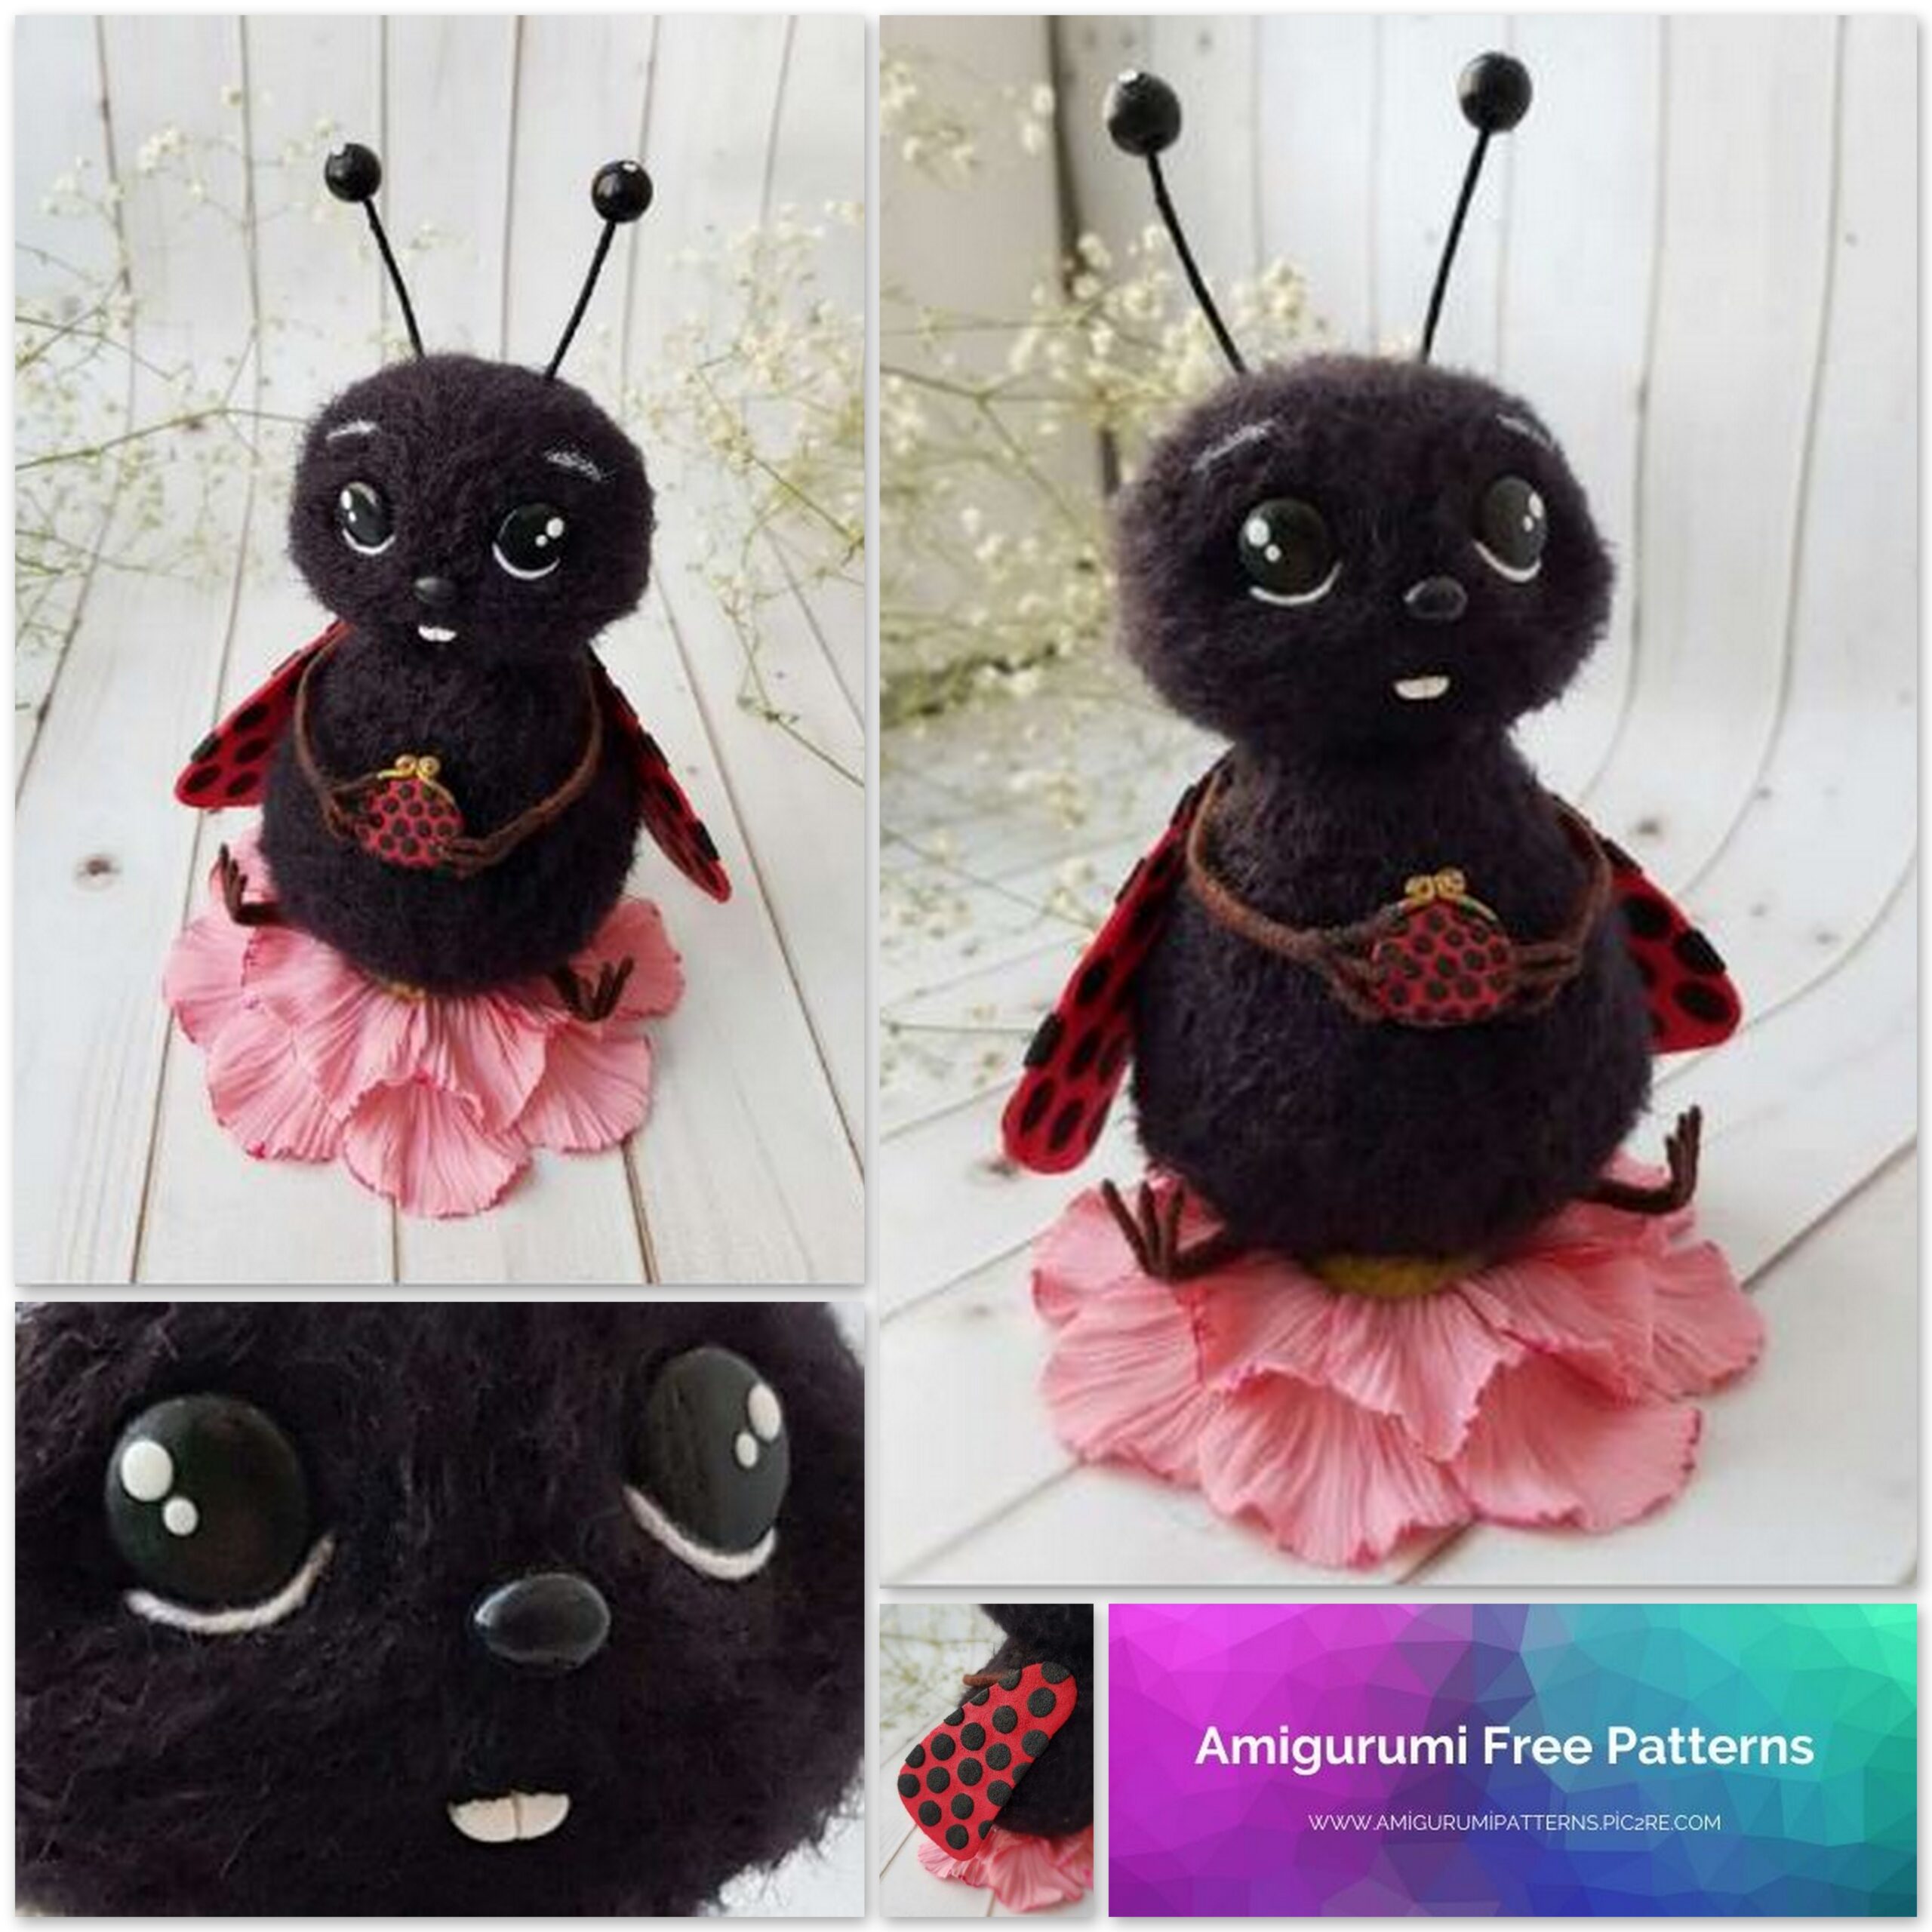
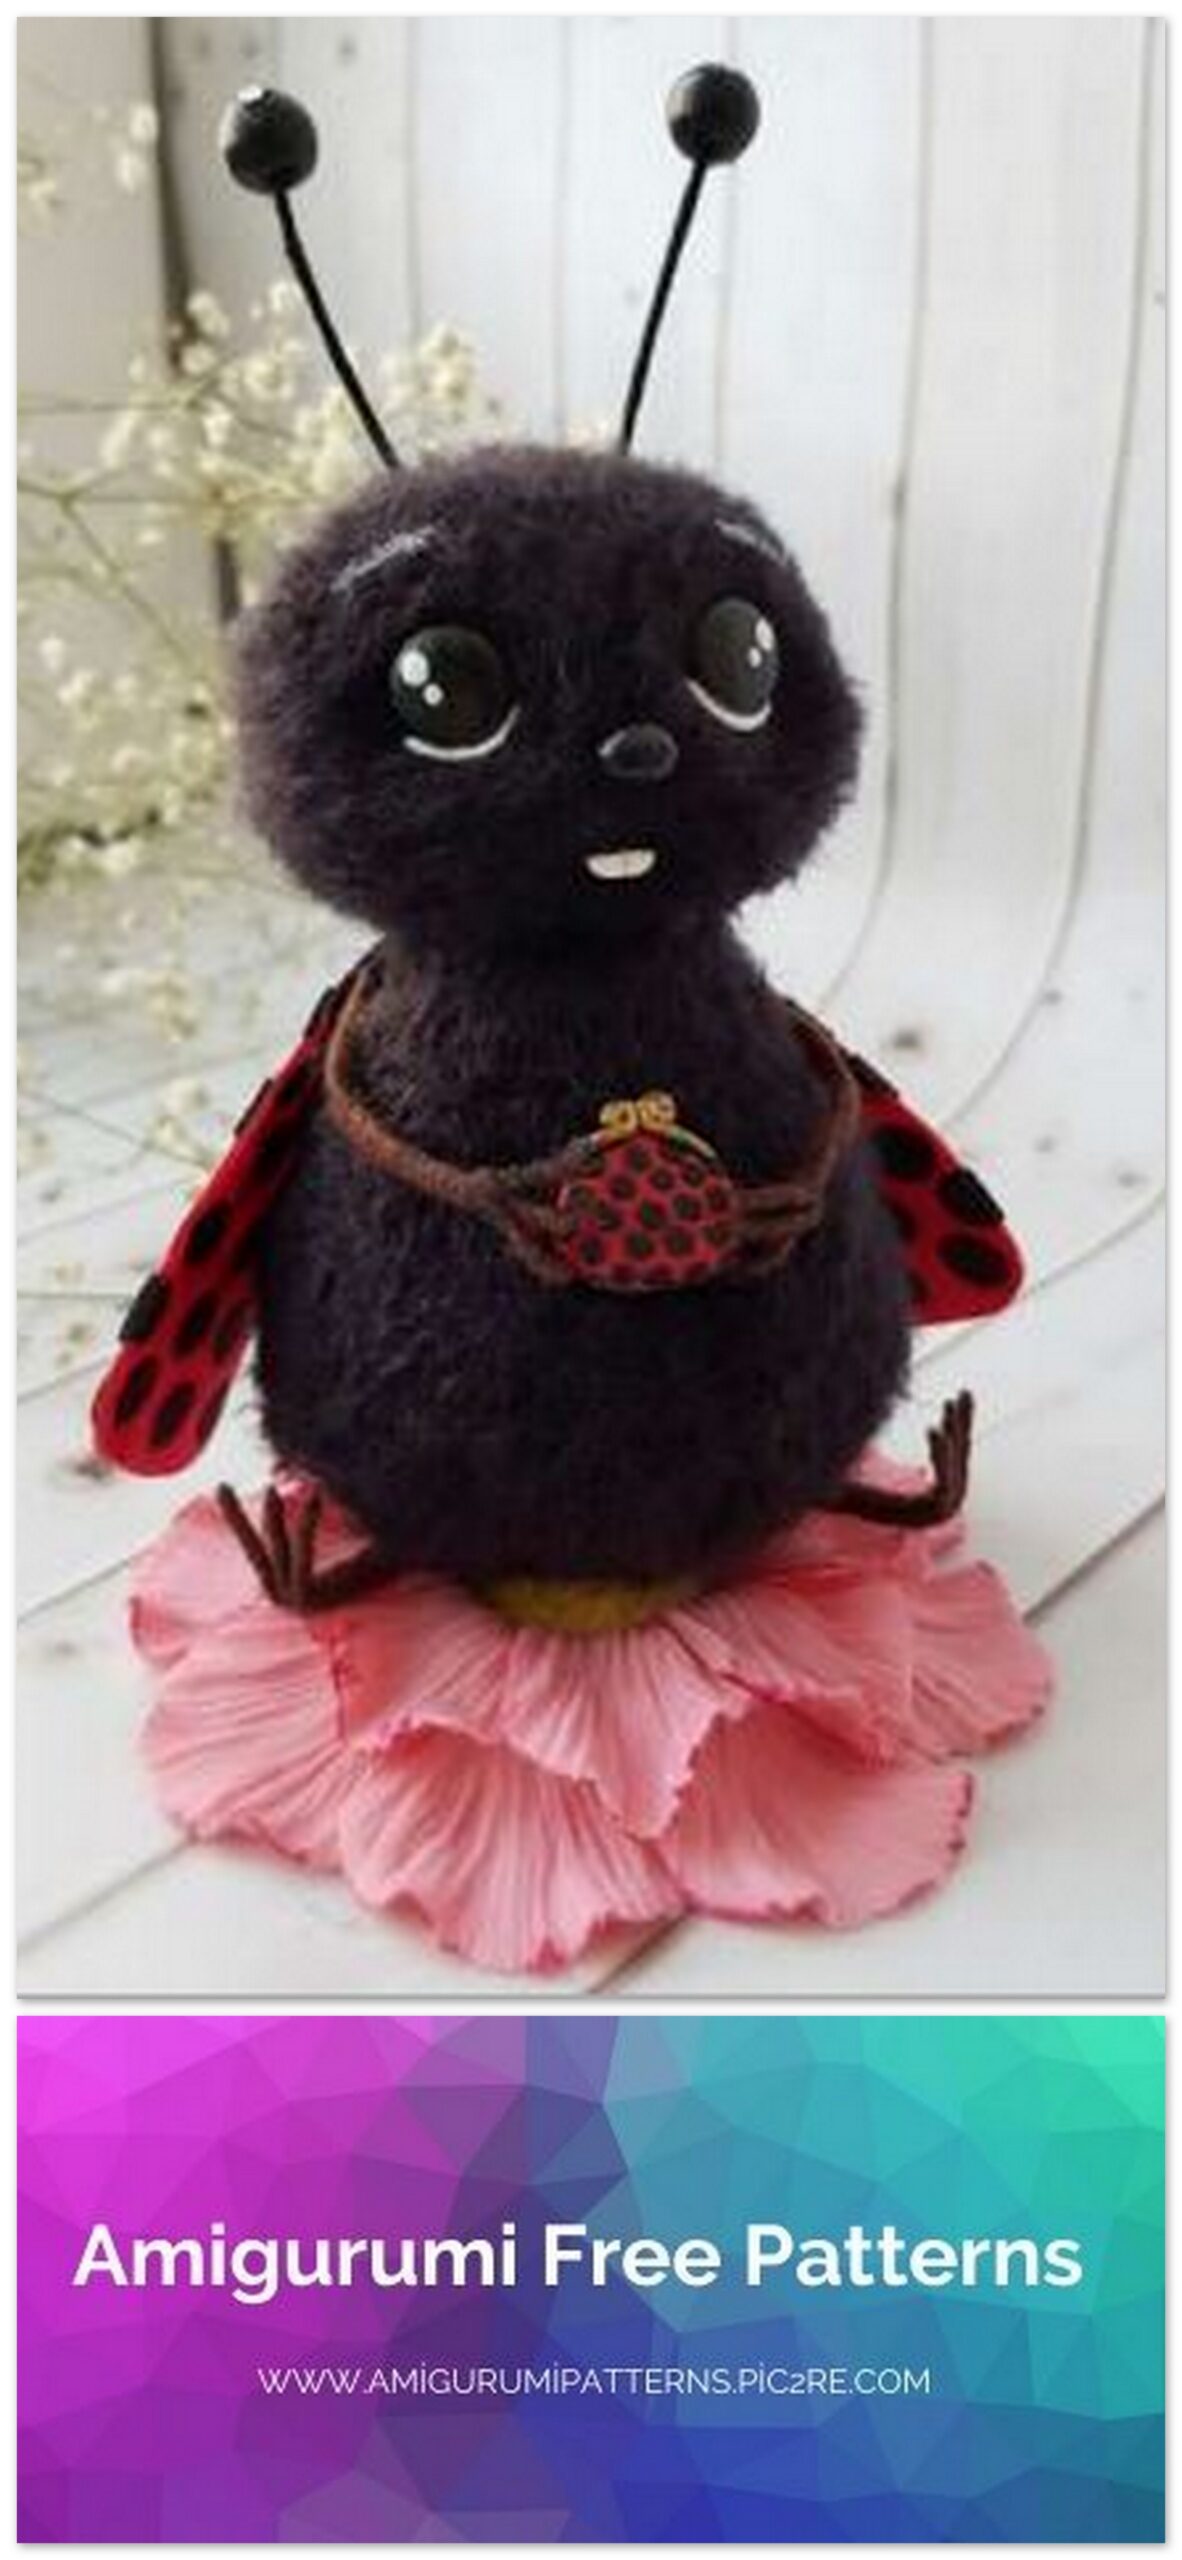
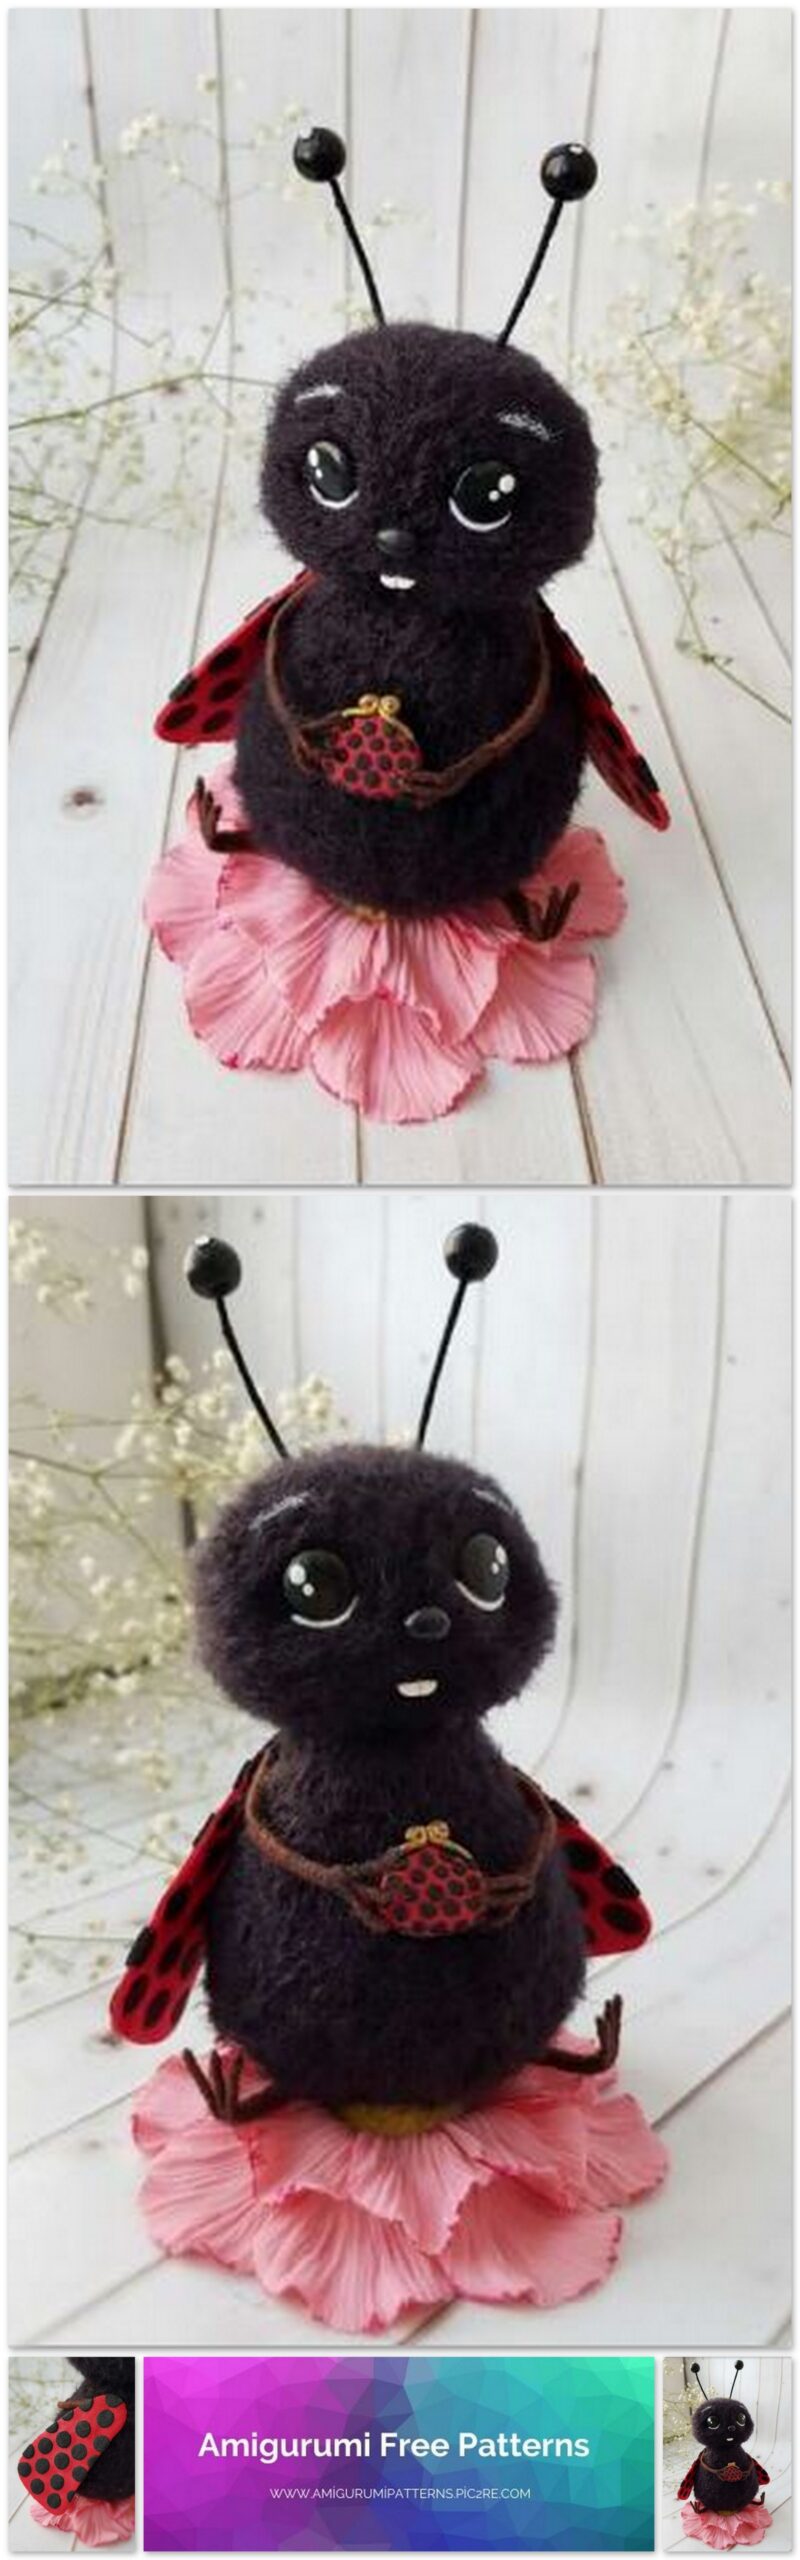
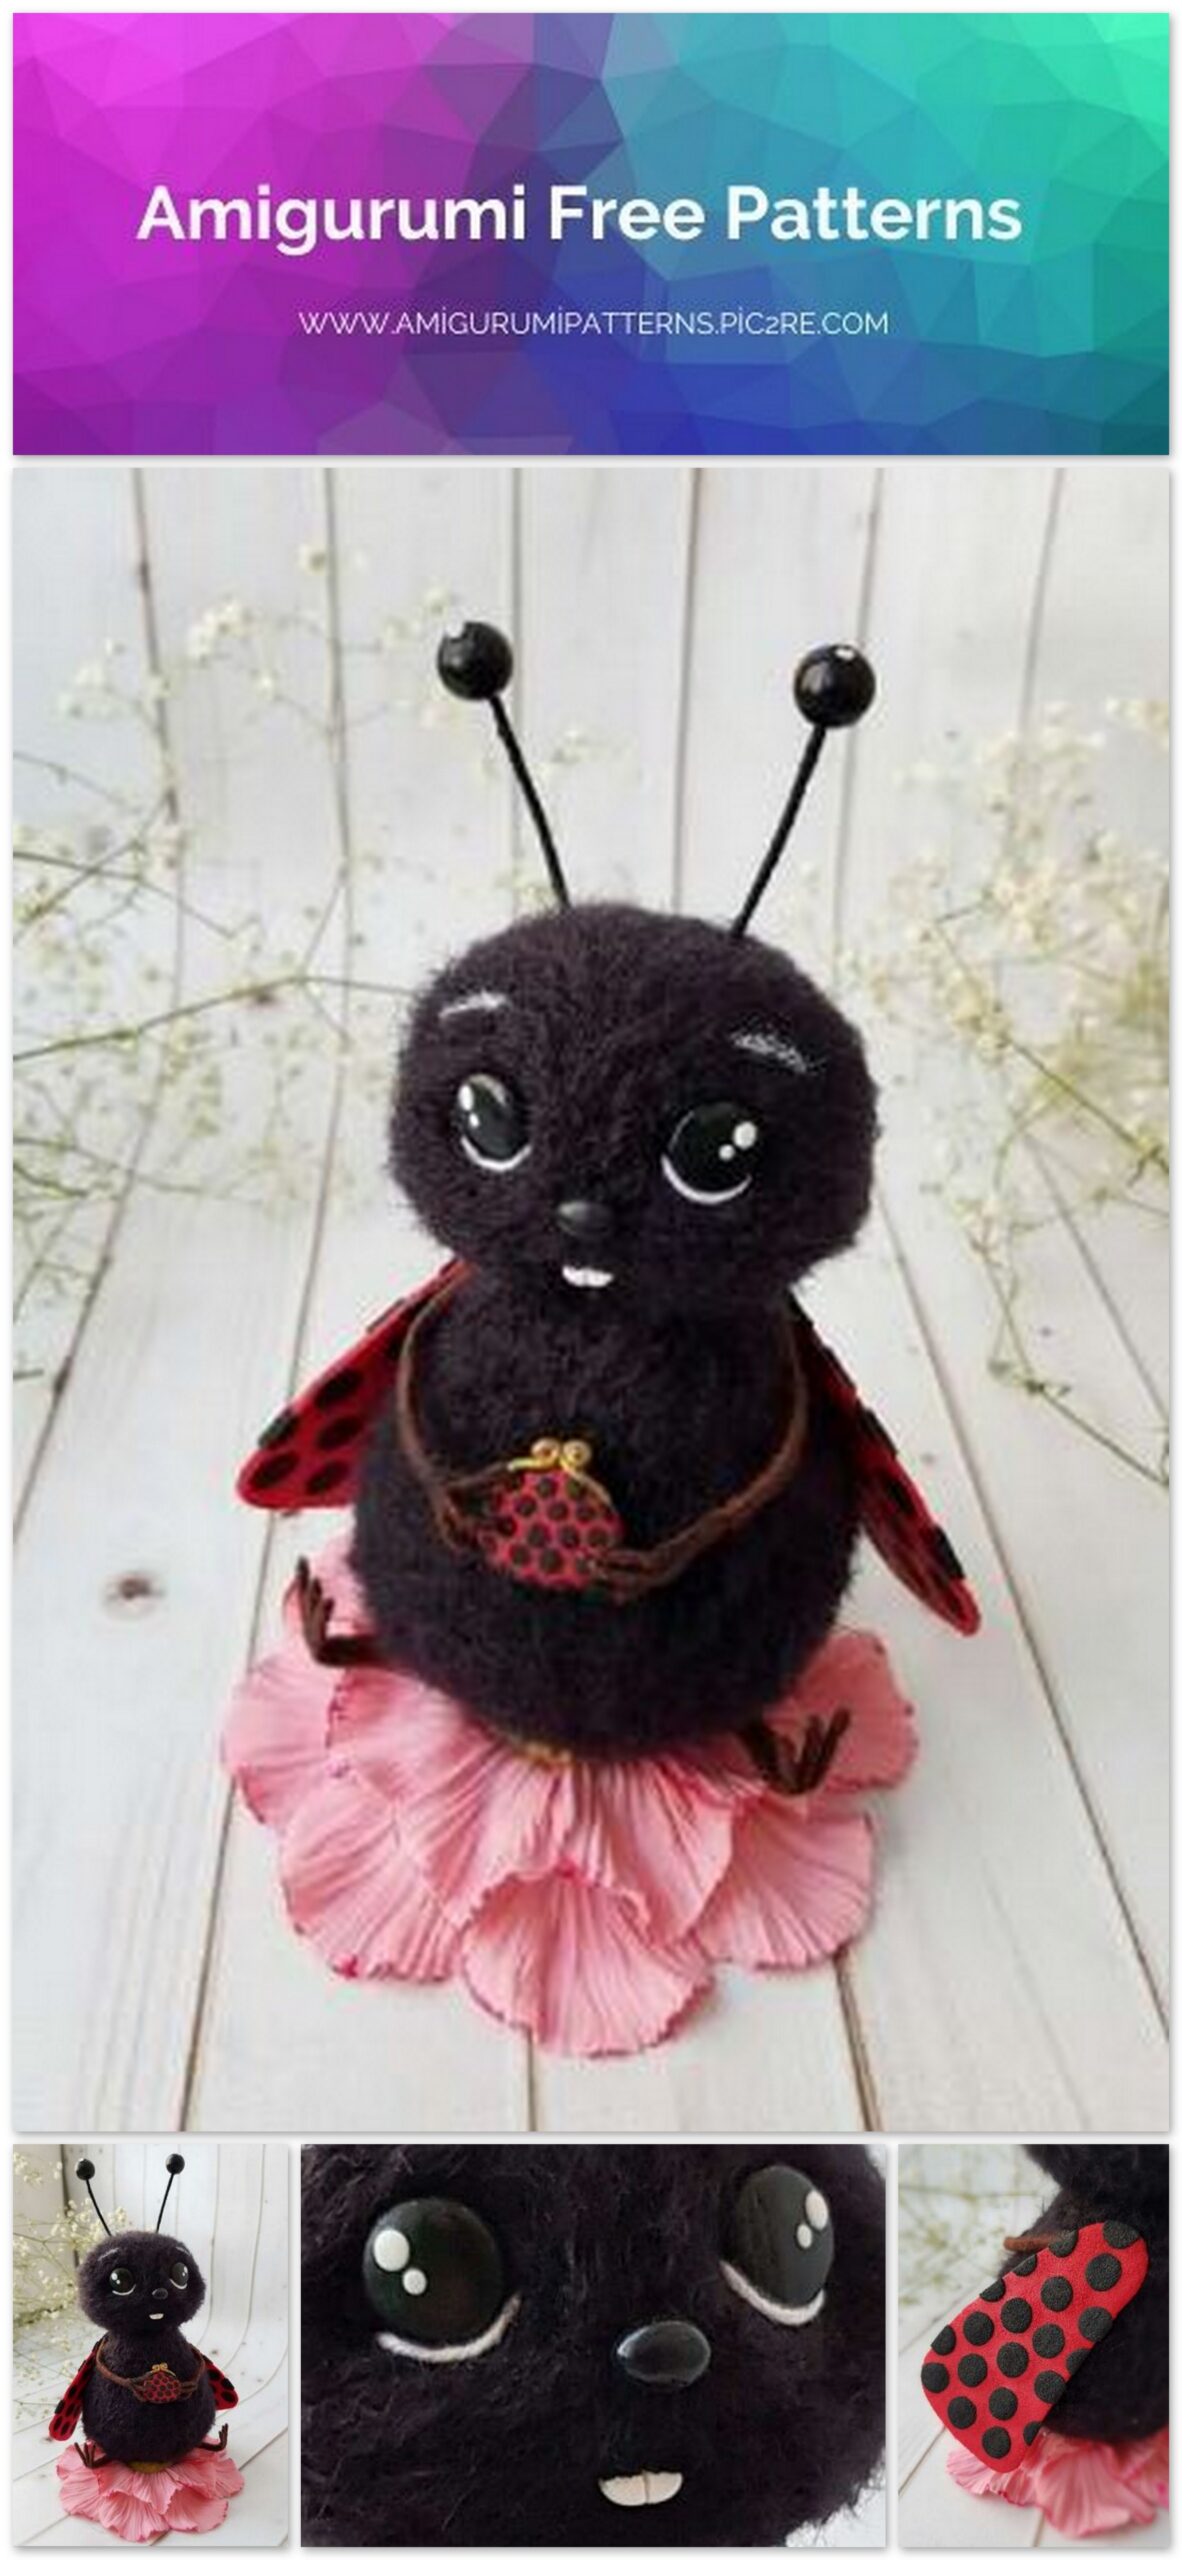
Amigurumi Baby Ladybird Free Crochet Pattern
Pinterest Offical Page : amigurumipatterns.pic2re.com
Facebook Group: amigurumipatterns.pic2re.com
Facebook Offical Page: amigurumipatterns.pic2re.com
“BABY LADYBIRD”
We share one of the most beautiful amigurumi patterns, baby ladybird, for free. You can browse our website for the most beautiful amigurumi patterns.
Materials (edit)
• Yarn Kamtex Cotton Weed
• Hook 0.9
• 2 beads black (10mm)
• 2 pins with a hat
• Black and brown yarn for wrapping arms and tendrils
• Polymer clay black, white and red
• Floristic wire
• Glue
• White thread for eyelet or felt
• Acrylic white paint
Legend:
Sc – single crochet
İnc – increase
Dec – decrease
No change – we knit a number of unchanged (no increases and decreases)
Attention!!!
The MK does not include a description of the creation of a handbag and a flower stand!
Head:
1st row: 6 into magic ring
2nd row: 6 inc
3rd row: 1 sc, inc
4th row: 2 sc, inc
5 row: 3 sc, inc
6 row: 4 sc, inc
7 row: 5 sc, inc
8 row: 6 sc, inc
9 row: No change.
10 row: No change.
11 row: No change.
12 row: No change.
13 row: No change.
14 row: No change.
15 row: 6 sc, dec
16 row: 5 sc, dec
17 row: No change.
18 row: 4 sc, dec
19 row: 3 sc, dec
20 row: 2 sc, dec
21 row: 1 sc, dec
22 row: 6 dec
Fasten and cut the thread.
Body:
1st row: 6 into magic ring
2nd row: 6 inc
3rd row: 1 sc, inc
4th row: 2 sc, inc
5 row: 3 sc, inc
6 row: 4 sc, inc
7 row: No change.
8 row: No change.
9 row: No change.
10 row: No change.
11 row: No change.
12 row: 5 sc, inc
Row 13: 6 sc, inc
Row 14: 7 sc, inc
15 row: 8 sc, inc
16 row: No change.
17 row: No change.
18 row: No change.
19 row: No change.
20 row: No change.
21 row: No change.
22 row: 8 sc, dec
23 row: 7 sc, dec
24 row: 6 sc, dec
25th row: 5 sc, dec
26 row: 4 sc, dec
27 row: 3 sc, dec
28 row: 2 sc, dec
Row 29: 1 sc, dec
30 row: 6 dec.
Fasten the thread, hide the tip. Sew the head to the body, having previously combed both parts.
We make the antennae:
We wrap the pin with a black thread, carefully gluing the thread with glue.
Lubricate the place under the pin head with glue and immediately string the bead.
We bend the pin a little, giving the shape to the antennae.
We sculpt eyes from polymer clay (10-11mm). Glare can be positioned in any position you like. Or paint them with acrylic paint after baking.
We sculpt a small nose (7 mm wide) or replace it with a small bead.
We mold teeth from polymer clay
Size 6mm x 3mm
We make tightening:
Insert the needle at point 5. Draw at point 4 and insert at point 3.
Return the needle to point 5. Tighten the thread and tie a knot.
Repeat the same for the left eye in the sequence 5 – 2 – 1 – 5. Tighten the thread and tie a knot. Repeat if necessary.
We hide the thread deep in the head.
We glue the eyes, nose, teeth and antennae. We make the lower eyelid with white yarn. If desired, the yarn can be replaced with a piece of felt.
We paint the edge with white acrylic paint.
We sculpt wings from polymer clay:
Roll out a thin layer of red polymer clay.
Cut out 2 wings with a cutter or using a sample previously drawn on paper.
Roll out the black clay in a very thin layer. Cut out the circles and put them on the wings in a checkerboard pattern. I used a 7mm cutter.
Tip: Round cutters can be replaced with a felt tip cap (cut off half), a hollow metal tube, a confectionery metal tip for cream. Look in the medicine cabinet, cosmetic bag, and even your husband’s tools, there you can find suitable tools for working with polymer clay 😉😉 you can also draw dots with acrylic paints, but already on the baked wings.
It is convenient to work with clay on a piece of glass, smooth tile, or on a simple sheet of paper. On them and bake in the oven.
After the dots on one side are made, brush the texture on the wings. Turn over and repeat the steps. Making points. Add texture. We bake.
IMPORTANT! Never cook, but bake polymer clay! Bake according to the instructions on the package!
Then the product will be strong, bright, and will serve for many years.
The temperature and cooking time are not enough for the polymer clay to be ready, the product can break, crumble, crack (immediately or over time), tarnish and become covered with a white bloom.
The wings can also be crocheted, and the dots can be cut out of felt and glued. Or make them completely out of felt.
Making paws:
We cut off the floristic wire.
12 pcs of 5.5 cm. 3 wires for each foot.
For pens: we wind the brown thread (gluing with glue) only on the fingers, this is about 1 – 1.3 cm, and only after that we put the wires together and wrap them together with the thread.
For the legs: we wrap each wire with a thread completely. And only after that we put them together and wrap them again, leaving fingers 1 – 1.3 cm.
Glue the legs and wings to the body. Combing the finished toy. Trim excess hairs if necessary.
Our baby is ready!