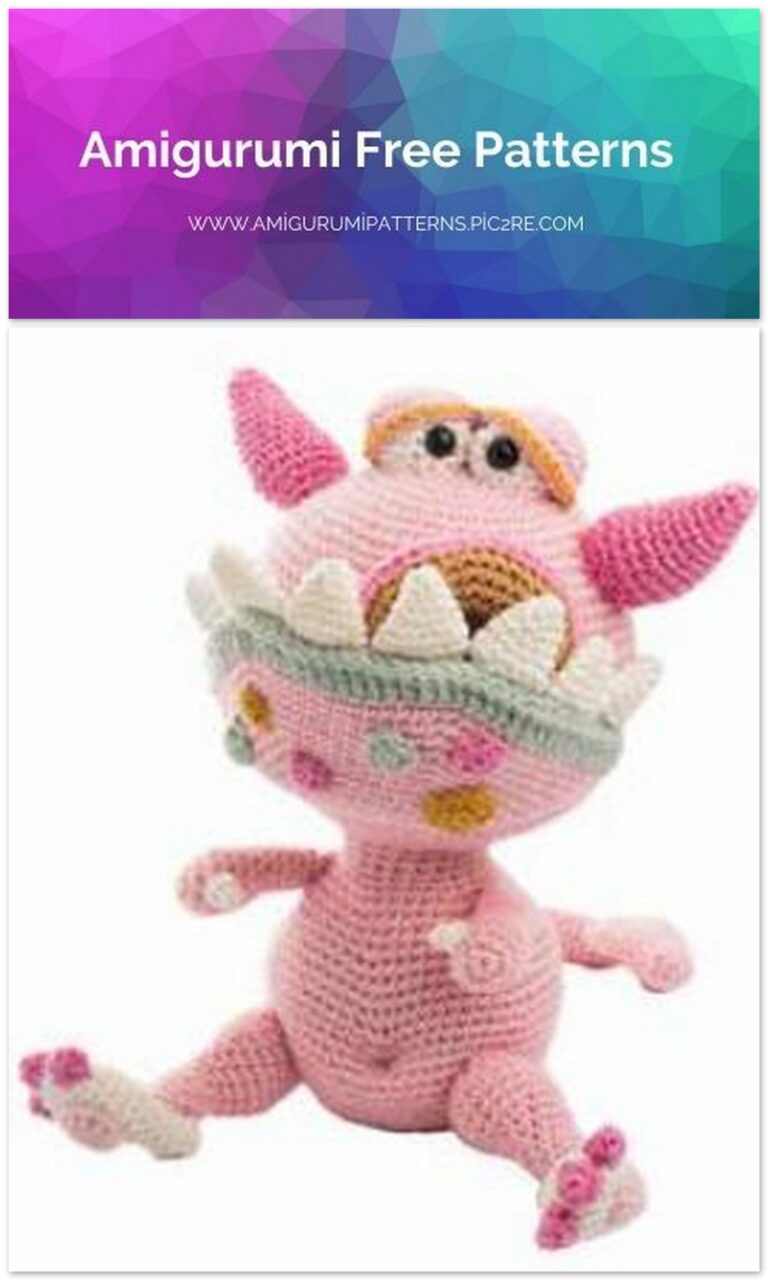
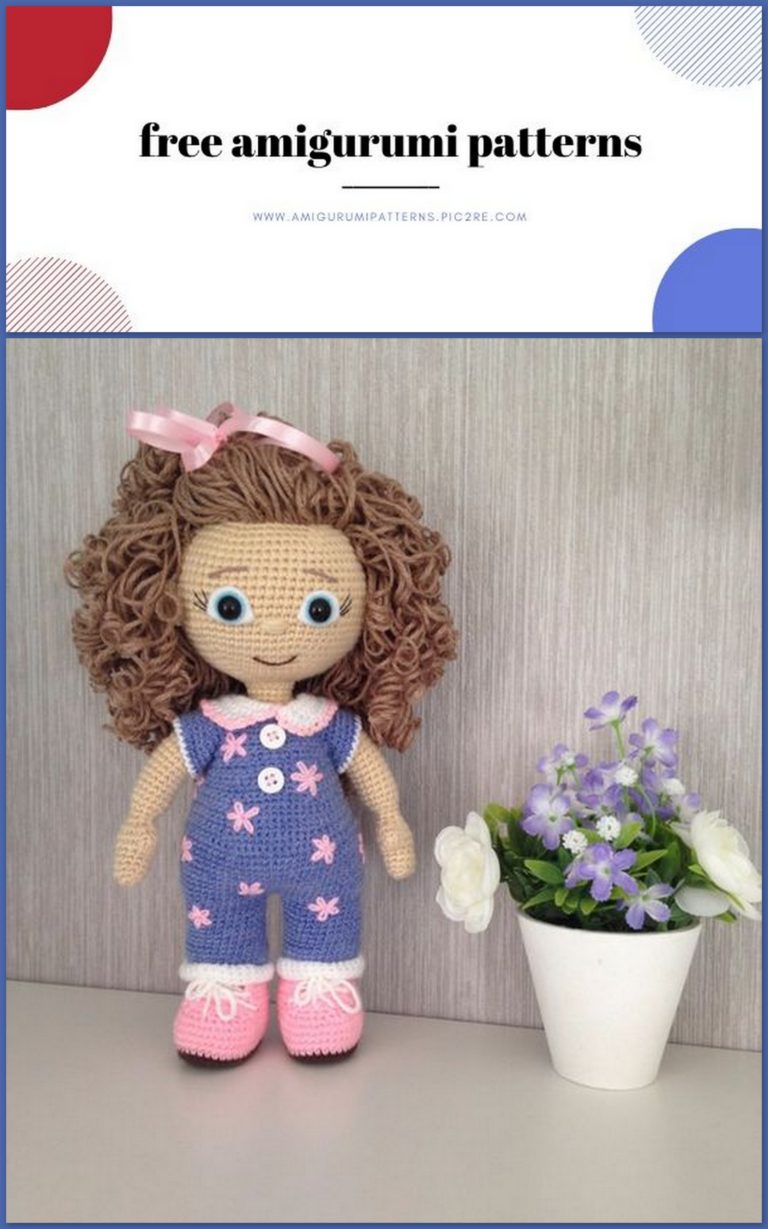
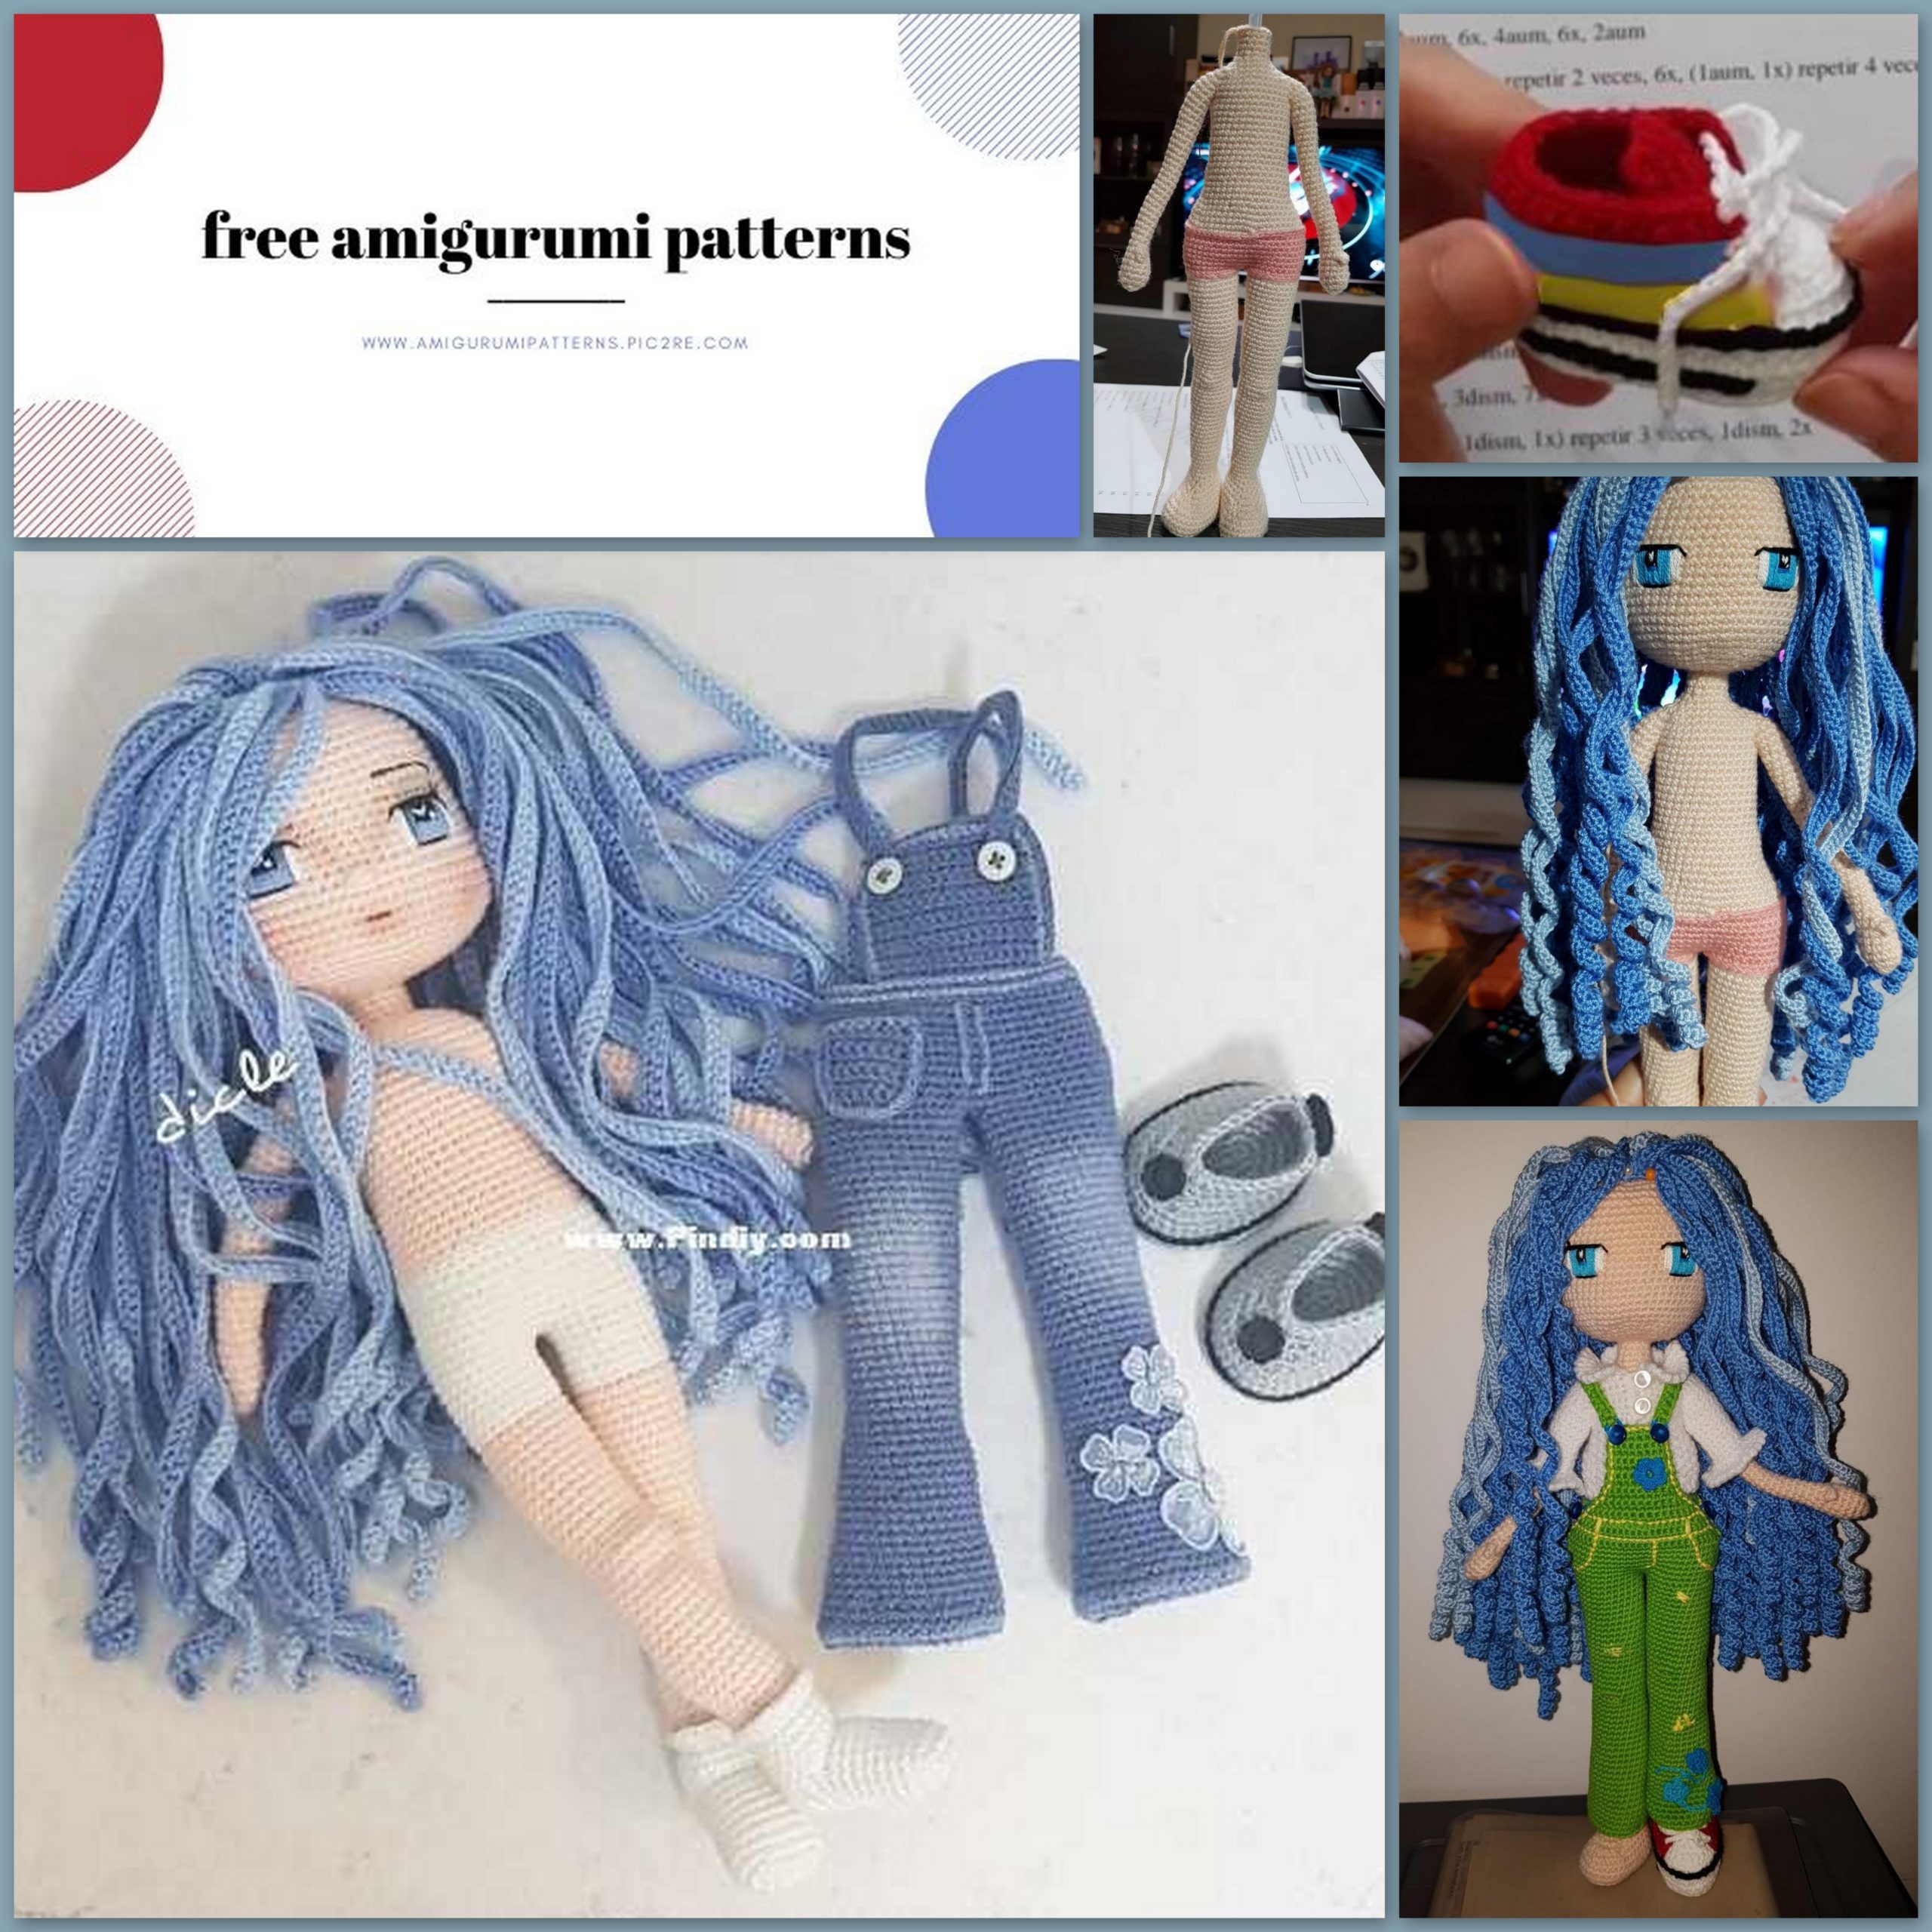
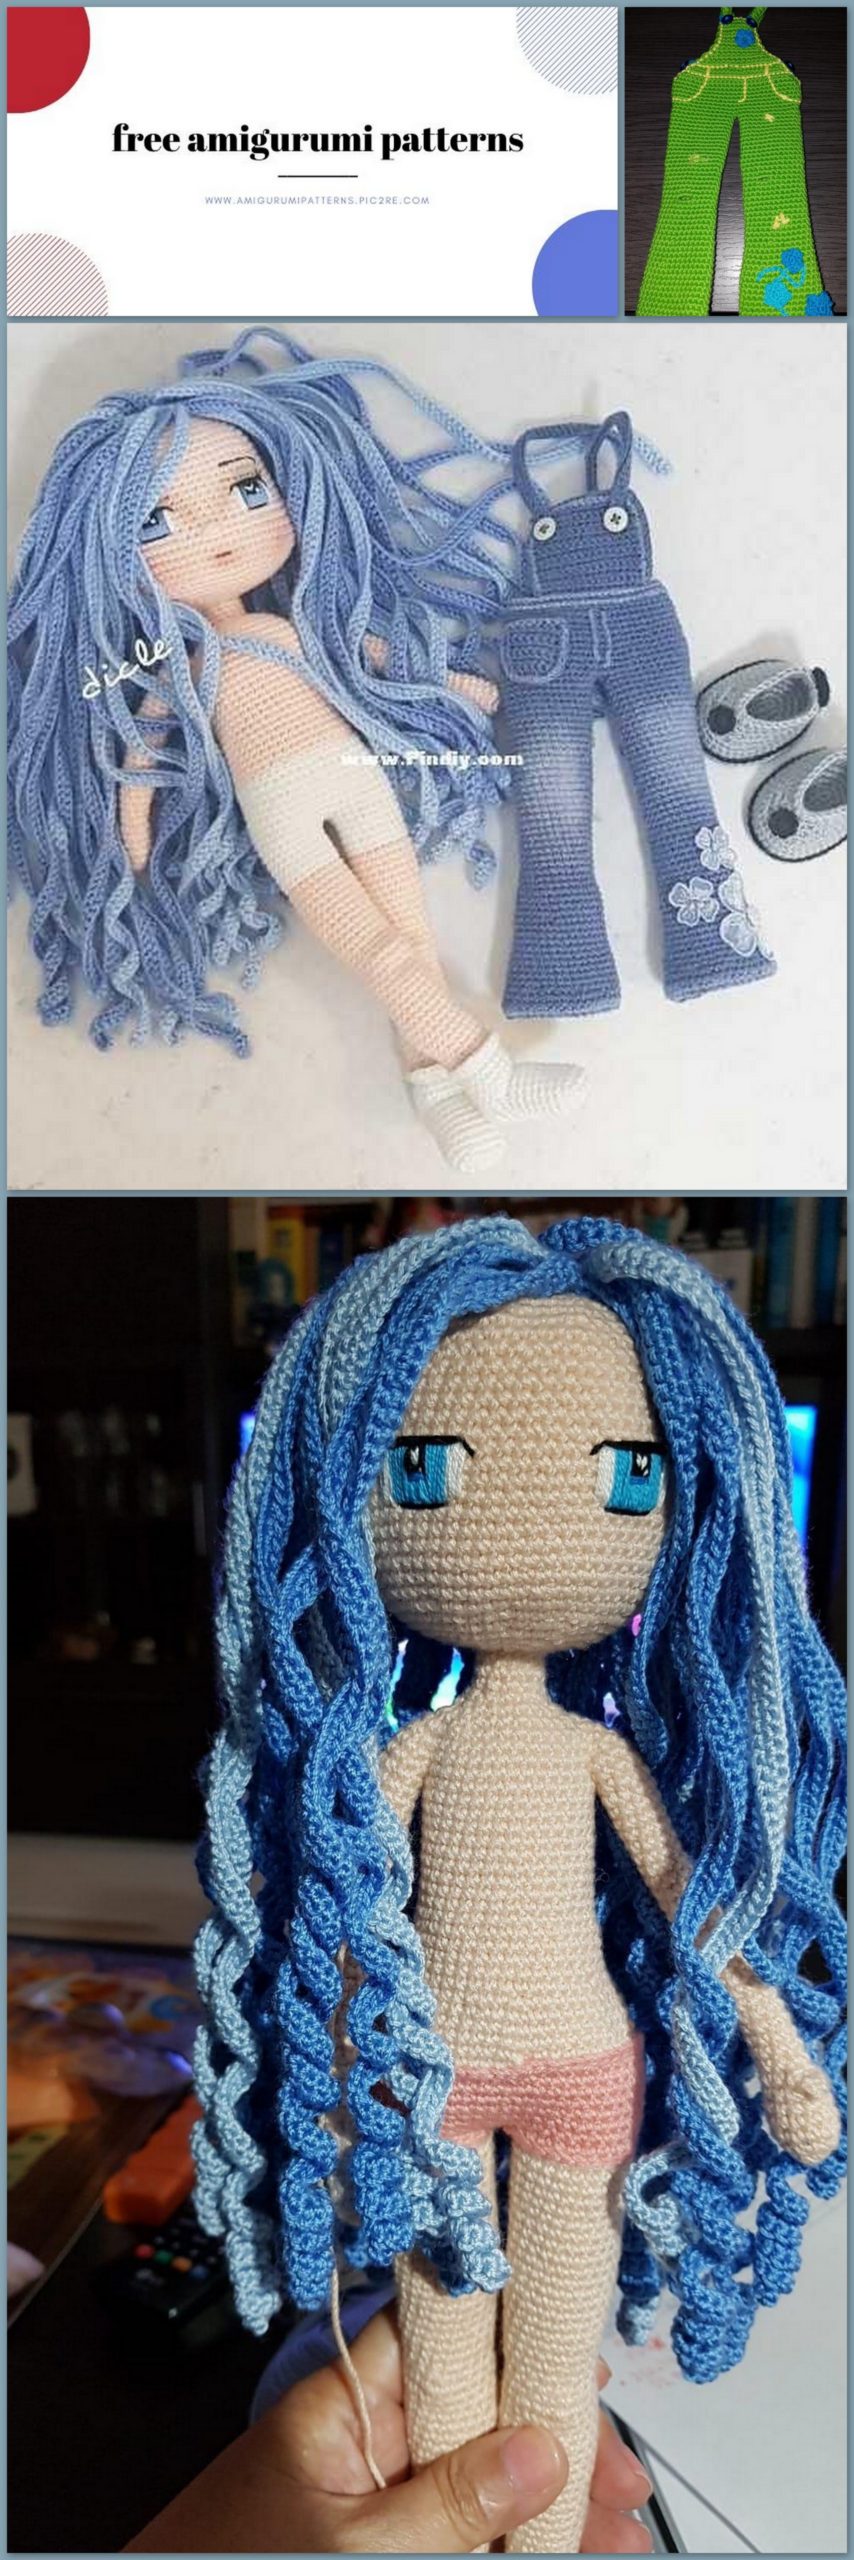
Amigurumi Doll Bonessa Free Crochet Pattern
Pinterest Offical Page : amigurumipatterns.pic2re.com
Facebook Group: amigurumipatterns.pic2re.com
Facebook Offical Page: amigurumipatterns.pic2re.com
We share the Amigurumi Doll Bonessa pattern for free. You can browse our website for free beautiful patterns.
Hands (2 pcs)
Knit with flesh color
Row 1: 6SC into magic ring 6
Row 2: 6İNC 12
Row 3 through 5: 12SC 12
Row 6: 10SC, 1İNC, turn, 2SC, turn, 1 DEC, 1SC
Row 7: (2SC, 1DEC) x 3 times 9
Row 8 through 35: 9SC 9
Note: both hands are the same.
Foot and feet (2pcs)
Dial 9CH, 2 loops from the hook.
ROW 1: 1İNC, 6SC, 4SC in 1 loop, from 2 sides of the chain 6SC, 1İNC. 20
Row 2: 2İNC, 6SC, 4İNC, 6SC, 2İNC 28
Row 3: (1SC, 1İNC) x 2 times, 6SC, (1İNC, 1SC) x 4 times, 6SC, (1SC, 1İNC) x 2 times 36
Row 4: BLO 36SC 36
Row 5 through 7: 36SC 36
Row 8: 12SC, 7DEC, 10SC 29
Row 9: 10SC, 5DEC, 9SC
Put the insole on your foot for stability 24
Row 10: 10SC, 3DEC, 8SC 21
Row 11: 8SC, 3DEC, 7SC 18
Row 12: 5SC, (1DEC, 1SC) x 3 times, 1DEC, 2SC 14
Row 13 to 16: 14SC 14
Row 17: 1İNC, 2SC, 1İNC, 10SC 16
Row 18 to 20: 16SC 16
Row 21: 2SC, 1İNC, 3SC, 1İNC, 9SC 18
Row 22 to 24: 18SC 18
Row 25: 4SC, 1İNC, 3SC, 1İNC, 9SC 20
Rows 26 and 27: 20SC 20
Row 28: 5SC, 1İNC, 4SC, 1İNC, 9SC 22
Row 29 to 31: 22SC 22
Row 32: 3SC, 1DEC, 10SC, 1DEC, 5SC 20
Row 33: 20SC 20
Make 9 extra stitches and place a marker at this point to center
knee
Row 34: 9SC, 3İNC, 8SC 23
Row 35: 1DEC, 21SC 22
Row 36: 8SC, 3DEC, 6SC, 1DEC 18
Row 37: 15SC, 1İNC, 2SC 19
Row 38: 5SC, 1İNC, 8SC, 1İNC, 4SC 21
Row 39: 21SC 21
Row 40: 4SC, 1İNC, 16SC 22
Rows 41 and 42: 22SC 22
Row 43: 7SC, 1 İNC, 10SC, 1İNC, 3SC 24
Row 44 to 56: 24SC 24
Some changes
We can make shorts. Knit in white or the color of your choice for pants up to 15 rows. Change to skin color and knit the back of the buttonhole (BLO) SC
Row 16A: Knit only BLO, one part of the loop will remain and bend in the desired direction, 14İNC cut the thread and hide it.
Row 16 B: Knit BLO 14SC
Follow the pattern with flesh color.
Notes = amended Row 11, which was correct. Keep the thread taut during operation, especially when reducing and enlarging so that there are no gaps.
Knit DEC in an invisible way
BODY
IMPORTANT READ
The first thing we are going to do is take our feet and see where the center is, and we
going to tie about 6 SC to get to this point, then cut the thread,
close and finish.
(To tie the panties, change the thread at the point marked in red on the right foot and do
SP, continue from 1st Row.)
Now take a colored thread for panties. And we are looking for the center of the groin of the second leg. At this moment we
we fasten the thread and make a loop that does not count. So we do CH and hook the other leg. IN
this time we do SL-ST on the other leg. At the end, we place the marker at this point, right in front of the SL-ST,
which connects two legs.
In white
Row 0: 24SL-ST, 1CH, 24SL-ST, place marker
Row 1: 1SC in 1 loop, 24SC on the left foot, 1SC on CH, 24SC on the right foot 50
Row 2: 10SC, 1İNC, 28SC, 1İNC, 10SC 52
Row 3 through 8: 52SC 52
Do not cut the thread
Change thread to flesh
Row 9: 10SC, 1DEC, 27SC, 1DEC, 11SC 50
Row 10: 50SC (do not cut the thread) 50
Take the thread, white, and knit the SL-ST when changing color. Cut the thread and
finish it.
Continue with flesh color
Row 11: 9SC, 1DEC, 5SC, 1DEC, 16SC, 1DEC, 5SC, 1DEC, 7SC 46
Row 12: 9SC, 1DEC, 4SC, 1DEC, 15SC, 1DEC, 4SC, 1DEC, 6 SC 42
Row 13: 42SC 42
Row 14: 9SC, 1DEC, 3SC, 1DEC, 14SC, 1DEC, 3SC, 1DEC, 5SC 38
Row 15: 9SC, 1DEC, 2SC, 1DEC, 13SC, 1DEC, 2SC, 1DEC, 4SC 34
Row 16 through 29: 34SC 34
We are tying Hands.
Row 1: 7SC, 3 SL-ST on the left hand and body, 14SC, 3 SL-ST on the right hand and body, 7SC 34
Row 2: 7SC, 6SC on the left hand, 14SC, 6SC on the right hand, 7SC 40
Row 3: 8SC, 2 DEC, 16SC, 2DEC, 8SC 36
Row 4: 4SC, 1DEC, 2SC, 1DEC, 2SC, 1DEC, 8SC, 1DEC, 2SC, 1DEC, 2SC, 1DEC, 4SC 30
Row 5: 3SC, 1DEC, 1SC, 1DEC, 1SC, 1DEC, 7SC, 1DEC, 1SC, 1DEC, 1SC, 1DEC, 4SC 24
Row 6: 3SC, 3DEC, 6SC, 3DEC, 3SC 18
Row 7: 1SC, 1DEC, x 6 times 12
Row 8 through 11: 12SC 12
We knit our head
Row 12: 12 İNC 24
Row 13: 3SC, 1İNC, x 6 times 30
Row 14: 2SC, (1İNC, 4SC) x 5 times, 1İNC, 2SC 36
Row 15: 5SC, 1İNC, x 6 times 42
Row 16: 3SC, (1İNC, 6SC) x 5 times 1İNC, 3SC 48
Row 17: 7SC, 1İNC, x 6 times 54
Row 18: 4SC, (1İNC, 8SC) x 5 times, 1İNC, 4SC 60
Row 19 through 35: 60SC 60
Stop at this point to embroider your eyes.
Wig version 1
We will make the wig the same crochet that we use for the body, and a thread of the same thickness.
When we have the strands of the first hair, we will try them on the head to make sure that this
the length we want. Otherwise, we will dissolve them to add CH chains,
until we get the desired length. It is knitted in a spiral, knitting all BLO stitches.
(Yellow photographs taken from Caro Created doll template).
Row 1: 6SC into magic ring 6
Row 2 BLO: 6 İNC 12
Row 3 BLO: (1SC, 1İNC) x6 times 18
Row 4 BLO: (2SC, 1İNC) x 6 times 24
Row 5 BLO: (3SC, 1İNC) x 6 times 30
Row 6 BLO: (4SC, 1İNC) x 6 times 36
Row 7 BLO: (5SC, 1İNC) x 6 times 42
Row 8 BLO: (6SC, 1İNC) x 6 times 48
Row 9 BLO: (7SC, 1İNC) x 6 times 54
Row 10 BLO: (8SC, 1İNC) x 6 times 60
At the end of the 10th Series, we will turn the hat we just made, without cutting the thread, we will begin to knit locks in the opposite direction.
İnc poisons of the first Series: dark color. For loops 10 rows of caps in the opposite direction. 100 CH. With 2 hook loops 15
İNC, 1SC in each remaining loop, SL-ST in the next loop of Series 10, and knit another 1 st.
We knit 100 CH again and repeat knitting like 1 strand. We knit so 30 strands. Finish SL-ST.
It is important to take into account not to miss a single point of the chain and always occupy the same side of the chain without twisting. It’ll be cool.
In 2 rows of strands we use light yarn 101 CH. . 15 İNC, 1SC in the remaining loops
At the end, skip 2 tbsp and knit 1SC to start the next strand, and so we knit 16 strands.
Complete the SL-ST series to start the next strand.
We skip 7 Row and start knitting in 6 Row.
We knit the third row of strands with dark thread, 101CH, 15 İNC, 1SC in each remaining loop.
12 strands Skip 5 Row and start Row 4.
4 A series of knit from light yarn
101 CH, with 2 loops from the hook 15 İNC, 1SC in each remaining loop. 8 strands.
Skip Row 3 knit in 2 Row.
We knit from a dark thread
101 CH, from 2 loops from the hook 15 İNC, 1SC to each remaining loop, 6 strands Seventh row of strands 104 CH, from 2 loops from the hook 15 İNC, 1SC to each remaining loop – 3 strands Finish SL-ST, cut and hide the thread .
Version wig number 2
We knit a hat in the same way as in version 1, but only 4 rows.
Row 1: 6SC into magic ring 6
Row 2 BLO: 6 İNC 12
Row 3 BLO: (1SC, 1İNC) x 6 times 18
Row 4 BLO: (2SC, 1İNC) x 6 times 24
The first row of hair in dark color in the 4th row:
103 CH, with 2 loops from the hook 15 İNC, 1SC in each remaining loop 24 strands.
Change to light yarn and knit 3Row 103 CH, with 2 loops from the hook 15 İNC, 1SC in each remaining loop of 9 strands.
Change to dark yarn and knit the 2nd Row 104 CH, with 2 loops from the hook 15 İNC, 1SC in each remaining loop of 6 strands.
Change to a dark color and continue to knit in 1 Series 104 CH, with 2 loops from the hook 15 İNC, 1SC in each remaining loop 3 strands.
Tie up the SL-ST and finish.
Now we put the wig on the head and sew it, sew the same strands from 4 rows along the head, as in the photo below:
(Photo taken from the Internet – an expensive doll created by another author)
We embroider eyes.
Finish knitting your head.
Row 36: (8SC, 1DEC) x6 times 54
Row 37: (7SC, 1DEC) x6 times 48
Row 38: (6SC, 1DEC) x6 times 42
Row 39: (5SC, 1DEC) x6 times 36
Row 40: (4SC, 1DEC) x6 times 30
Row 41: (3SC, 1DEC) x6 times 24
Row 42: (2SC, 1DEC) x6 times 18
We fill
Row 43: (1SC, 1DEC) x6 times 12
Row 44: 6DEC 6
To complete.
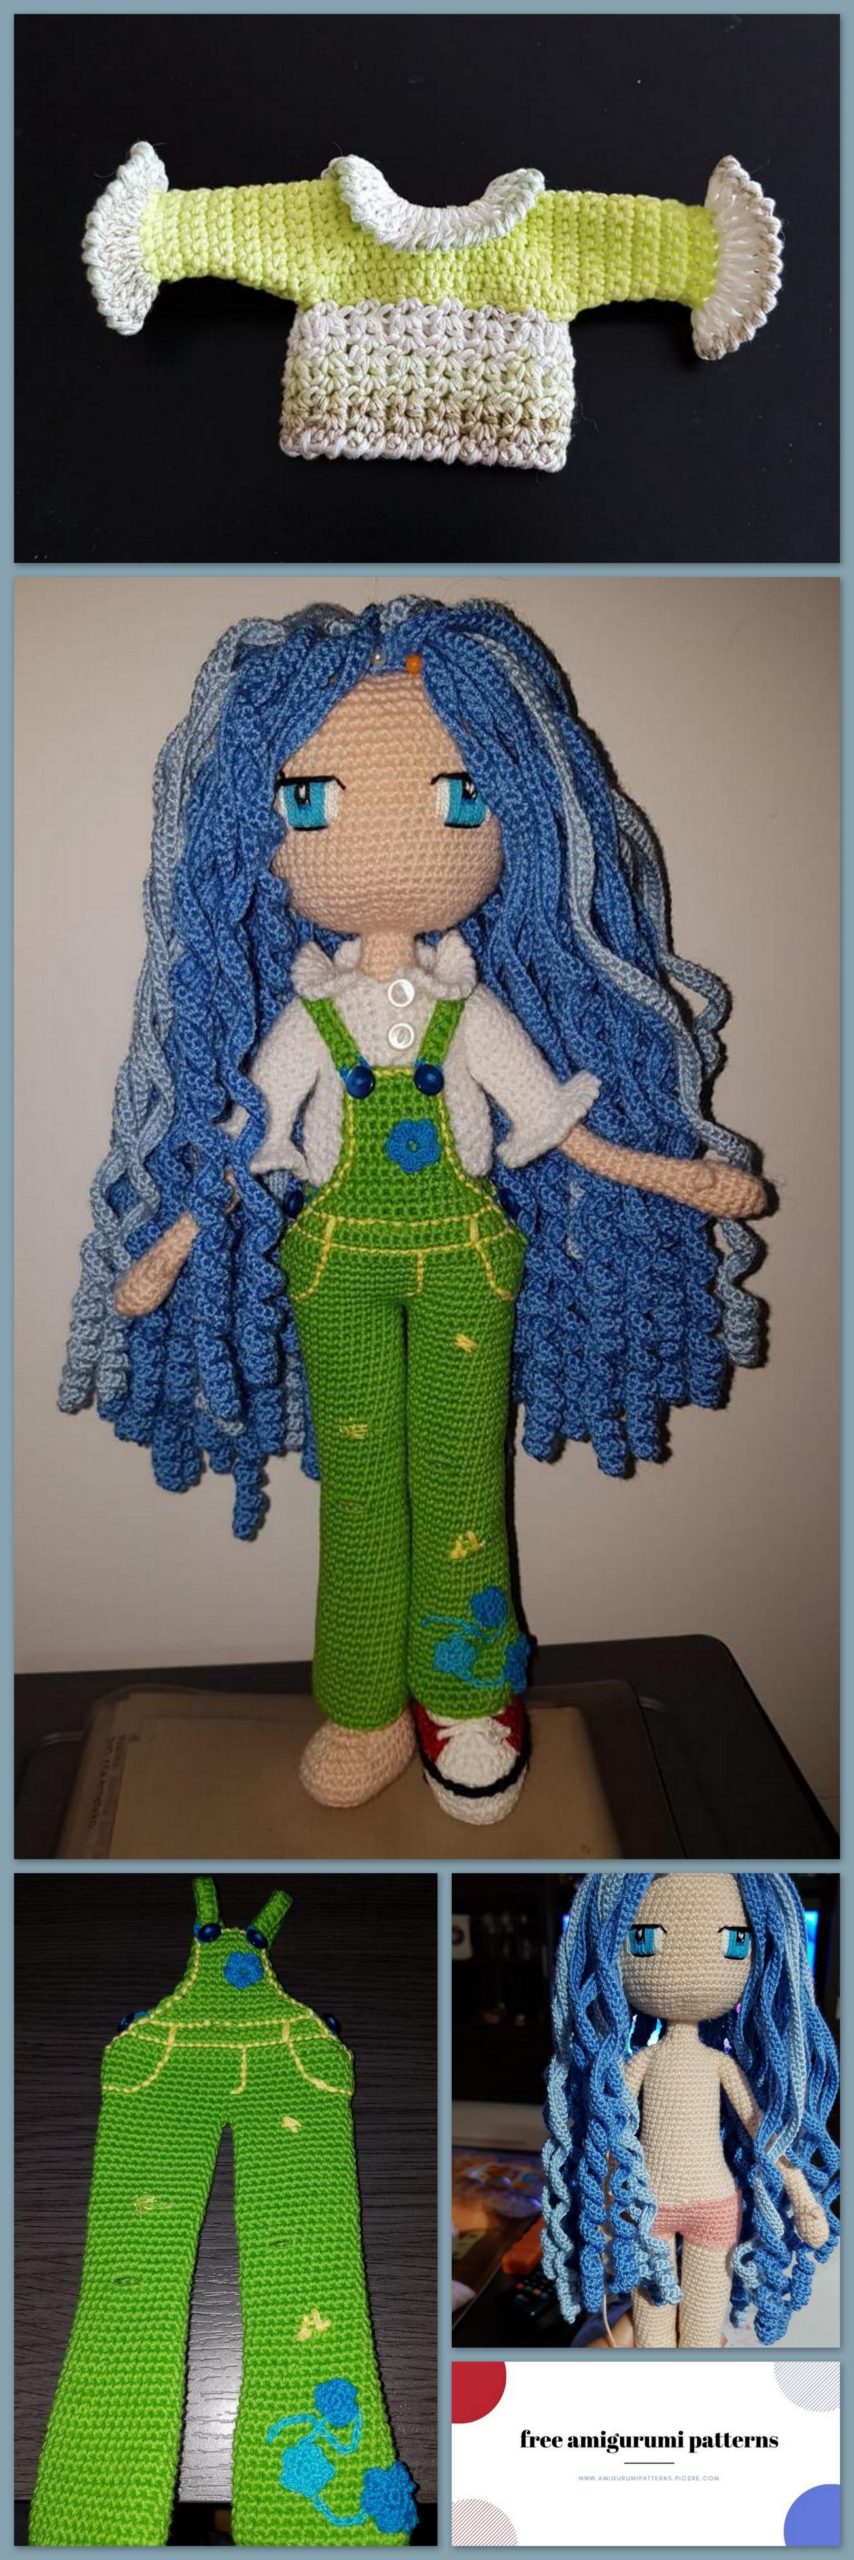
Sneakers
Material:
Cotton or acrylic 3 colors. Pick the right hook. In addition:
Thick cardboard or plastic for the insole
Paper and pencil
We will start by knitting a shoe strap, color (white).
Row 1: 4 SC into magic ring, 4
Row 2: 4İNC 8
Row 3: (1SC, 1İNC) x3 times, 1SC 10
Row 4: (2SC, 1İNC) x3 times, 2SC 14
Change the thread to the main color, cut off the white.
Row 5: 8SC for fingers, 1 CH, turn 8
Rows 6 and 7: 8SC, 1CH, turn 8
Row 8: 1SC, skip 1st, 4SC, skip, 1SC, 1CH, 6
Row 9 and 10: 6SC, 1CH, turn
Row 11: 6SC, turn
Row 12: 1SC, skip, 2SC, skip, 1SL-ST
To finish
Shoe sole:
Row 0: 9 CH
Row 1: 1İNC, 6SC, 4SC in 1 loop, 6SC, 1İNC, SL-ST, 1CH 20
Row 2: 2İNC, 6SC, 4İNC, 6SC, 2İNC, SL-ST, 1CH 28
Row 3: (1SC, 1İNC)
2, 4SC, 2HDC, (1İNC-HDC, 1HDC)
4, 2HDC, 4SC, (1SC, 1İNC) 2, 1SL-ST, 1CH 36
Row 4: BLO 36SC, 1SL-ST, 1CH 36
Row 5 through 6: 36SC, 1SL-ST, 1CH 36
To finish.
Fold in half to find the front center.
Count 7 st from this center to the heel and place the marker at point number 7. From this marker, count 14 st forward, and at this point number 14 place another marker.
Now let’s tie the shoe body and knit to the heel. Tie the thread in the color of the shoe at the previous point where we have the marker, and start the row with FLO 2 SC, that is, knitting only on the front wall of the loop. The first stitch in front of the marker, and the second on the marker, at the end of the Row, we finish with two stitches, occupying only the front.
Row 1: FLO 2SC, 22SC, FLO 2SC, 1CH 26
Row 2: 26SC, 1CH 26
Row 3: skip, 23SC, skip, 1SC, 1CH 24
Row 4: skip, 21SC, skip, 1SC, 1CH 22
Row 5: skip. 19SC, skip, 1SC, 1CH 20
Row 6: skip, 17SC, skip, 1SC, 1CH 18
Row 7: skip, 15SC, skip, 1SL-ST
We sew a tongue, previously connected to the front of the shoe.
We knit a chain ornament on the entire sole of black color, where we change the color:
in the 2nd row and between the 4th and 5th rows. We knit a chain of 70CH for laces.
We can make shoes of one color or several, we can embroider a star or put 3 stars, like in pants, imagination is free
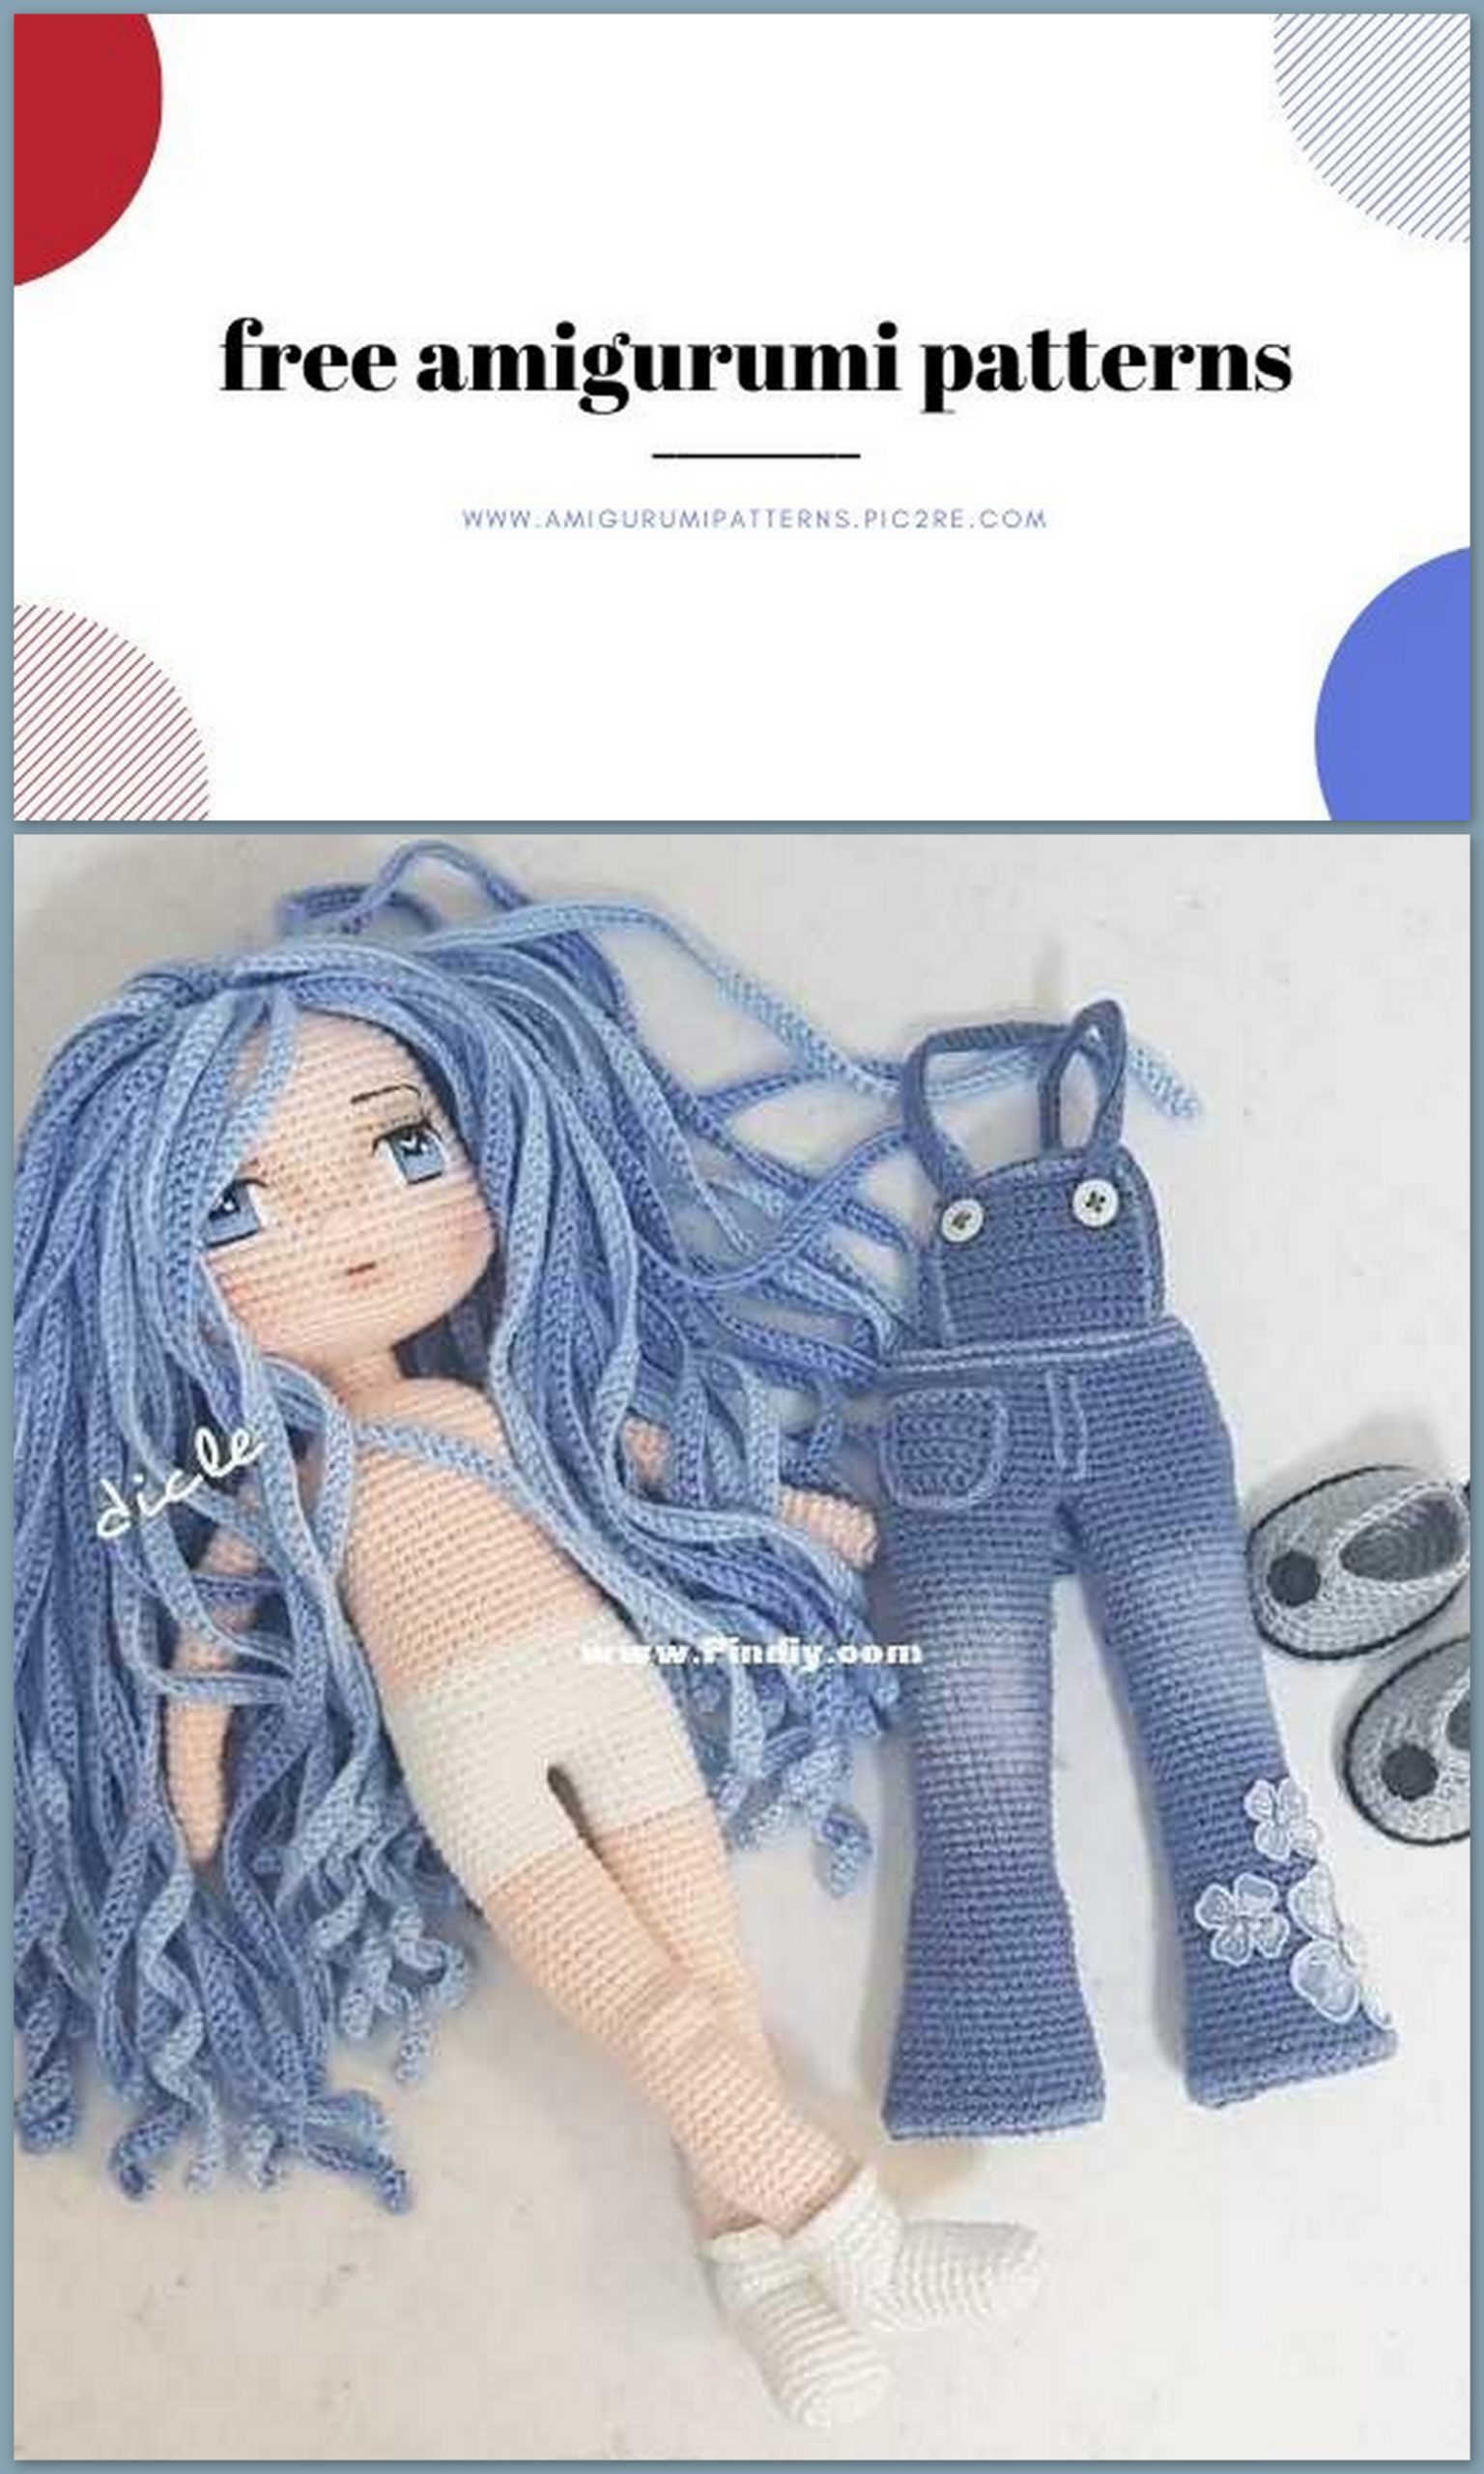
Jumpsuit with breast
We will use the same hook as on the case, and a thread of a similar thickness.
Try on the doll so that it is exactly in shape. If you see that a little bit, take a little more hook.
Let’s start with the left leg.
Dial 30 CH and connect 1SL-ST to form a ring.
Left leg
Row 0: 30 CH, 1SL-ST.
Rows 1 to 12: 30 SC 30
Row 13: 9SC, 1, 9SC, 1, 8SC 28
Row 14 to 16: 28SC 28
Row 17: 8SC, 1, 8SC, 1, 8SC 26
Row 18 to 20: 26SC 26
Row 21: 6SC, 2CH, skip 2 stitches, 18 sc 26
Row , 2SC to CH, 18SC 26
Row 23 to Row 28: 26SC 26
Row 29: 10SC, 3CH, skip 3 stitches, 13SC 26
Row 30: 10SC, 3SC in CH, 13SC 26
Row 31: 26SC 26
Row 32: 4SC, 1İNC, 12SC, 1İNC, 8SC 28
Row 33 to Row 44: 28SC 28
Row 45: 6SC, 11SL-ST. To finish.
Right leg
We knit up to the 20th row in the same way.
Row 21 to Row 24: 26SC 26
Row 25: 7SC, 41CH, skip 4 stitches, 15SC 26
Row 26: 7SC, 4SC at 1CH, 15SC 26
Row 27 to Row 31: 26SC 26
Row 32: 4SC, 1İNC, 12SC, 1İNC, 8SC 28
Row 33: 28SC 28
Row 34: 9SC, 31CH, skip 3 stitches, 16SC 28
Row 35: 9SC, 3SC at 1CH, 16SC 28
Row 36 to Row 44: 28SC 28
Row 45: 7 SC, 1CH thread not cut
Fold both legs together, just as we did with the body at the joint of the legs, the process
same.
The only difference is that this time we will bypass the back.
Take the last loop of the right foot and the left foot and connect 1CH, SL-ST.
Row 1: 28SC on the left foot, 1SC on 1CH, 28SC on the right foot, 1SC on 1CH, 1SL-ST, 1CH, 58
Row 2: 58SC, 1SL-ST 1CH, 58
Row 3: 14SC, 1İNC, 28SC, 1İNC, 14SC, 1SL-ST, 1CH, 60
Row 4 to Row 7: 60SC, 1SL-ST 1CH, 60
Now we are going to tie the chest and back under the straps, that is, we will knit in rotary rows. 1 . For the back
Row 8: 16SC, 1CH, turn 16
Row 9: 29SC, 1SL-ST, Turn 29
Row 10 and Row 11: 29SC, 1SL-ST, turn 29
Row 12: 29PS, 1SL-ST, Turn 29
Row 13: 12SC, DEC, 1SC, DEC, 12SC, 1SL-ST, Turn 27
Row 14: 6SL-ST, 7SC, DEC, 6SC, 1SL-ST, Turn 14
Row 15: 1SC, skip 1SC, 10SC, skip 1st, 1SC, 1SL-ST, turn = 12
Row 16: 1SC, skip 1SC, 8SC, skip 1st, 1SC, 1SL-ST, turn = 10
Row 17: 1SC, skip 1SC, 6SC, skip 1st, 1SC, 1SL-ST, turn = 8
Row 18: 1SC, skip 1SC, 4SC, skip 1st, 1SC, 1SL-ST, turn = 6
Row 19: 1SC, skip 1SC, 2SC, skip 1st, 1SC, 1SL-ST, turn = 4
Row 20: 2DEC, 1SL-ST, Turn 2
Row 21: 1DEC, 1SL-ST, Turn 1
Close and hide the thread.
2 For breast
Row 8: 1SC, skip 1SC, 27SC, skip 1SC, 1SC, 1SL-ST, turn 29
Row 9: 1SC, skip 1SC, 25SC, skip 1SC, 1SC, 1SL-ST, turn 27
Row 10: 1SC, skip 1SC, 23SC, skip 1SC, 1SC, 1SL-ST, turn 25
Row 11: 1SC. skip 1SC, 21SC, skip 1SC, 1SC, 1SL-ST, turn 23
Row 12: 1PS, skip 1SC, 8PS, 2, 7PS, skip 1SC, 1PS, 1SL-ST, pov 19
Row 13: 1SC, skip 1SC, 15SC, skip 1SC, 1SC, 1SL-ST, turn 17
Row 14: 1SC, skip 1SC, 13SC, skip 1SC, 1SC, 1SL-ST, turn 15
Row 15: 1SC, skip 1SC, 11SC, skip 1SC, 1SC, 1SL-ST, turn 13
Row 16: 1SC, skip 1SC, 9SC, skip 1SC, 1SC, 1SL-ST, turn 11
Row 17: 1SC, skip 1SC, 7SC, skip 1SC, 1SC, 1SL-ST, turn 9
Row 18 to Row 20: 9 SC, 1SL-ST, turn 9
Here you can add a few more rows if necessary.
Straps.
We knit: 23 CH (Measure on the doll and make more CH, if necessary), from 2 loops from the hook 21SL-ST, in the last loop repeat 23 CH from 2 loops from the hook knit 21SL-ST.
At the junction, knit 2PS, turn and tie SL-ST
IN THE BOTTOM, MAKE A STICKER OR AN EMBROIDERY.
COVER THE BAG AND POCKETS.
TAKE A BASIC PHOTO FOR THE BASIS.
Shirt
Material:
The same hook and thread as for trousers.
4 markers
2 buttons
Note: stitches in brackets are knitted in one loop.
Chain 22+ 1 CH, 1SL-ST
Row 1: 3SC, (1SC, 1SL-ST, 1SC), 3SC, (1SC, 1SL-ST, 1SC), 6SC, (1SC, 1SL-ST,
1SC), 3SC, (1SC, 1SL-ST, 1SC), 3SC, 1SL-ST, turn
Row 2: 4SC, (1SC, 1SL-ST, 1SC), 5SC, (1SC, 1SL-ST, 1SC), 8SC (1SC, 1SL-ST, 1SC), 5SC, (1SC, 1SL-ST, 1SC), 4SC, 1SL-ST, turn
Row 3: 5SC, (1SC, 1SL-ST, 1SC), 7SC, (1SC, 1SL-ST, 1SC), 10SC, (1SC, 1SL-ST, 1SC), 7SC, (1SC, 1SL-ST, 1SC) , 5SC, 1SL-ST, rotation
Row 4: 6SC, (1SC, 1SL-ST, 1SC), 9SC, (1SC, 1SL-ST, 1SC), 12SC, (1SC, 1SL-ST, 1SC), 9SC, (1SC, 1SL-ST, 1SC) , 6SC, 1SL-ST, turn
Row 5: 7SC, (1SC, 1SL-ST, 1SC), 1SC, (1SC, 1SL-ST, 1SC), 14SC, (1SC, 1SL-ST, 1SC), 11SC, (1SC, 11SL-ST, 1SC) , 7SC, 1SL-ST, turn
Row 6: 8SC, (1SC, 1SL-ST, 1SC), 13SC, (1SC, 1SL-ST, 1SC), 16SC, (1SC, 1SL-ST, 1SC), 13SC, (1SC, 1SL-ST, 1SC) , 8SC, 1SL-ST, rotation
We place a marker in every corner of the last Series. And we begin to decrease
Row 7: 9SC, (1SC, 1SL-ST, 1SC,), 15SC, 1SC, 1SL-ST, turn. Next, start the numbering again from 1 rad (sleeve).
Row 1 to Row 3: 17SC, 1SL-ST, turn
Row 4: 1DEC, 13SC, 1DEC, 1SL-ST, Turn
Row 5 to Row 10: 15SC, 1SL-ST, turn
Row 11: 15SC
Fold the sleeve and knit over the 2 sides of the SL-ST, closing it until you reach the dark purple marker.
Now we follow from behind, the first art. in the space where the UV marker is located. That would be in the 7th Series that we had before the shirt was made
Row 7: 1SC, 18SC, (1SC, 1SL-ST, 1SC,), 15SC, 1SC, 1SL-ST, turn.
——————————————–
Row 1 to Row 3: 17SC, 1SL-ST, turn
Row 4: 1DEC, 13SC, 1DEC, 1SL-ST, Turn
Row 5 to Row 10: 15SC, 1SL-ST, turn
Row 11: 15SC
Fold the sleeve and knit over the 2 sides of the SL-ST, closing it until you reach the green marker.
Now we knit in front, the first point in the space where the green m arker is located. That b The 7th row, which we had before the creation of the shirt, will be removed.
Row 7: 1SC, 9SC, Turn
Now we are knitting the shirt itself.
We have 10SC in front, 20 SC in front and 10 SC in front.
Note: stitches in brackets are knitted in one loop.
Row 1: 3 CH and 1HDC in 1 loop, skip 2 stitches, (1HDC, 1CH, 1HDC), skip 2 stitches, (1HDC, 1CH, 1HDC), repeat this sequence until the end of the Series.
We have 4 arches in front, 6 arches on the back and 4 arches in front
Row 2: Now we add one on each side and we get 16.
See chart
Knit another 5 Rows with the same design. Cut the thread and hide.
Tie the jacket with a crustacean step.
We start from the front, continue along the back and end on the other side.
On the back of the shirt we will tie a collar, which is a DC.
We attach the thread and knit 4 CH, HDC in the same loop as CH, (1DC, HDC),
(1DC, 1HDC) continue to the end of the gate.
Do not cut the thread, but tie the collar with a spanking step.
On the sleeves we make lace, just like a collar.
Sew one or two buttons on the simple part of the shirt, it depends on the size and number of stitches you made.