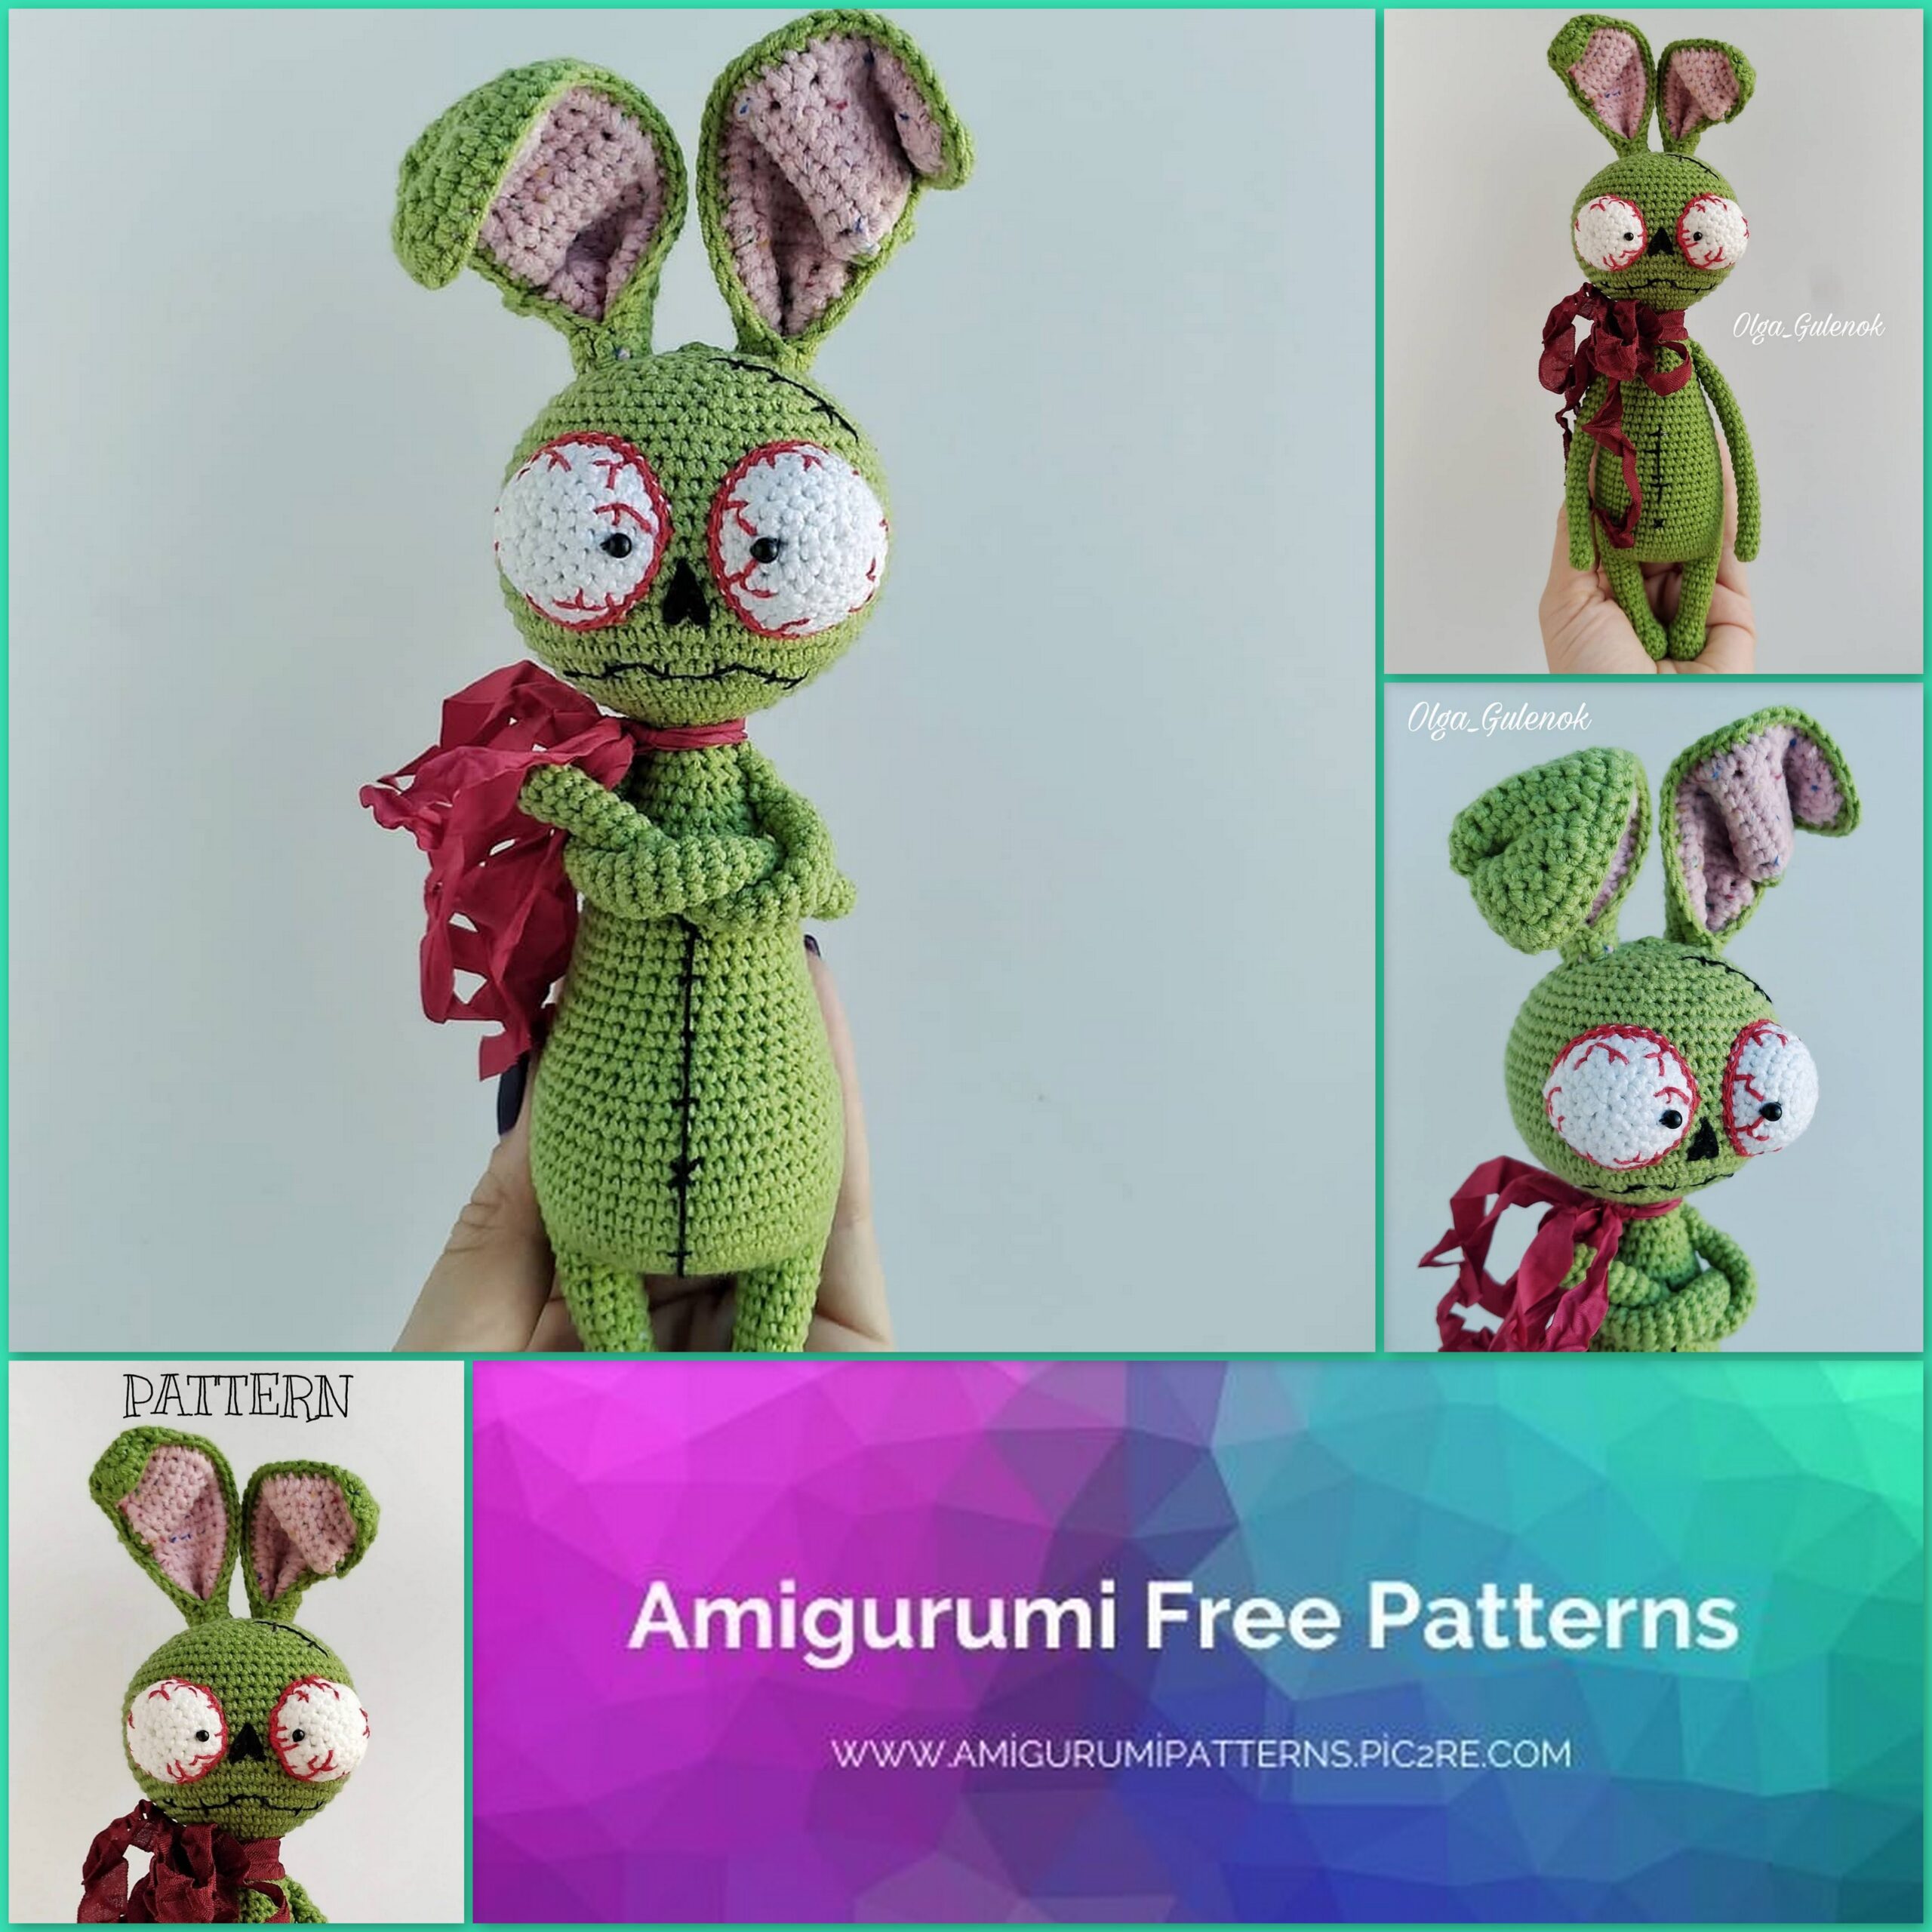
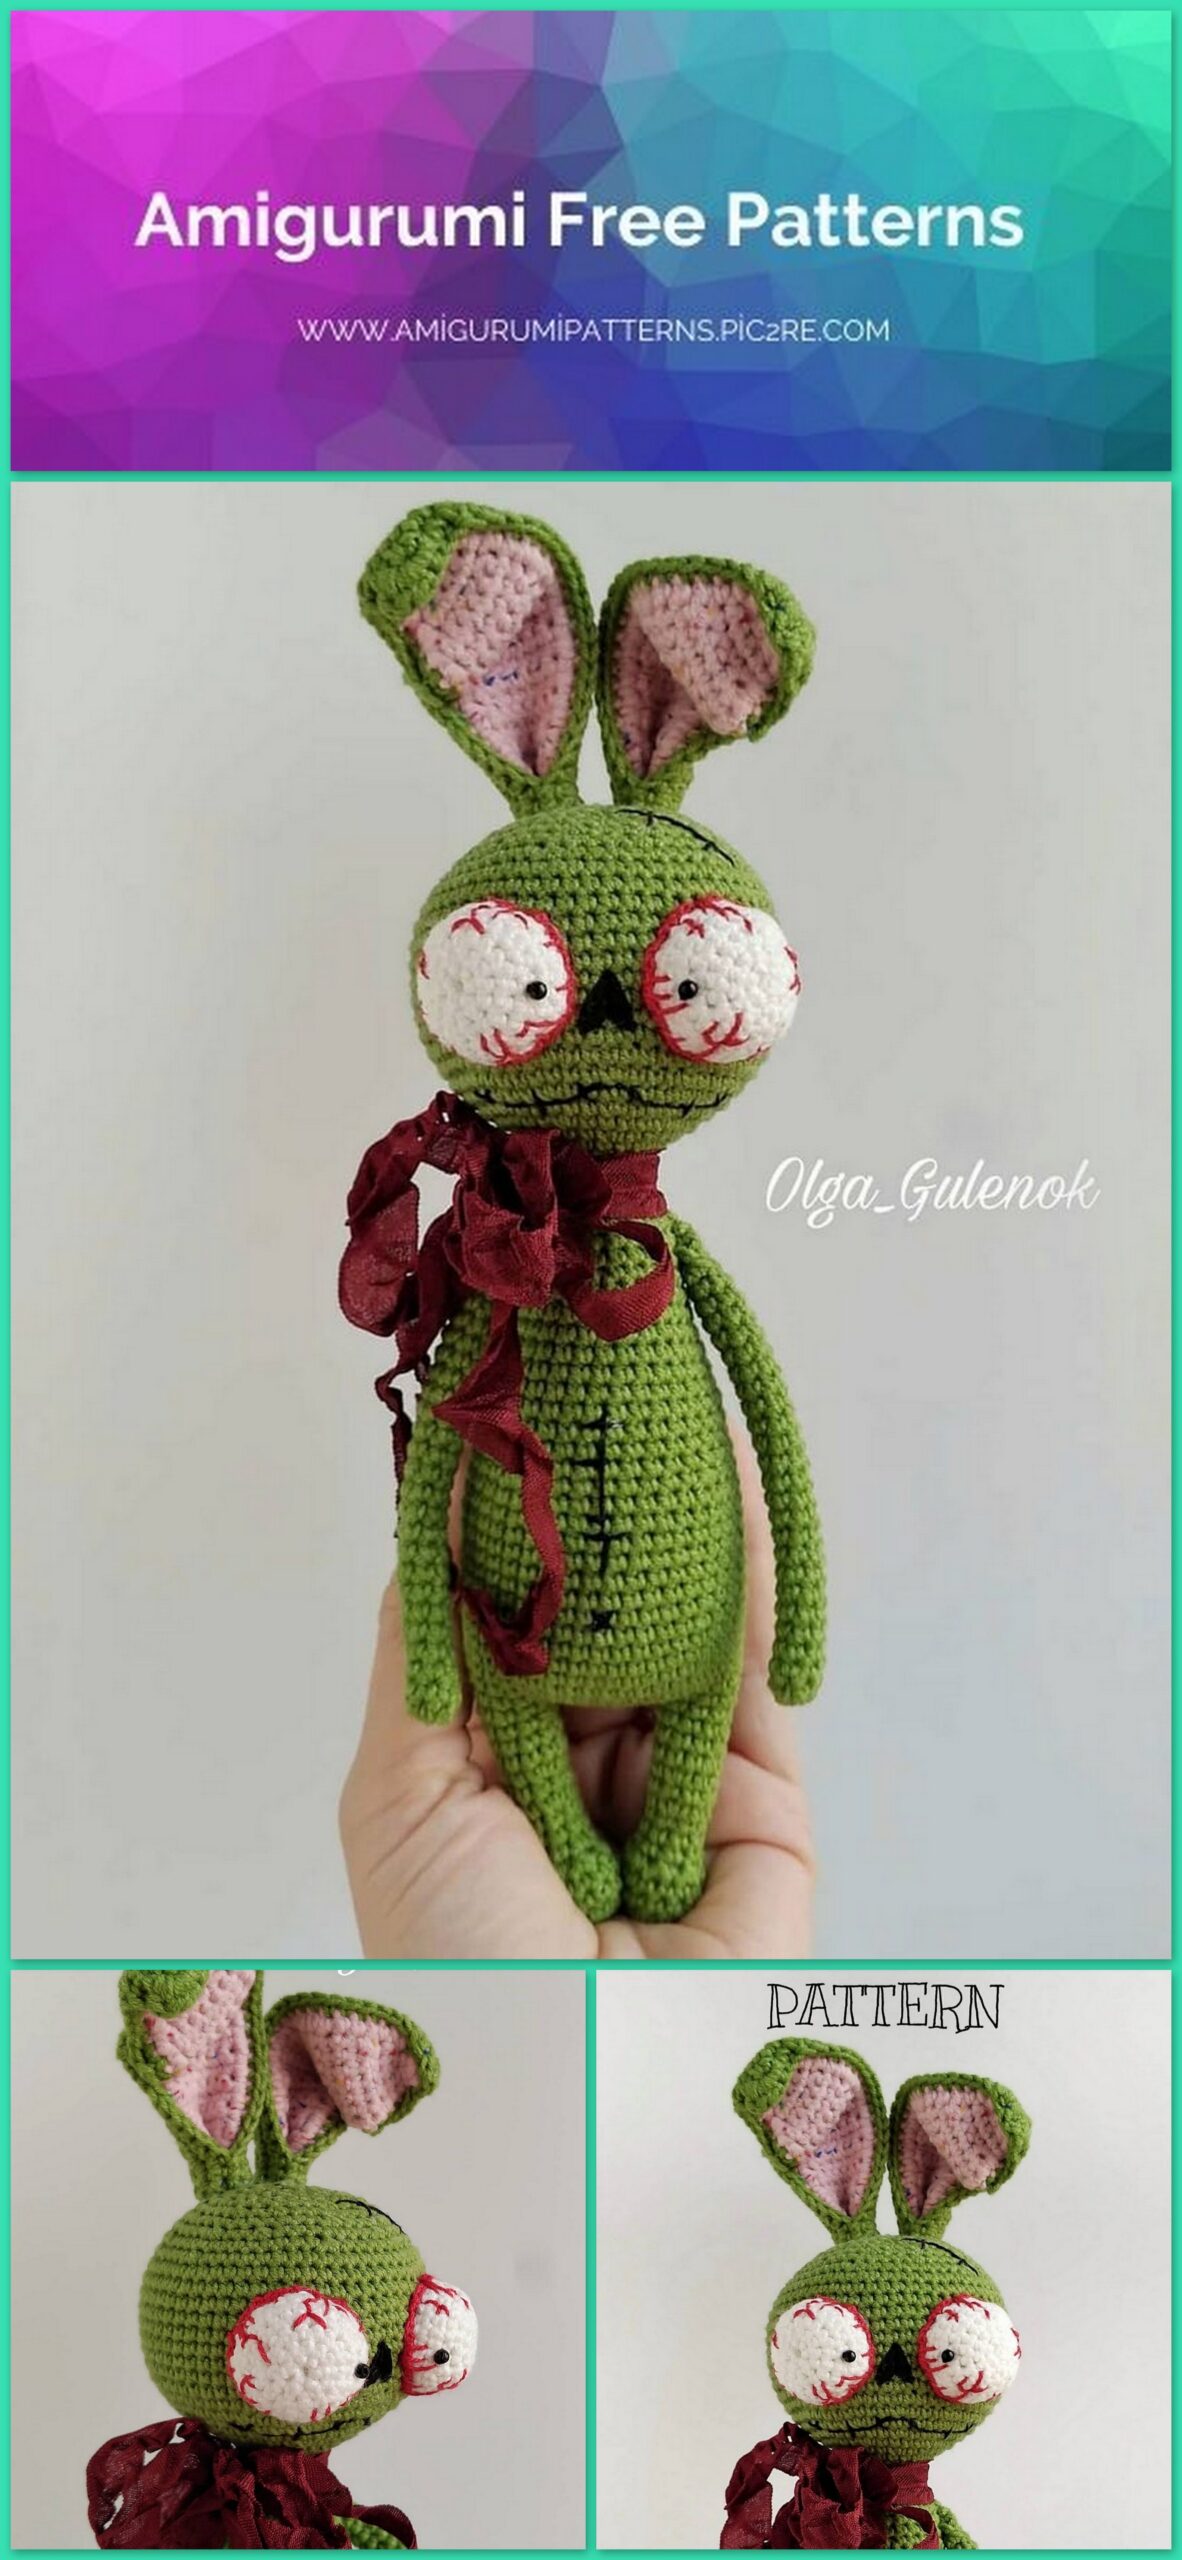
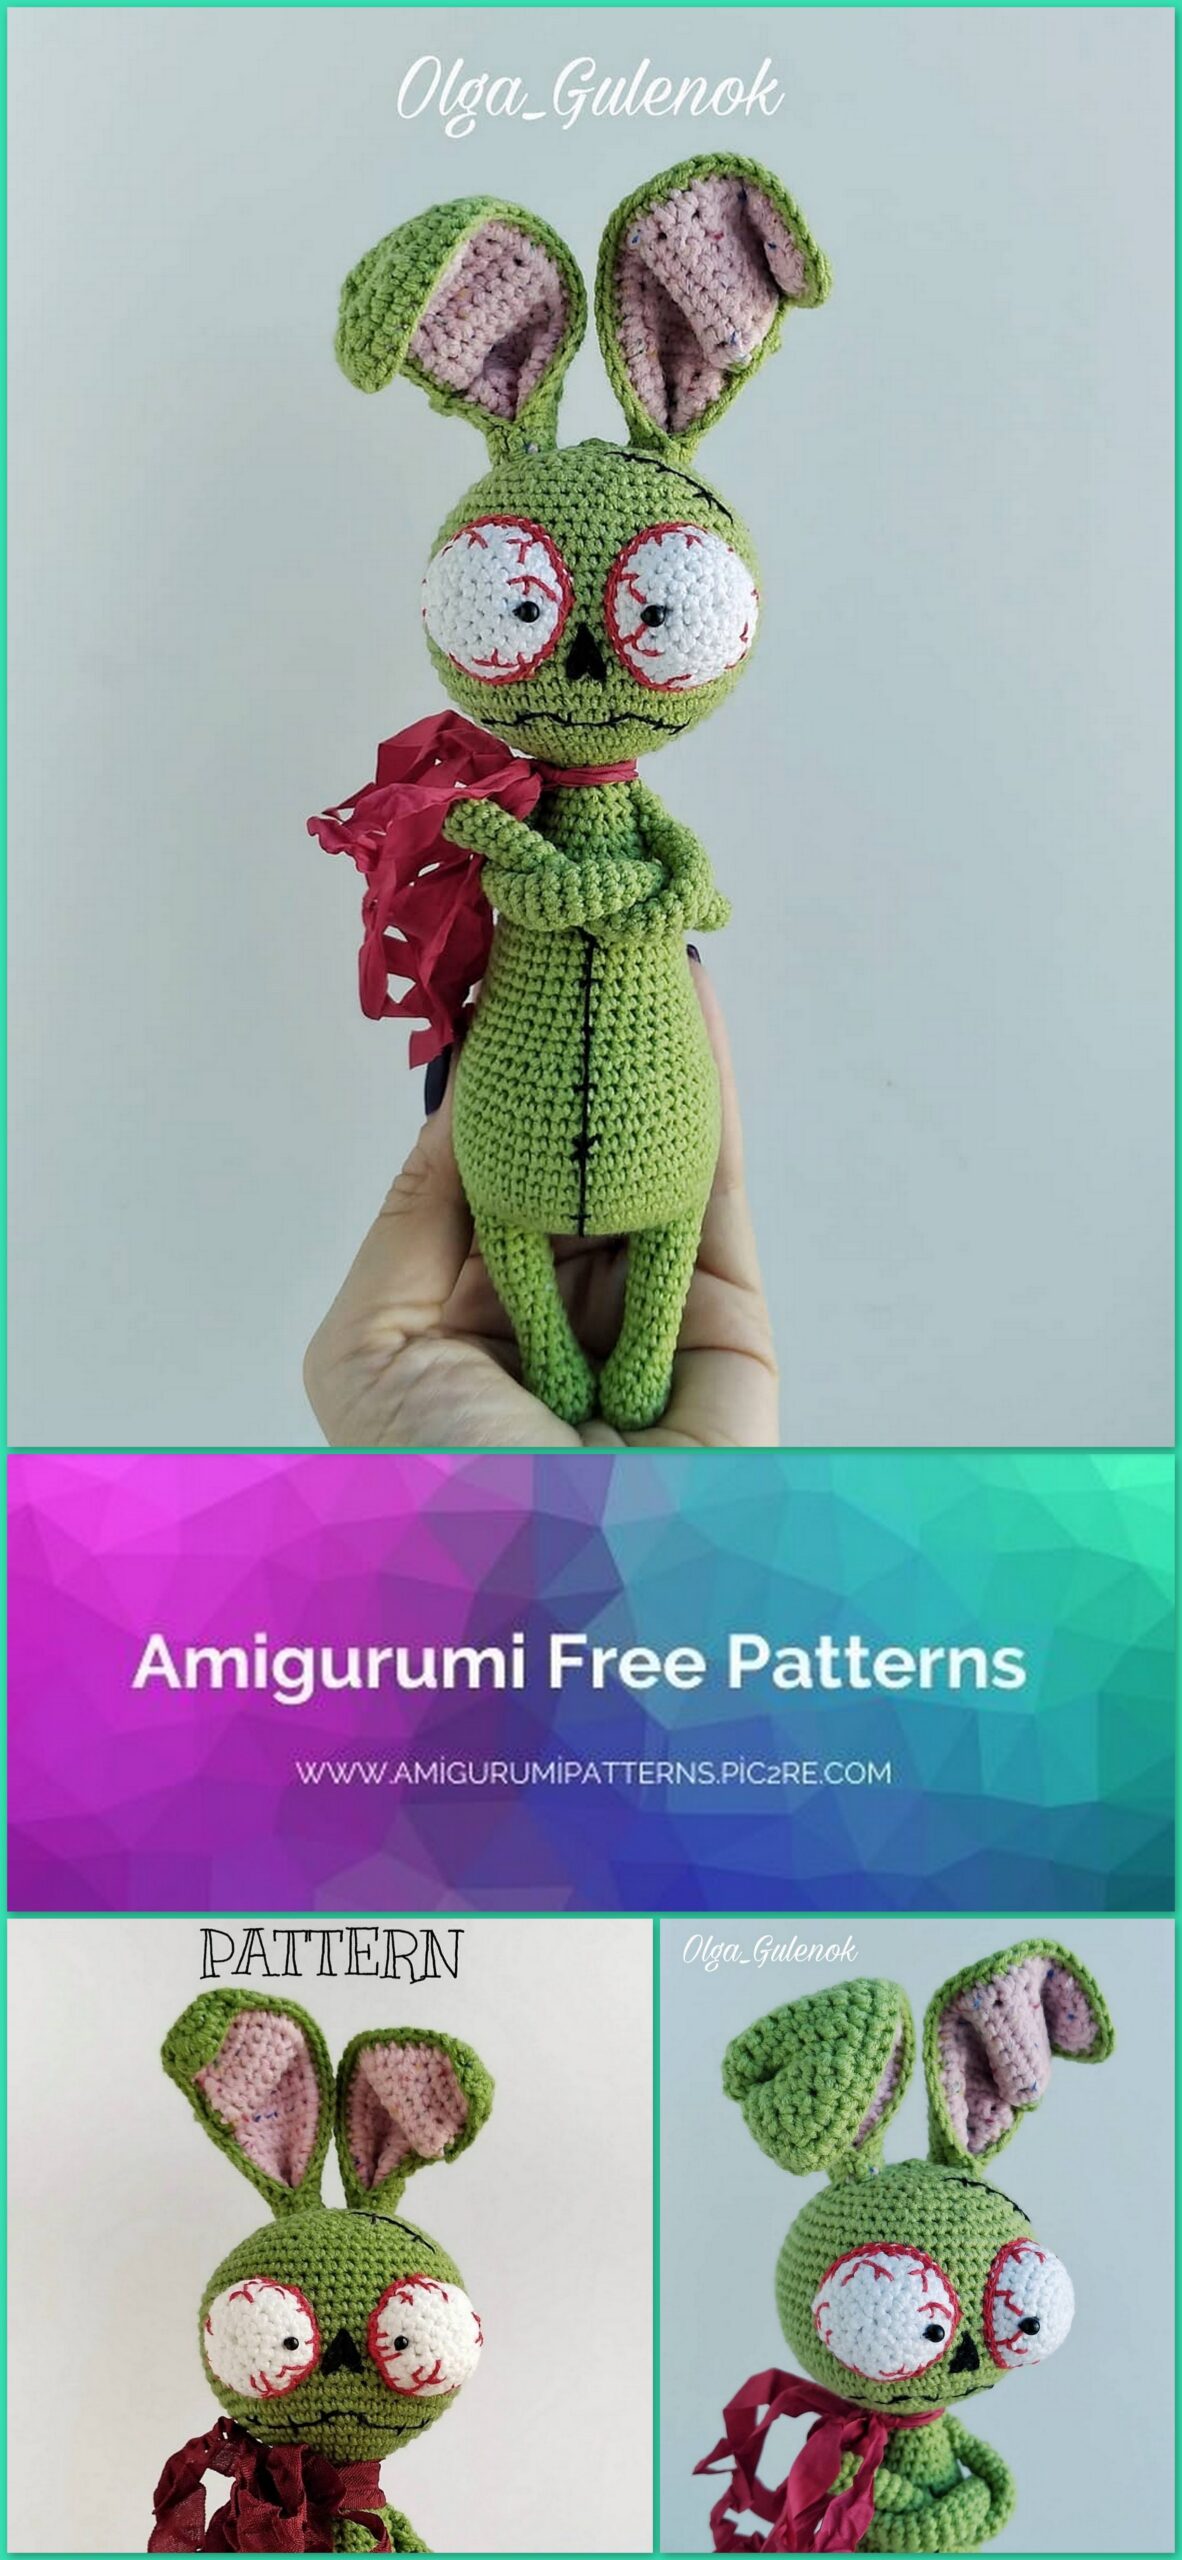
Amigurumi Zombie Bunny Free Pattern
Pinterest Offical Page : amigurumipatterns.pic2re.com
Facebook Group: amigurumipatterns.pic2re.com
Facebook Offical Page: amigurumipatterns.pic2re.com
You will need:
Green Alize Cotton Gold yarn 100 g / 330 m (for bunny)
Pink Alize Cotton Gold yarn (for ears)
Gazzal Baby Cotton white yarn (for eyes)
Note: Alize Cotton Gold can be replaced with Yarn Art Jeans (160m / 50g)
Iris yarn, or other 25 g / 150 m red and black (for capillaries and scars)
Hook number 1.5 (for bunny)
Filler (sintepon or holofiber)
Wooden stick for stuffing
Tapestry sewing needle
Shabby ribbon for decoration, or other decor that you like.
From these materials, I got a hare about 23 cm.
The size of the finished toy will depend on the yarn you choose. If you want the toy to be larger or smaller than the indicated sizes, take a thicker
or fine yarn.
Abbreviations:
ch = chain loop
sc = single crochet
dc = double crochet
dec = decrease
inc = increment
sl-st = connecting post
Important:
1. Every detail starts with an amigurumi ring (magic ring). We knit in a spiral, i.e. at the end of the row, sl-st is NOT necessary.
2. Try to knit tightly. If the loops are not tight, try using a smaller hook.
3. While knitting, constantly stuff your toy with filler. Dense padding will betray and help keep it in shape. For this purpose, it is convenient to use wooden sticks: Chinese chopsticks / skewers / manicure sticks. For finer details, opt for thinner sticks.
So, we will knit from the bottom up, so we start with the legs.
Legs:
(knit with green thread)
1 p .: 6 sc into magic ring
2 p .: 6 inc (12)
3-4 p. (2 rows): 12 sc (12)
5 p .: 4 dec., 4 sc (8)
6-8 p. (3 rows): 8 sc (8)
9 p .: 2 sc, inc, 5 sc (9)
10 p .: 9 sc (9)
11 p .: 3 sc, inc, 5 sc (10)
12-14 p. (3 rows): 10 sc (10)
Cut the thread.
We knit the second leg in the same way, but at the end we do not cut the thread !!!
We connect the legs:
Mark the beginning of the row with a marker (you can use a contrasting thread) and knit 3 sc, then a chain of 6 ch, attach the thread to the second leg in the following way:
count 3 loops from the end (in the opposite direction) of knitting, insert the hook into the third loop and continue to knit in a circle 10 sc, then along a chain of 6 sc loops, move to the first leg and knit 7 sc (32)
Mark the beginning of the row and continue to knit increments.
Increases:
1 p .: 3 sc, inc, 4 sc, inc, 10 sc, inc, 4 sc, inc, 7 sc (36)
2 p .: 3 sc, inc, 6 sc, inc, 10 sc, inc, 6 sc, inc, 7 sc (40)
3-15 p. (13 rows): 40 sc (40)
Stuff the legs, because then it will be inconvenient to do.
Decreases:
16 p .: 4 sc, dec, 6 sc, dec, 10 sc, dec, 6 sc, dec, 6 sc (36)
17 p .: (dec, 16 sc) * 2 (34)
18-19 p. (2 rows): 34 sc (34)
20 p .: (dec, 15 sc) * 2 (32)
21-22 p. (2 rows): 32 sc (32)
23 p .: (dec, 14 sc) * 2 (30)
24 p .: 30 sc (30)
25 p .: (dec, 13 sc) * 2 (28)
26 p .: 28 sc (28)
We fill the torso and continue to knit
27 p .: (dec, 5 sc) * 4 (24)
28 p .: 24 sc (24)
29 p .: (dec, 4 sc) * 4 (20)
30 p .: 20 sc (20)
31 p .: (dec, 3 sc) * 4 (16)
32 p .: (dec, 2 sc) * 4 (12)
33-34 p. (2 rows): 12 sc (12)
Do not cut the thread !!! We continue knitting.
Head:
35 p .: (1 sc, inc) * 6 (18)
36 p .: inc, (2 sc, inc) * 5, 2 sc (24)
37 p .: (3 sc, inc) * 6 (30)
38 p .: 1 sc, inc, (4 sc, inc) * 5, 3 sc (36)
39 p .: (5 sc, inc) * 6 (42)
40 p .: 2 sc, inc, (6 sc, inc) * 5, 4 sc (48)
41 p .: (7 sc, inc) * 6 (54)
42 p .: 3 sc, inc, (8 sc, inc) * 5, 5 sc (60)
43-52 p. (10 rows): 60sc (60)
53 p .: 3 sc, dec, (8 sc, dec) * 5, 5 sc (54)
54 p .: (7 sc, dec) * 6 (48)
55 p .: 2 sc, dec, (6 sc, dec) * 5, 4 sc (42)
56 p .: (5 sc, dec) * 6 (36)
57 p .: 1 sc, dec, (4 sc, dec) * 5, 3 sc (30)
58 p .: (3 sc, dec) * 6 (24)
59 p .: dec, (2 sc, dec) * 5, 2 sc (18)
60 p .: (1 sc, dec) * 6 (12)
61 p .: 6 dec (6)
Pull off the hole and cut the thread.

Handles:
(knit with green thread)
1 p .: 7 sc into magic ring
2-24 p. (23 rows): 7 sc (7)
25 p .: 2 sc, dec, 3 sc (6)
26 p .: 6 sc (6)
27 p .: 2 sc, dec, 2 sc (5)
Cut the thread so that it is long enough for sewing.
We knit the second handle in the same way.
Ears:
(knit, turning rows)
1 p .: 5 ch + 1 ch lifting
2-4 p .: 5 sc (5)
5 p .: inc, 3 sc, inc (7)
6-20 p .: 7 sc (7)
21 p .: dec, 3 sc, dec (5)
22-23 p .: 5 sc (5)
24 p .: dec, 1 sc, dec (3)
25 p .: 3 sc (3)
26 p .: triple decrease (we knit 3 sc in one)
We finish knitting. You need to connect 2 pieces of pink and 2 pieces of green
colors.
Each piece must be tied with the appropriate color around the perimeter. Then fold the pink and green parts together (wrong side to each other), and tie them in green. Leave a long sewing thread at each of the ears, fold the bottom of the ear in half and sew the base.
Next, we outline the place for sewing the ears to the head. We fix them there and begin to form the eyelet.
To give the ears an interesting shape, we make creases in the right places, fix them with needles or pins, and sew them with a green thread. Try to make the seams as visible as possible.
Eyes:
(knit with white yarn)
1 p .: 6 sc into magic ring (6)
2 p .: 6 inc (12)
3 p .: (1 sc, inc) * 6 (18)
4 p .: inc, (2 sc, inc) * 5, 2 sc (24)
5 p .: (3 sc, inc) * 6 (30)
6 p .: 30 sc (30)
Finish knitting, leave the thread for sewing.
Ponytail:
(knit with green thread)
İNTO MAGİC RİNG: sc, hdc, sl-st, 2 ch, dc, 2 ch, sl-st, hdc, sl-st.
Leave thread for sewing
Assembly and design:
1. Sew the handles to the torso. Make sure they are on the same level.
2.Use a blind stitch to sew the ears to the head.
3. Shape the eyes:
A) Turn the eyes with the wrong side out and sew them on. Stuff with filler before finishing the seam.
B) Sew on beads instead of pupils (you can also embroider them)
C) Embroider the capillaries with red thread
4. Embroider the nose and scars with black thread.
5. Sew on the ponytail!
The hare is ready! Do not forget to dress him up, because although he is a monster, he also loves to be fashionable.