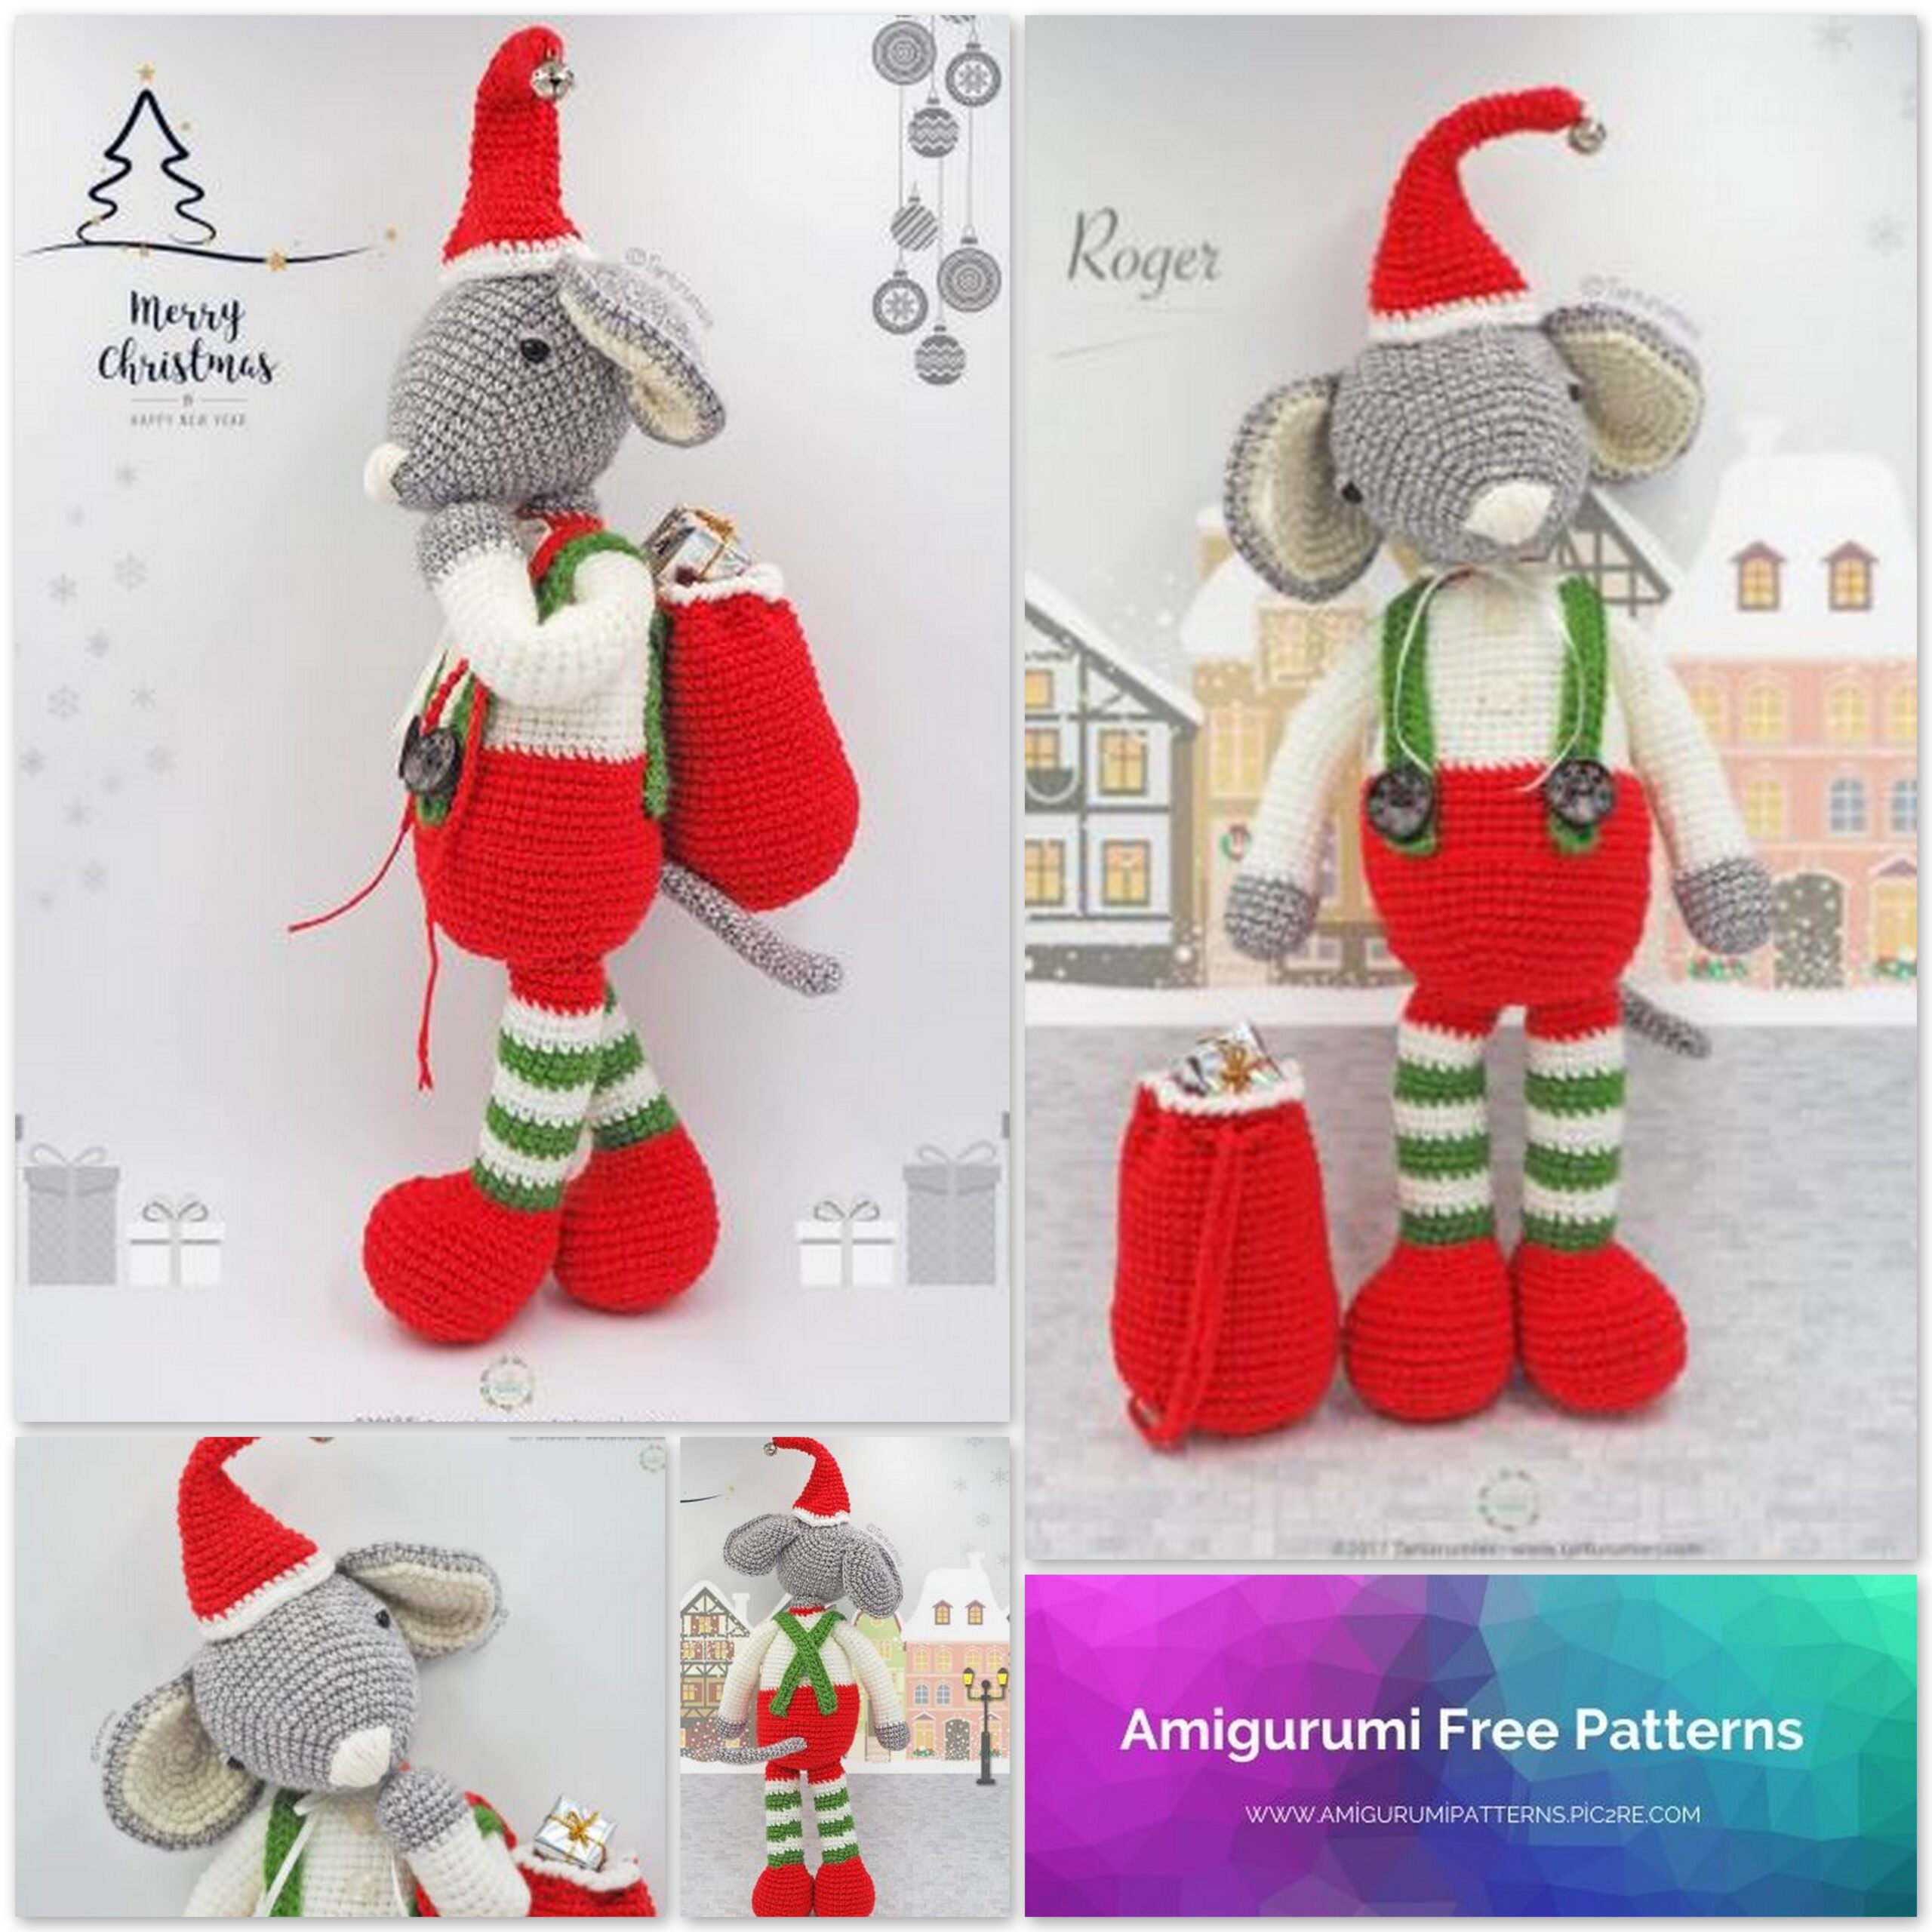
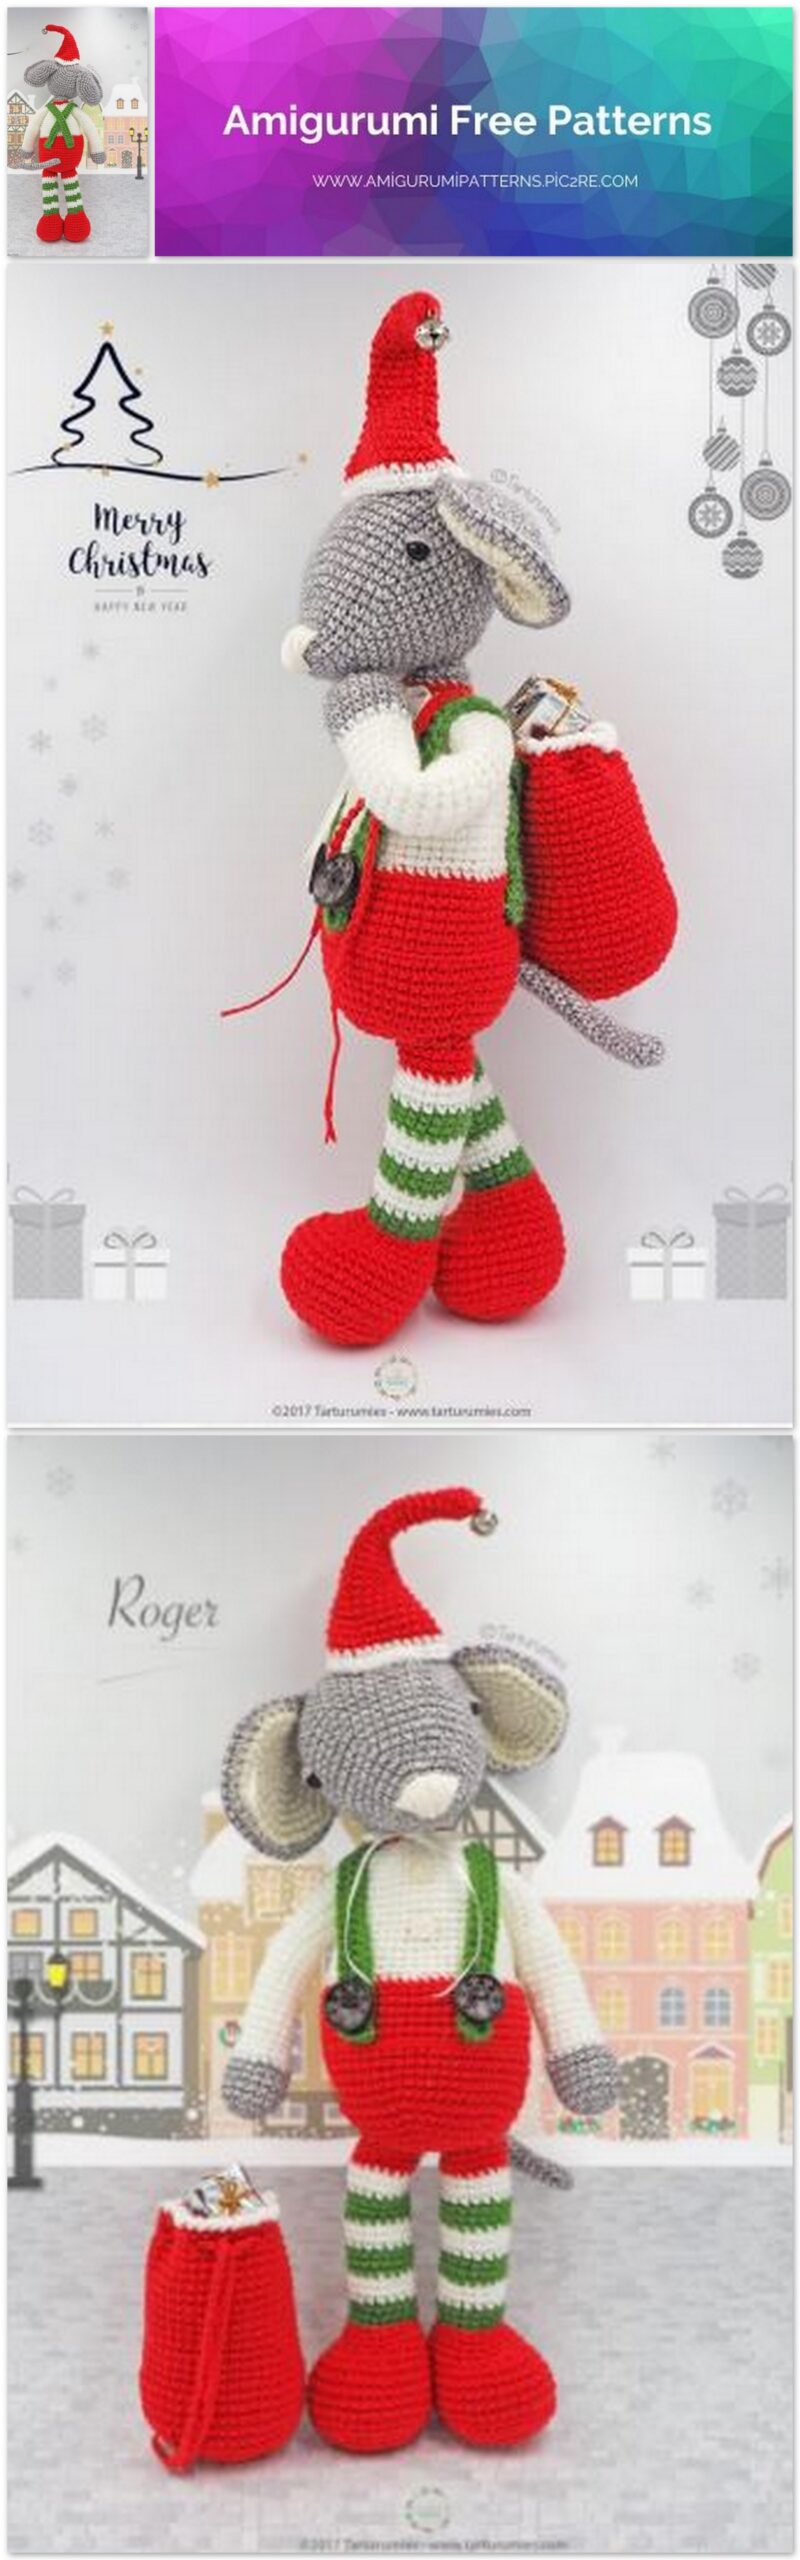
Amigurumi Christmas Mouse Free Pattern
Pinterest Offical Page : amigurumipatterns.pic2re.com
Facebook Group: amigurumipatterns.pic2re.com
Facebook Offical Page: amigurumipatterns.pic2re.com
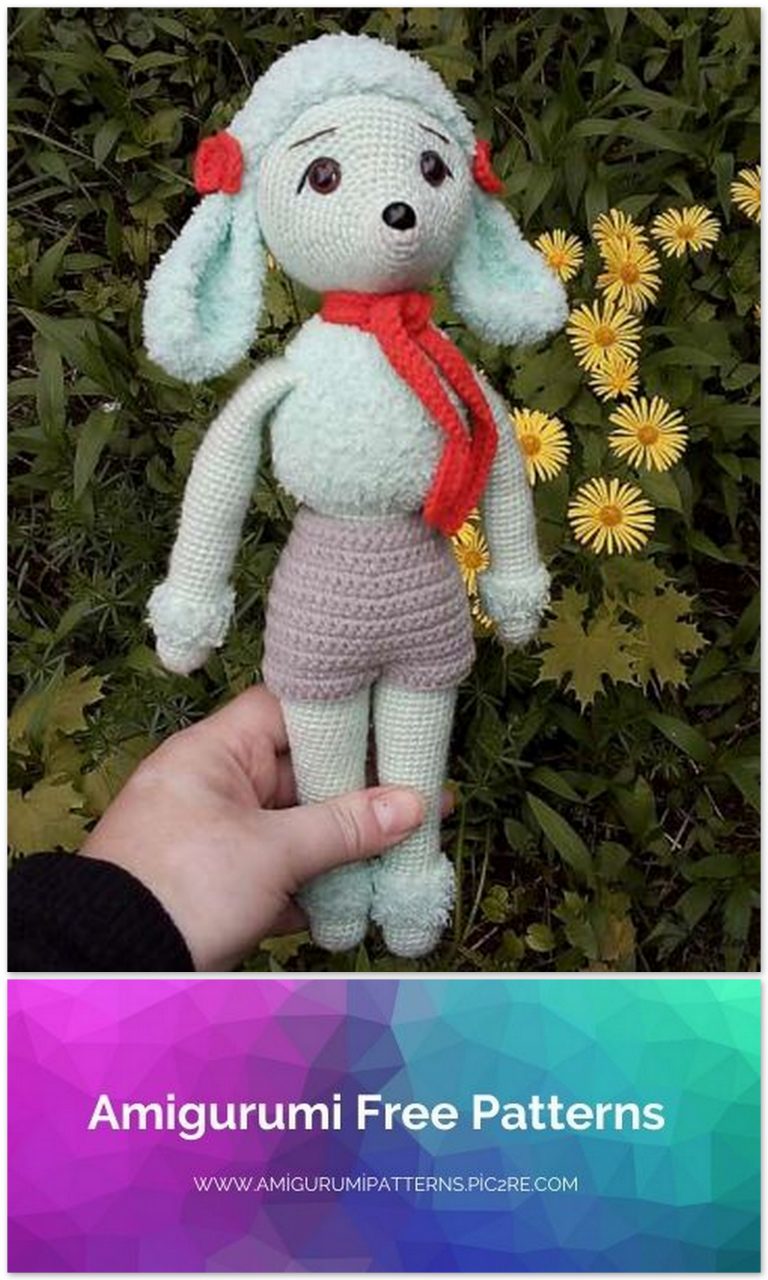
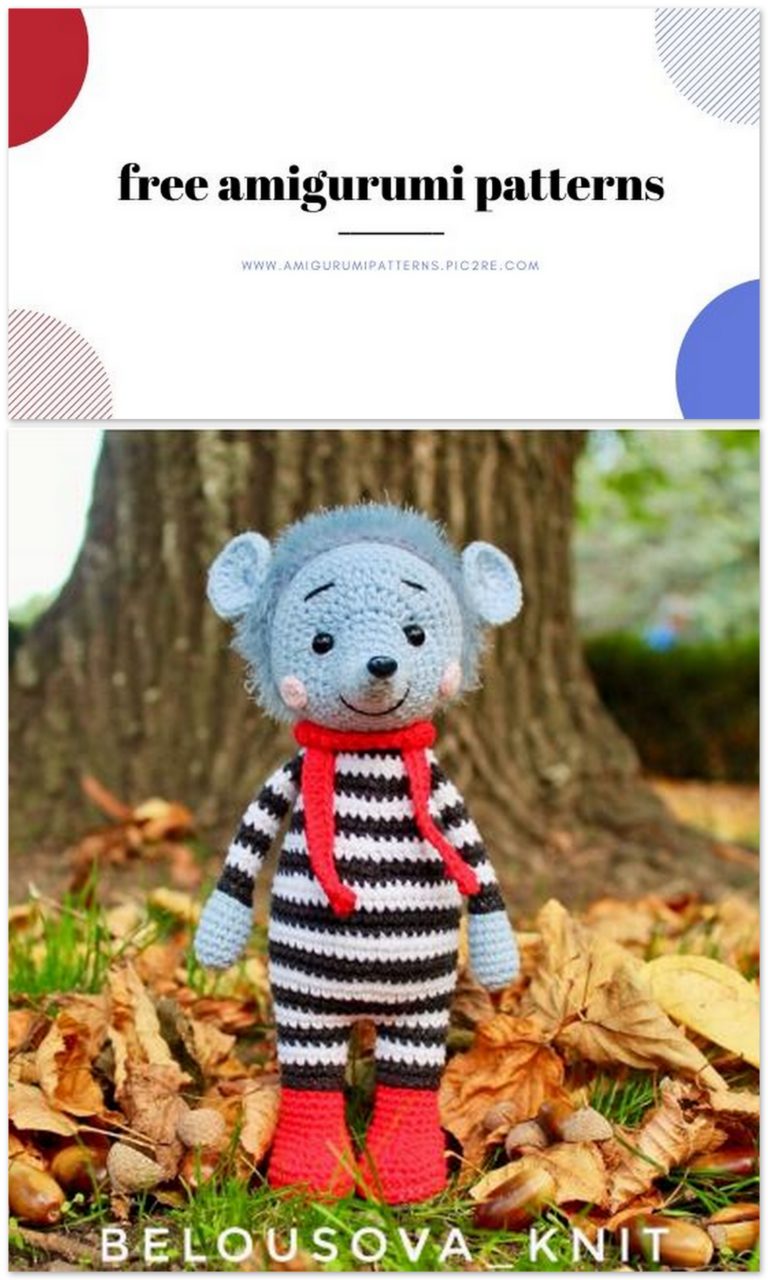
The new year is approaching. We have to start knitting toys. I am sharing this sweet amigurumi mouse pattern for you. Browse our website for Christmas patterns.
PATTERN ROGER
The Christmas Mouse
Abbreviations:
ch = chain stitch
cm = centimeter
dec = decrease
FO = fasten off
inc = increase
mm = millimeter(s)
mr = magic ring
sc = single crochet
sl st = slip stitch
rep = repeat
rnd(s)= round(s)
* * x…= repeat instructions in asterisks … times
BLO = Instead of inserting your hook underneath the entire stitch, the hook enters the center of the stitch, and exits underneath the back loop.
Continuous round: Crochet all followed, without closing the rounds.
Joined round: Go closing every rounds and climb to the next turn with a chain.
Worked in Rows = Crochet in a base of chains and turning the crochet at the end each row.
Reverse Single Crochet Stitch (crab stitch) = Insert the hook, from front to back, in the next stitch to the right. Yarn over (yo) and draw the yarn through the stitch. Yarn over and draw the yarn through the 2 loops on the hook. Repeat the preceding steps in each stitch across the row.
Materials:
Yarn (for crochet hooks 3-3.5 mm/~ 2mm wide)
Fiberfill (to stuff)
Thread (for sew the buttons)
2 small transparent / opaque buttons: 12mm diameter approx.
2 decorative wooden buttons: 23mm diameter approx.
Satin Ribbon: Off White color and 3mm wide by 32cm long
1 Jingle Bell: 12mm diameter approx.
9mm Safety eyes
Tools:
3,5 mm Crochet Hook (Clover Soft Touch – US E/4 – UK 9)
Yarn Needle (for sew amigurumi parts)
Thread Needle (for sew the buttons)
Scissors – Ruler
HEAD
Worked in continuous round
Round Stitches Description
1:Magic Ring
2: *1 inc* x6
3: *3 sc, 1 inc* x3
4: *4 sc, 1 inc* x3
5: *5 sc, 1 inc* x3
6: *6 sc, 1 inc* x3
7: *7 sc, 1 inc* x3
8: *8 sc, 1 inc* x3
9: *4 sc, 1 inc* x6
10: *5 sc, 1 inc* x6
11: 1sc in each st
12: *13 sc, 1 inc* x3
13: 1sc in each st
14: *14 sc, 1 inc* x3
15-20: 1sc in each st
21: *14 sc, 1 dec* x3
22: *13 sc, 1 dec* x3
23: *5 sc, 1 dec* x6
24: *4 sc, 1 dec* x6
25: *3 sc, 1 dec* x6
26: 1sc in each st
27: *2 sc, 1 dec* x6
28: *1 sc, 1 dec* x6
29: *1 dec* x6
Put the eyes in the head between the rnds.14/15, counting from the nose part and leaving 22sc distance between them. Stuff the head as you crochet. Stuff the tip slightly and fit the stuffing well. FO, leaving a long tail.
TAIL
1: Magic Ring
2 – 19: 1sc in each st
Don’t stuff. FO, leaving a long tail.
ARMS x2
1: Magic Ring
2 : *1 inc* x6
3: *1 sc, 1 inc* x6
4 – 7: 1sc in each st
8: 1sc in each st
9: *4 sc, 1 dec* x3
10 – 21: 1sc in each st
22: *3 sc, 1 dec* x3
23 – 31: 1sc in each st
Stuff the arms as you crochet. FO, leaving a long tail.
BODY
Red
1: Magic Ring
2: *1 inc* x6
3: *1 sc, 1 inc* x6
4: *2 sc, 1 inc* x6
5: *3 sc, 1 inc* x6
6: *4 sc, 1 inc* x6
7: *5 sc, 1 inc* x6
8: *6 sc, 1 inc* x6
9: *7 sc, 1 inc* x6
10 – 14: 1sc in each st
15: 1sc in each st BLO
16 – 20: 1sc in each st
White
21: 1sc in each st BLO
22: *7 sc, 1 dec* x6
23 – 26: 1sc in each st
27: *14 sc, 1 dec* x3
28: 1sc in each st
29: *13 sc, 1 dec* x3
30: 1sc in each st
31: *12 sc, 1 dec* x3
32: 1sc in each st
33: *11 sc, 1 dec* x3
34: 1sc in each st
35: *4 sc, 1 dec* x6
36: *3 sc, 1 dec* x6
37: *2 sc, 1 dec* x6
Red
38: 1sc in each st
Gray
39: 1sc in each st BLO
40: 1sc in each st
Stuff the body as you crochet. FO, leaving a long tail.
EARS x2
In total 4 pieces to form them.
The ears will be make: 2 pieces in gray and 2 pieces in off-white color. All equal in size, only the color will vary. Then, 1 piece of gray + 1 piece of off-white will join to form the complete ear.
1: Magic Ring
2: *1 inc* x6
3: *1 sc, 1 inc* x6
4: *2 sc, 1 inc* x6
5: *3 sc, 1 inc* x6
6: *4 sc, 1 inc* x6
7: *5 sc, 1 inc* x6
So far make the 4 pieces. To continue with the round 8 place 1 piece of gray and 1 off-white piece together making the edges coincide (the back of each one must be inwards). It should be make it by passing the two pieces together with the hook as if it were one. Begin to crochet the round with gray color all around.
8: *6 sc, 1 inc* x6
Don’t stuff. FO, leaving a long tail.
LEGS(x2)
Red
1 : Magic Ring
2: *1 inc* x6
3: *1 sc, 1 inc* x6
4: *2 sc, 1 inc* x6
5: *3 sc, 1 inc* x6
6: *4 sc, 1 inc* x6
7: 1sc in each st BLO
8 – 12: 1sc in each st
13: 12 sc, *1dec* x6, 12sc
14: 9sc, *1dec* x6, 9sc
15: 1sc in each st
16: *2 sc, 1 dec* x6
Green
17: 1sc in each st BLO
18 – 19: 1sc in each st
White
20 – 22: 1sc in each st
Green
23 – 25: 1sc in each st
White
26 – 28: 1sc in each st
Green
29 – 31: 1sc in each st
White
32 – 34: 1sc in each st
Red
35 – 37: 1sc in each st
Stuff the legs as you crochet. FO, leaving a long tail.


SUSPENDERS (Strips x2)
Worked in rows
Green
41ch + 1ch to climb
1 – 3: 1sc in each st
FO, leaving a long tail
HAT
Red
1: Magic Ring
2 – 9 : 1sc in each st
10: *1 sc, 1 inc* x3
11 – 12: 1sc in each st
13: *2 sc, 1 inc* x3
14 – 15: 1sc in each st
16: *3 sc, 1 inc* x3
17 – 18: 1sc in each st
19: *4 sc, 1 inc* x3
20: *5 sc, 1 inc* x3
21: *6 sc, 1 inc* x3
22: *7 sc, 1 inc* x3
23: *8 sc, 1 inc* x3
24: *9 sc, 1 inc* x3
White
25 – 26: 1sc in each st
FO, leaving a long tail. Sew the jingle bell in the tip.
CHRISTMAS SACK
Red
1: Magic Ring
2: *1 inc* x6
3: *1 sc, 1 inc* x6
4: *2 sc, 1 inc* x6
5: *3 sc, 1 inc* x6
6: *4 sc, 1 inc* x6
7: *5 sc, 1 inc* x6
8: *6 sc, 1 inc* x6
9 – 13: 1sc in each st
14: *6 sc, 1 dec* x6
15 – 16: 1sc in each st
17: *12 sc, 1 dec* x3
18 – 27: 1sc in each st
28: *2sc, 1ch (jump 1sc of base)* x13
29: 1sc in each st
White
30: This round make with Reverse Single Crochet Stitch (crab stitch)
FO, leaving a long tail. If you want you can stuff it to give volume and place a little gift inside.
CHRISTMAS SACK CORD
Red
Make a chain with 82ch and FO.
Place the cord in round 28 of the christmas sack.
ASSEMBLE
1.- Embroider the eyelids with a yarn of the same color as the head. Give 2 or 3 turns over the safety eye.
2.- Embroider the nose on the finest tip of the head between Rnds.1 and 4. Embroider it in a triangular shape, do it from the center up, taking 7sc in width on the Rnd.4. Embroider it well filled so it has volume.
3.- Sew the ears folding the part that will be sewn to the head. Once folded, support them on the back of the head, place the fold vertically between the Rnds.6 and 9 (counting from behind) and sew them.
4.- Sew the legs to the body between Rnds. 2 to 7 (counting from the bottom).
5.- Sew the arms to the body between Rnds. 6 to 7 (counting from the top).
6.- Join the head centered to body.
7.- Sew the wooden buttons on one end of the suspenders. Then, take the ends without buttons of the suspenders and sew them on the back of the body. Take as reference the two lines of the rounds made in BLO, sew them between them and leave approx. 6sc of distance between them. Once sewn, we will cross them to pass the suspenders from the left to the right and the one from the right to the left and thus form a cross from behind. Once the suspenders have been passed forward, sew the ends straight with the buttons, also between the BLO lines and leaving 8sc of distance between them.
8.- Sew the buttons transparent to the body, between both suspenders. The 1st button sew it between the Rnds.5 and 6; the 2nd button sew it between the Rnds.11 and 12 (on the two buttons count from the 1st round in white below the red round of the neck).
9.- Place the satin ribbon in the center of the neck, passing inside the central sc and going out again, leaving on each side part of the ribbon. Make a bow.
10.- Sew the tail to the body, centered between the legs and between the Rnds.11 and 12 (counting from the bottom).
11.- Sew the hat on the head and to the side.
NOTE 1: To make the assembly, always follow the instructions and the images. It will be much easier to understand the steps