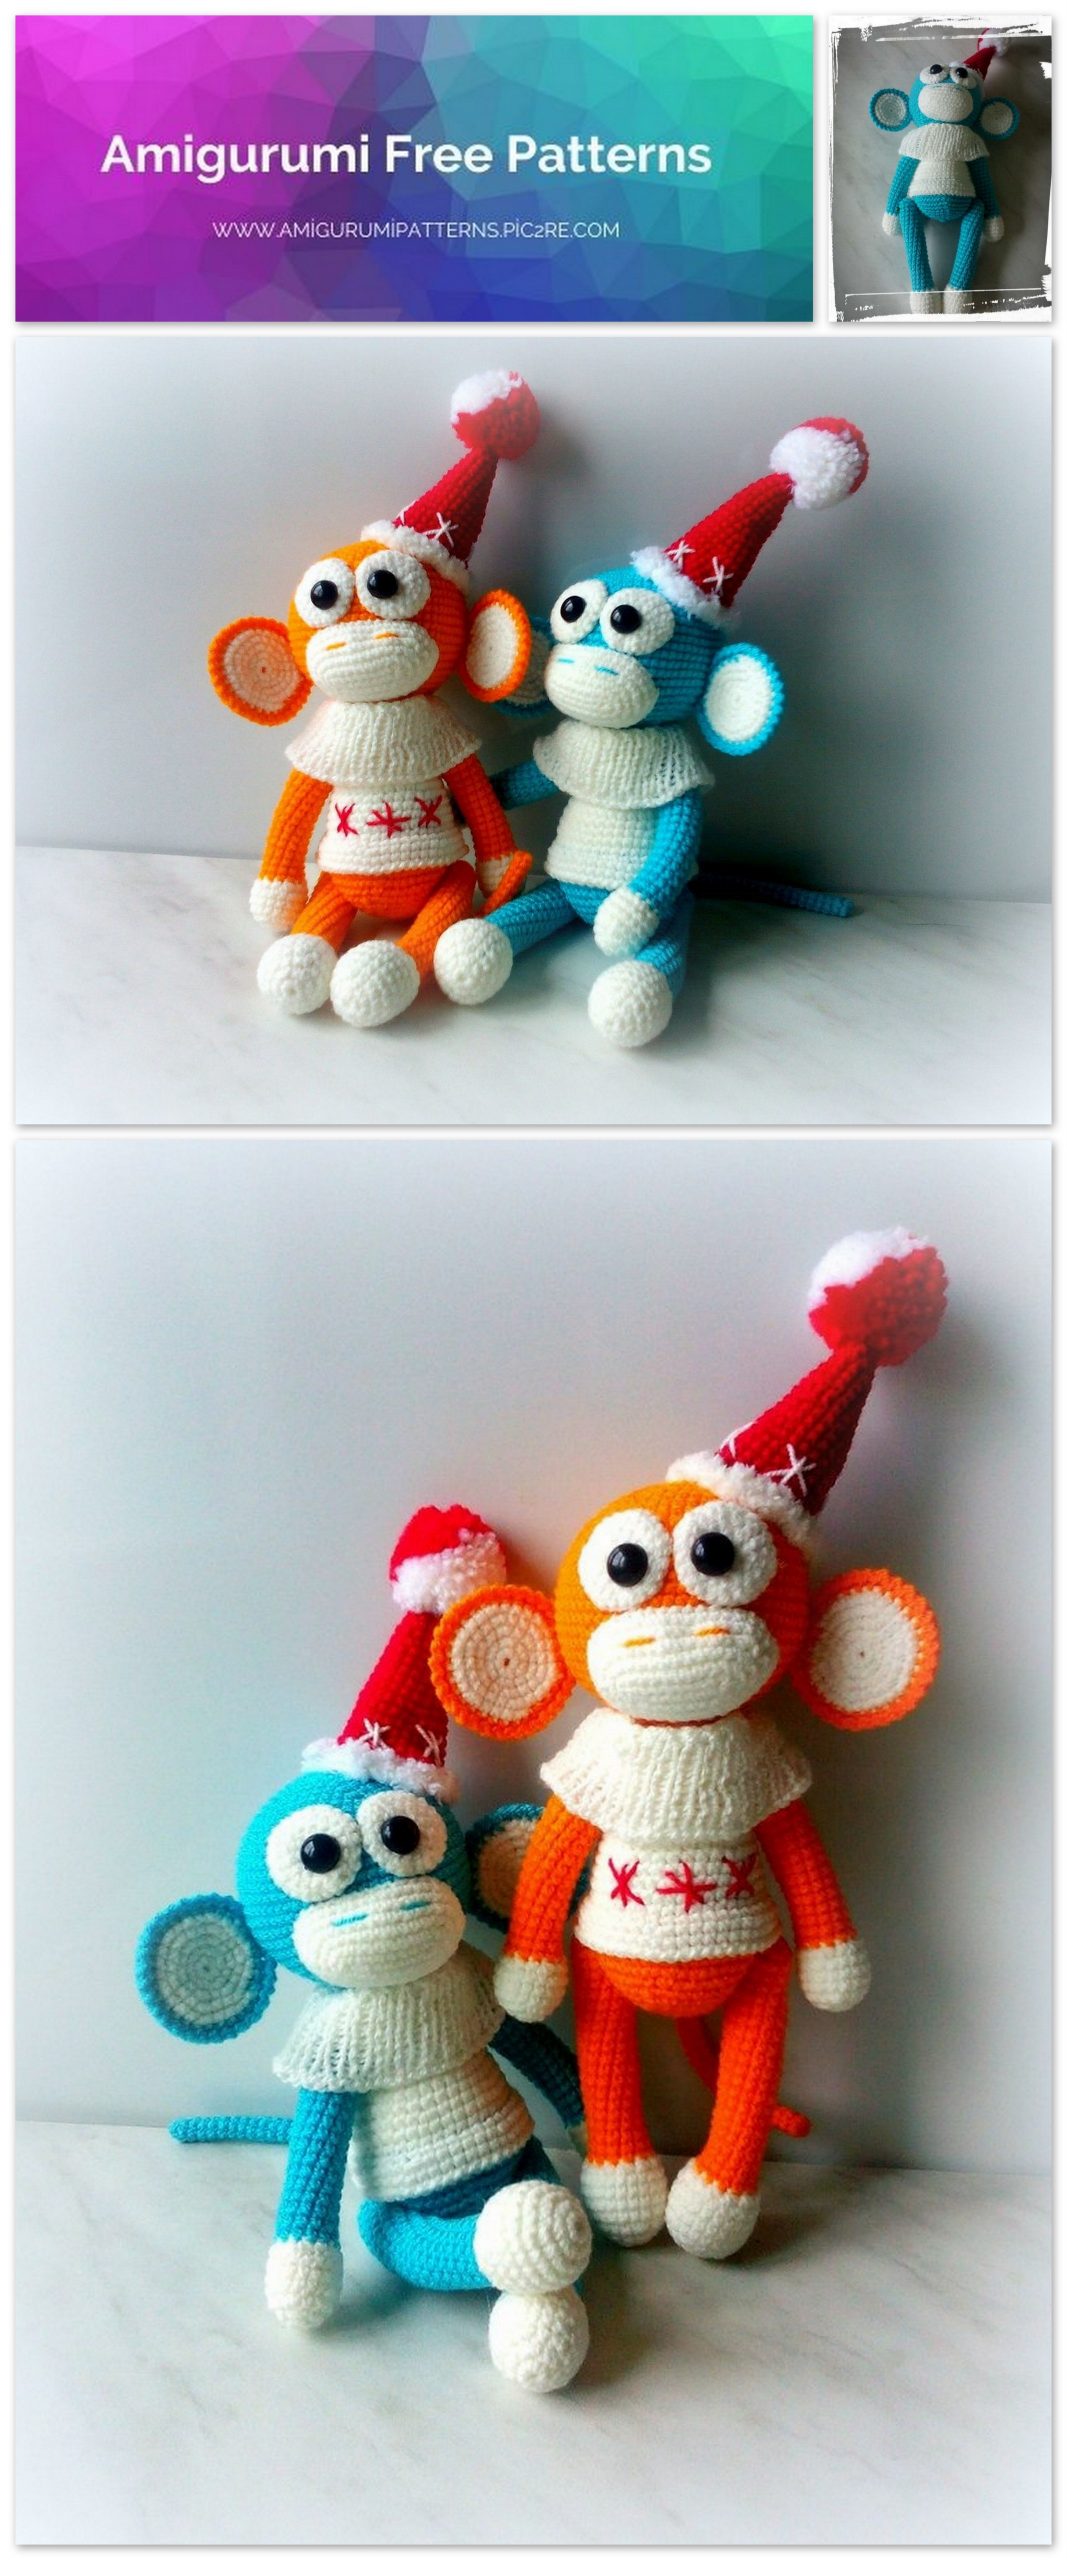
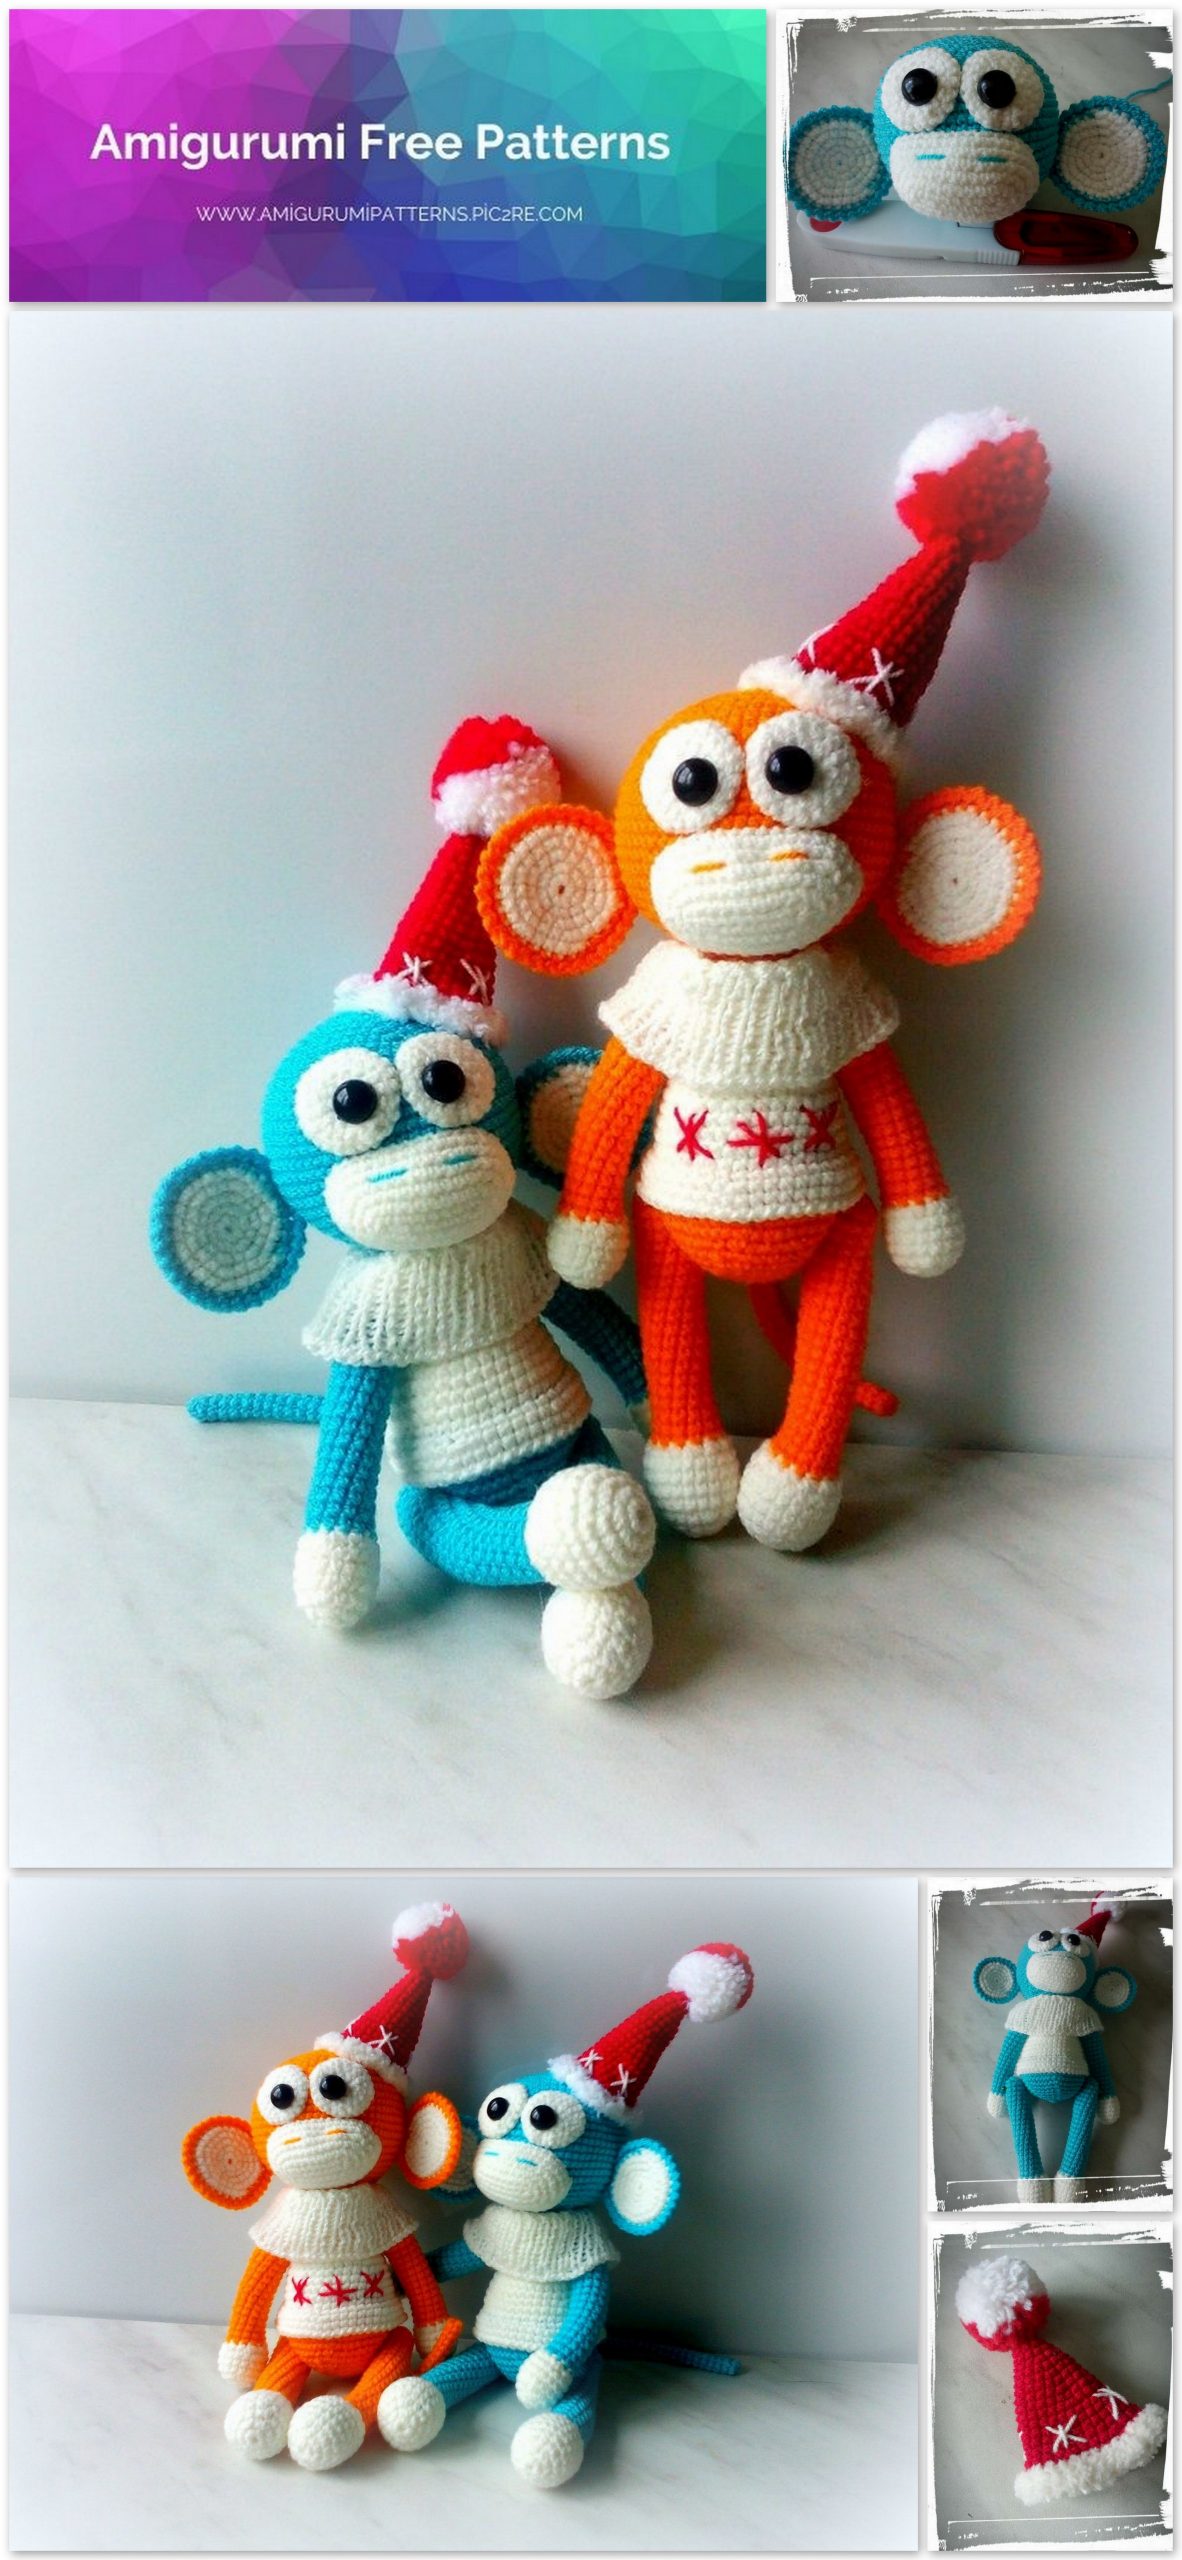
Amigurumi Monkey Free Crochet Pattern
Pinterest Offical Page : amigurumipatterns.pic2re.com
Facebook Group: amigurumipatterns.pic2re.com
Facebook Offical Page: amigurumipatterns.pic2re.com
Monkey – symbol of the year
We share the most beautiful amigurumi patterns. You can browse our website for amigurumi monkey free patterns and more.
For work you will need:
1) Yarn “Acacia” (this is 100% acrylic) or similar of your choice (230-250m / 50gr).
The colors are also for your choice. A little textured yarn for tying the edge of the cap.
2) Hook # 1, knitting needles # 1.5 (5 pieces), stitching needle.
3) Filler for toys (synthetic winterizer, synthetic fluff).
4) Eyes-beads / ready-made eyes / eyes on the leg (then cut off the leg).
5) Glue Moment “Crystal” (if you glue the eyes).
6) Black cotton threads for sewing on eyes (if eyes are sewn on).
7) Nylon thread for sewing on the handle legs.
If you take a different yarn, the size of the toy may differ from the indicated one.
The master class DOES NOT CONTAIN knitting lessons. You must have knitting and crochet skills.
DIFFICULTY LEVEL: EASY
Do not start knitting without reading the MK to the end.
Knit the toy in a spiral, unless otherwise indicated.
Knit tightly so that the filler does not show through the knitted fabric. For tight knitting, use a crochet hook that is smaller than indicated on the yarn label.
Knitting designations:
– single crochet (sc);
– air loop (ch);
– connecting post (sl-st);
– “Rachiy step” strapping method;
– 1×1 elastic band;
– dec. – decrease, a single crochet is knitted, 1 loop of the previous row is skipped and again a single crochet;
– inc. – in the loop of the previous row, tie 2 loops.
Ears
White (inner part of the ear). 2 details.
Close the 5ch chain into a ring.
1st row: ch lift, 6sc ring, sl-st.
Row 2: In each sc of the previous row, tie 2 sc (12).
3 row: * 1 sc, inc *, ** – knit to the end of the row (18).
4th row: * 2 sc, inc *, ** – knit to the end of the row (24).
5 row: * 3 sc, inc *, ** – knit to the end of the row (30).
Cut off the thread. Tie two identical pieces.
Body color (outer part of the ear). 2 details.
Close the 5ch chain into a ring.
1st row: ch lift, 6sc ring, sl-st.
Row 2: In each sc of the previous row, tie 2 sc (12).
3 row: * 1 sc, inc *, ** – knit to the end of the row (18).
4 row: * 2 sc, inc *, ** – knit to the end of the row (24).
5 row: * 3 sc, inc *, ** – knit to the end of the row (30). Do not cut the thread.
Fold the inside of the ear and the outside of the ear together and tie them together 30 sc. The outer part of the ear should be at the back.
We tie the resulting part with 26 columns using the “Rachy step” method (4 untied columns remain for sewing on the ear). Leave the thread for sewing.
Tie the second ear in the same way.
Muzzle
We knit in white.
Tie a chain of 9 ch.
Row 1: knit into the second loop from the hook, inc., 6 sc, 4 sc into the last loop of the chain, 6 sc, inc., Sl-st. (twenty).
Then start each row with ch up and end with sl-st.
2nd row: inc., 8 sc, inc., Inc., 8 sc., Inc. (24).
3rd row: inc., 10 sc., Inc., Inc., Inc., 8 sc., Inc., Inc. (thirty).
4 row: inc, inc., 11 sc., Inc., Inc., Inc., Inc., 11 sc., Inc, inc. (38).
Rows 5-6: 38 sc. (38). Leave the thread for sewing.

Eyes (squirrels)
Close the 5ch chain into a ring.
1st row: ch lift, 6sc ring, sl-st.
Row 2: In each sc of the previous row, tie 2 sc (12).
3 row: * 1 sc, inc *, ** – knit to the end of the row (18).
4th row: * 2 sc, inc *, ** – knit to the end of the row (24). Leave the thread for sewing.
Tie the second eye in the same way. We will sew the eyes with the wrong side up (as in the photo).
Head – body
Close the 5ch chain into a ring.
1st row: ch lift, 6sc ring, sl-st.
Row 2: In each sc of the previous row, tie 2 sc (12).
3 row: * 1 sc, inc *, ** – knit to the end of the row (18).
4th row: * 2 sc, inc *, ** – knit to the end of the row (24).
5 row: * 3 sc, inc *, ** – knit to the end of the row (30).
6 row: * 4 sc, inc *, ** – knit to the end of the row (36).
7 row: * 5 sc, inc *, ** – knit to the end of the row (42).
8 row: * 6 sc, inc *, ** – knit to the end of the row (48).
9 row: * 7 sc, inc *, ** – knit to the end of the row (54).
10 row: * 8 sc, inc *, ** – knit to the end of the row (60).
11 row: * 9 sc, inc *, ** – knit to the end of the row (66).
12-19 rows: 66 sc (66). 8 rows.
Row 20: * 9 sc, dec *, ** – knit to the end of the row (60).
Row 21: * 8 sc, dec *, ** – knit to end of row (54).
22 row: * 7 sc, dec *, ** – knit to the end of the row (48).
23 row: * 6 sc, dec *, ** – knit to the end of the row (42).
24 row: * 5 sc, dec *, ** – knit to the end of the row (36).
25 row: * 4 sc, dec *, ** – knit to the end of the row (30).
26 row: * 3 sc, dec *, ** – knit to the end of the row (24).
Fill the part with filler tightly enough.
27 row: 24 sc (24).
28 row: * 2 sc, dec *, ** – knit to the end of the row (18).
Add filler as needed, the workpiece should be round and resilient. We do not cut the thread.
Face decoration
At this stage, I make out the face of the monkey. You can do this at the end, at the stage of assembling the toy. Sew the whites of the eyes with the WALK side out.
We carefully pin the muzzle and whites of the eyes with tailor’s pins, making sure that everything is even. Sew the details very carefully with the threads left for this.
When sewing on the muzzle, add volume filler inside.
Sew on the ears, try them on with the help of tailor’s pins. You can position the ears higher or lower. Sew on ears only after the muzzle is framed, so the general picture of our muzzle will be visible. When sewing on the second ear, sew the nostrils with the thread used to sew the monkey’s ear. The nostrils are located between 4 and 5 rows, the stitch length is 3 columns, the distance between the stitches is 3 columns.
We bring the ends of the threads into the open hole of the head, after all the details are sewn, we tie the protruding ends of the threads with several knots and carefully cut them off.
Sew or glue the eyes, moving them slightly to the inner parts of the protein. When gluing the peephole, I close the central hole of the part with them (where the knitting began).
Row 29: 18 sc (18).
30 row: * 2 sc, inc *, ** – knit to the end of the row (24).
Rows 31 – 32: 24 sc (24).
33 row: * 3 sc, inc *, ** – knit to the end of the row (30).
34 – 36 Rows: 30 sc (30). The body color thread can be cut off so that it does not interfere with knitting.
37 row: Switch to sweater-colored yarn. 30 sc (30).
38 row: We knit for the back wall of the loops of the previous row. 30 sc (30).
Row 39: * 4 sc, inc *, ** – knit to the end of the row (36).
40 – 41 rows: 36 sc (36).
42 row: * 5 sc, inc *, ** – knit to the end of the row (42).
43 row: 42 sc (42).
Row 44: 42 sc (42). Row finish sl-st.
45 row: ch rise, 42 sc behind the FRONT wall of the loops of the previous row (42).
Auxiliary rows (we knit with complete rows, i.e. we start with ch rise and end with a connecting post).
1st auxiliary row: * 6 sc, inc *, ** – knit to the end of the row (48).
2nd auxiliary row: 48 sc (48).
3rd auxiliary row: * ch, sl-st *, ** – knit to the end of the row or tie the row in a way
“Rachy step”. Sweater-colored thread can be cut off.
Here is the result of our work:
Sweater neck (knitting)
Sweater color. We return to the 37th row of knitting and the left front walls of the loops of the row. Capturing the left front walls, knit a row of 30 sc. We knit in such a way that the head of our toy is on top.
Now, on the knitted row, we collect 60 loops on 4 knitting needles in a circle (15 for each). That is, from each crocheted loop, it is necessary to knit 2 loops with knitting needles, for this we pull the first loop over the back wall of the loop, the second loop over the front wall. It will not be very convenient to knit the first 3-4 rows. And yet – I type the loops on the knitting needles using a crochet hook. When knitting, the head of the toy is ON TOP.

Knit in a circle with a 1×1 elastic band.
1. Knit 7 rows with 1×1 rib.
2. Knit 2 front rows (this will be the place where the sweater neck folds).
3. Knit 11 rows with 1×1 rib. Close the loops.
We tie the torso (body color)
46 row: Attach the thread at the back in the center of the back, knit for the left back wall of the loops of the previous row 42 sc (42).
47 row: * 6 sc, inc *, ** – knit to the end of the row (48).
48 row: * 7 sc, inc *, ** – knit to the end of the row (54).
Row 49: 54 sc (54).
50 row: * 7 sc, dec *, ** – knit to the end of the row (48).
51 row: * 6 sc, dec *, ** – knit to the end of the row (42).
52 row: * 5 sc, dec *, ** – knit to the end of the row (36).
53 row: * 4 sc, dec *, ** – knit to the end of the row (30).
54 row: * 3 sc, dec *, ** – knit to the end of the row (24).
Fill the part with filler tightly enough.
55 row: * 2 sc, dec *, ** – knit to the end of the row (18).
56 row: * 1 sc, dec *, ** – knit to the end of the row (12).
Row 57: Decreases to the end of the row. Fasten the thread, cut it off, hide it.
Pens
Stuff in the knitting process.
White. Close the 5ch chain into a ring.
1st row: ch lift, 6sc ring, sl-st.
Row 2: In each sc of the previous row, tie 2 sc (12).
3 row: * 1 sc, inc *, ** – knit to the end of the row (18).
4-6 rows: 18 sc (18)
7 row: * 1 sc, ass. *, ** – knit to the end of the row (12).
8 row: Go to body color. 12 sc (12).
Rows 9-27: 12 sc (12).
28 row: Decreases to the end of the row. Fasten the thread, cut it off, hide it.
Tie the second handle in the same way.
Legs
Stuff in the knitting process.
White. Close the 5ch chain into a ring.
1st row: ch lift, 6sc ring, sl-st.
Row 2: In each sc of the previous row, tie 2 sc (12).
3 row: * 1 sc, inc *, ** – knit to the end of the row (18).
4th row: * 2 sc, inc *, ** – repeat 4 times, 6 sc (22).
Rows 5-8: 22 sc (22).
9th row: 9 dec., 4 sc (13).
10 row: Go to body color. 13 sc (13).
Rows 11-29: 13 sc (13).
30 row: Decreases to the end of the row. Fasten the thread, cut it off, hide it.
Tie the second leg in the same way.
Tail
Do not fill.
Body color. Close the 5ch chain into a ring.
1st row: ch lift, 6sc ring, sl-st.
Rows 2 – 27: 6 sc.
Christmas hat
1st row: 5 ch. Close in a ring
2nd row: 6 sc (6)
3 row: * 1 sc, inc *, ** – knit to the end of the row (9)
4th row: 9 sc (9)
5 row: * 2 sc, inc *, ** – knit to the end of the row. (12)
6 row: 12 sc (12)
7 row: * 3 sc, inc *, ** – knit to the end of the row. (15)
8 row: 15 sc (15)
9 row: * 4 sc, inc *, ** – knit to the end of the row (18). (eighteen)
10 row: 18 sc (18)
11 row: * 5 sc, inc *, ** – knit to the end of the row. (21)
12 row: 21 sc (21)
13 row: * 6 sc, inc *, ** – knit to the end of the row. (24)
14 row: 24 sc (24)
15 row: 24 sc (24)
16 row: 24 sc (24)
17 row: 24 sc (24)
Row 18: * 3 sc, inc *, ** – knit to the end of the row. (thirty)
19 row: 30 sc (30)
Row 20: Tie the bottom of the cap with white textured yarn
Sew a hat to the head of our monkey, you can in the center or near the ear. Decorate the hat with a pompom or bell. You can embroider snowflakes on a hat and sweater.
Assembly
Using tailor’s pins, mark the places for sewing the leg handles so that the limbs are sewn symmetrically.
Sew on the arms and legs using a long needle and nylon thread. Both handles and legs are sewn with the same thread (see picture below). The handles are sewn directly under the neck, on the bottom of it.
The legs are sewn in such a way that the upper edge of the leg is at the level of the bottom of the monkey’s sweater. The place on the white part of the leg, where there were 9 decreases, is the front side of the leg (looking at us).
Please note that the 1st figure shows only one thread run. There must be at least 3 moves. The limbs are fastened with a nylon thread, the thread must go in and out of the toy’s torso through the same hole (otherwise the limbs will not move). You can fasten the thread as you like. I usually make a knot where one of the legs is sewn. Tighten tighter, as over time, the thread will still stretch and weaken. We look at the drawings. The first shows one thread move, the second shows everything. During the first two moves, we do not remove the thread in the lower abdomen of the toy – we immediately stick the needle through the body into the leg.
Sew the ponytail just below the bottom line of the sweater.
Our monkey is ready.
Enjoy your knitting.